For a while I have had in mind a Trail Talk about the geology of Connecticut. Before I created my online blog, I did a three-part series on Connecticut’s glacial history (which I hope to reprise in a future online article), and a two-part series on our unique trap rock ridges. For my next Geology Trail Talk, I envisioned sharing information about trails in Connecticut that have associated geology guides. However, once I started writing about my hikes in Sleeping Giant State Park, I realized that should be its own Trail Talk, given the plethora of information. I will write about my other great geologic finds in a future post.
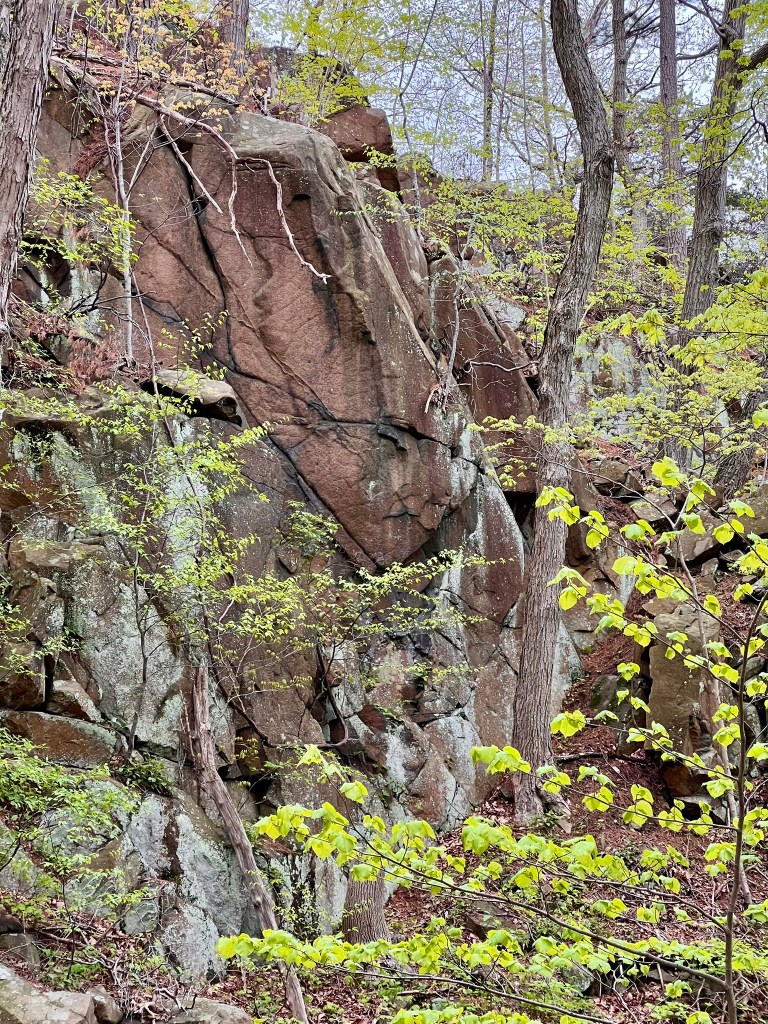
Sleeping Giant State Park is one of our state’s iconic trap rock ridges. Trap rock gets its name from “trappa”, the Swedish word for staircase, because of the blocky, step-like nature of the rock. Our trap rock ridges run through the Central Valley of Connecticut from near the shoreline in the south up to the northern border and beyond into Massachusetts. Most of the ridges have a north/south orientation, but Sleeping Giant and East Rock trend east/west instead. Around 200 million years ago, magmatic activity created the igneous rocks (formed from the cooling of hot lava or magma) that became the trap rock ridges we see today. Much of the trap rock in Connecticut is basalt – meaning that it cooled above or near the surface. The trap rock of the Sleeping Giant, however, is diabase – meaning that the cooling occurred underground. Basalt is darker and finer grained than diabase, but they are both types of igneous rock. Curiously, this otherwise helpful Glossary of Geologic Features/Terms published by DEEP only describes basalt. Another useful online resource is Bulletin No. 41: Trap Rock Ridges of Connecticut: Natural History and Land Use. Geology is covered on pages 5-11 of the guide (pages 14-20 of the online PDF). Subsequent erosion over millions of years, followed by periods of glaciation starting around 3 to 5 million years ago, worked to expose much of the underlying diabase at the Giant. During the most recent period, the Wisconsin glaciation, the New Haven area was buried under about 1800’ of ice! Long Island and Long Island Sound were shaped into their current form during this period, where this area was the terminal moraine of the glacier (the end point where all that rock debris pushed by the ice piled up). The Yale New Haven Teachers Institute has an informative online guide about the geology of Connecticut intended for use in an 8th and 9th science curriculum, including THIS PAGE about its glacial history.
Sleeping Giant State Park, Hamden
According to the DEEP website Sleeping Giant State Park (SGSP) has over 1400 acres and 40 miles of hiking trails, which were built and are currently maintained by the Sleeping Giant Park Association (SGPA). The SGPA website references 32 miles of backcountry trails. Whichever way you define it, SGSP has a lot of hiking trails with countless possibilities for customized loop hikes. The SGPA was first formed in 1924, and by 1929 had acquired 845 acres which it deeded over to the State’s Park and Forest Commission. You can find a full history of the park HERE, along with book recommendations for further reading. The park gets its name from the two miles of trap rock ridge that, when viewed from a distance, look like a giant in repose. Looking at the DEEP Trail Map, there are six long main trails that run roughly east-west (violet, blue, green, orange white and yellow) and several red-blazed trails marked with different shapes that run generally north-south. These red trails allow for a variety of loops of different lengths. There is also the Tower Trail, a gravel road leading up to the Tower – which I hate to admit I have not done yet. I am saving that for a Tower Trail Talk. The DEEP map is helpful for customizing a route because the mileage between sections is more granular and easier to read. However, the SGPA Trail Map, with its contour lines, gives a better picture of the grade.
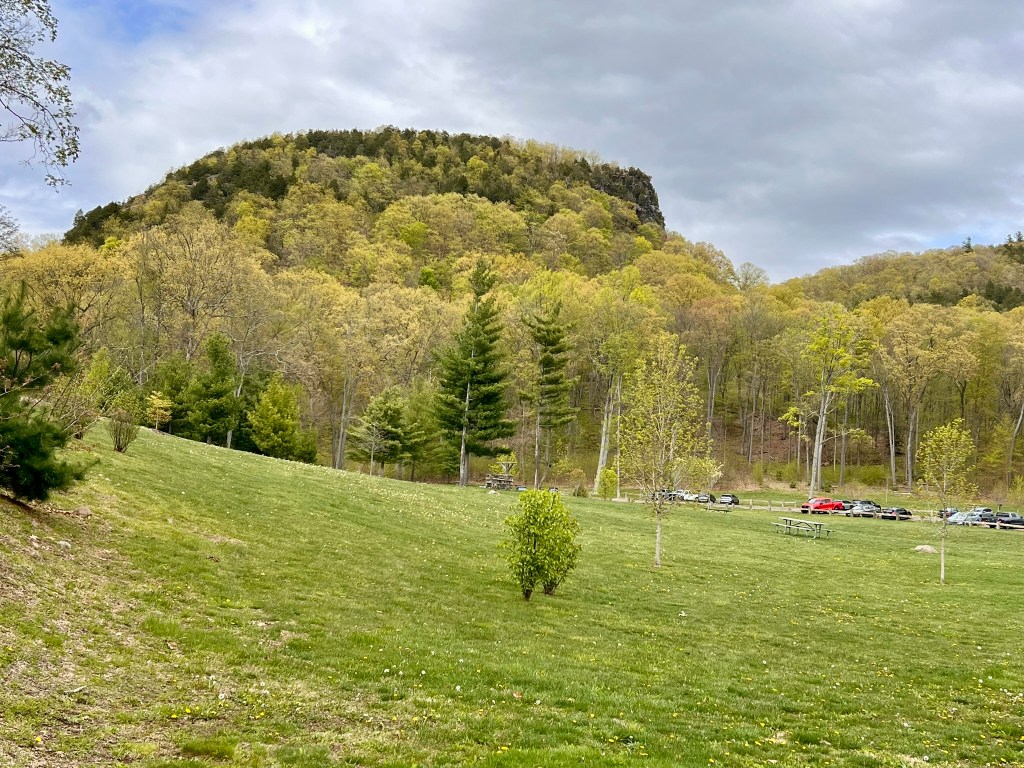
The profile (head and top of chest) of the sleeping giant
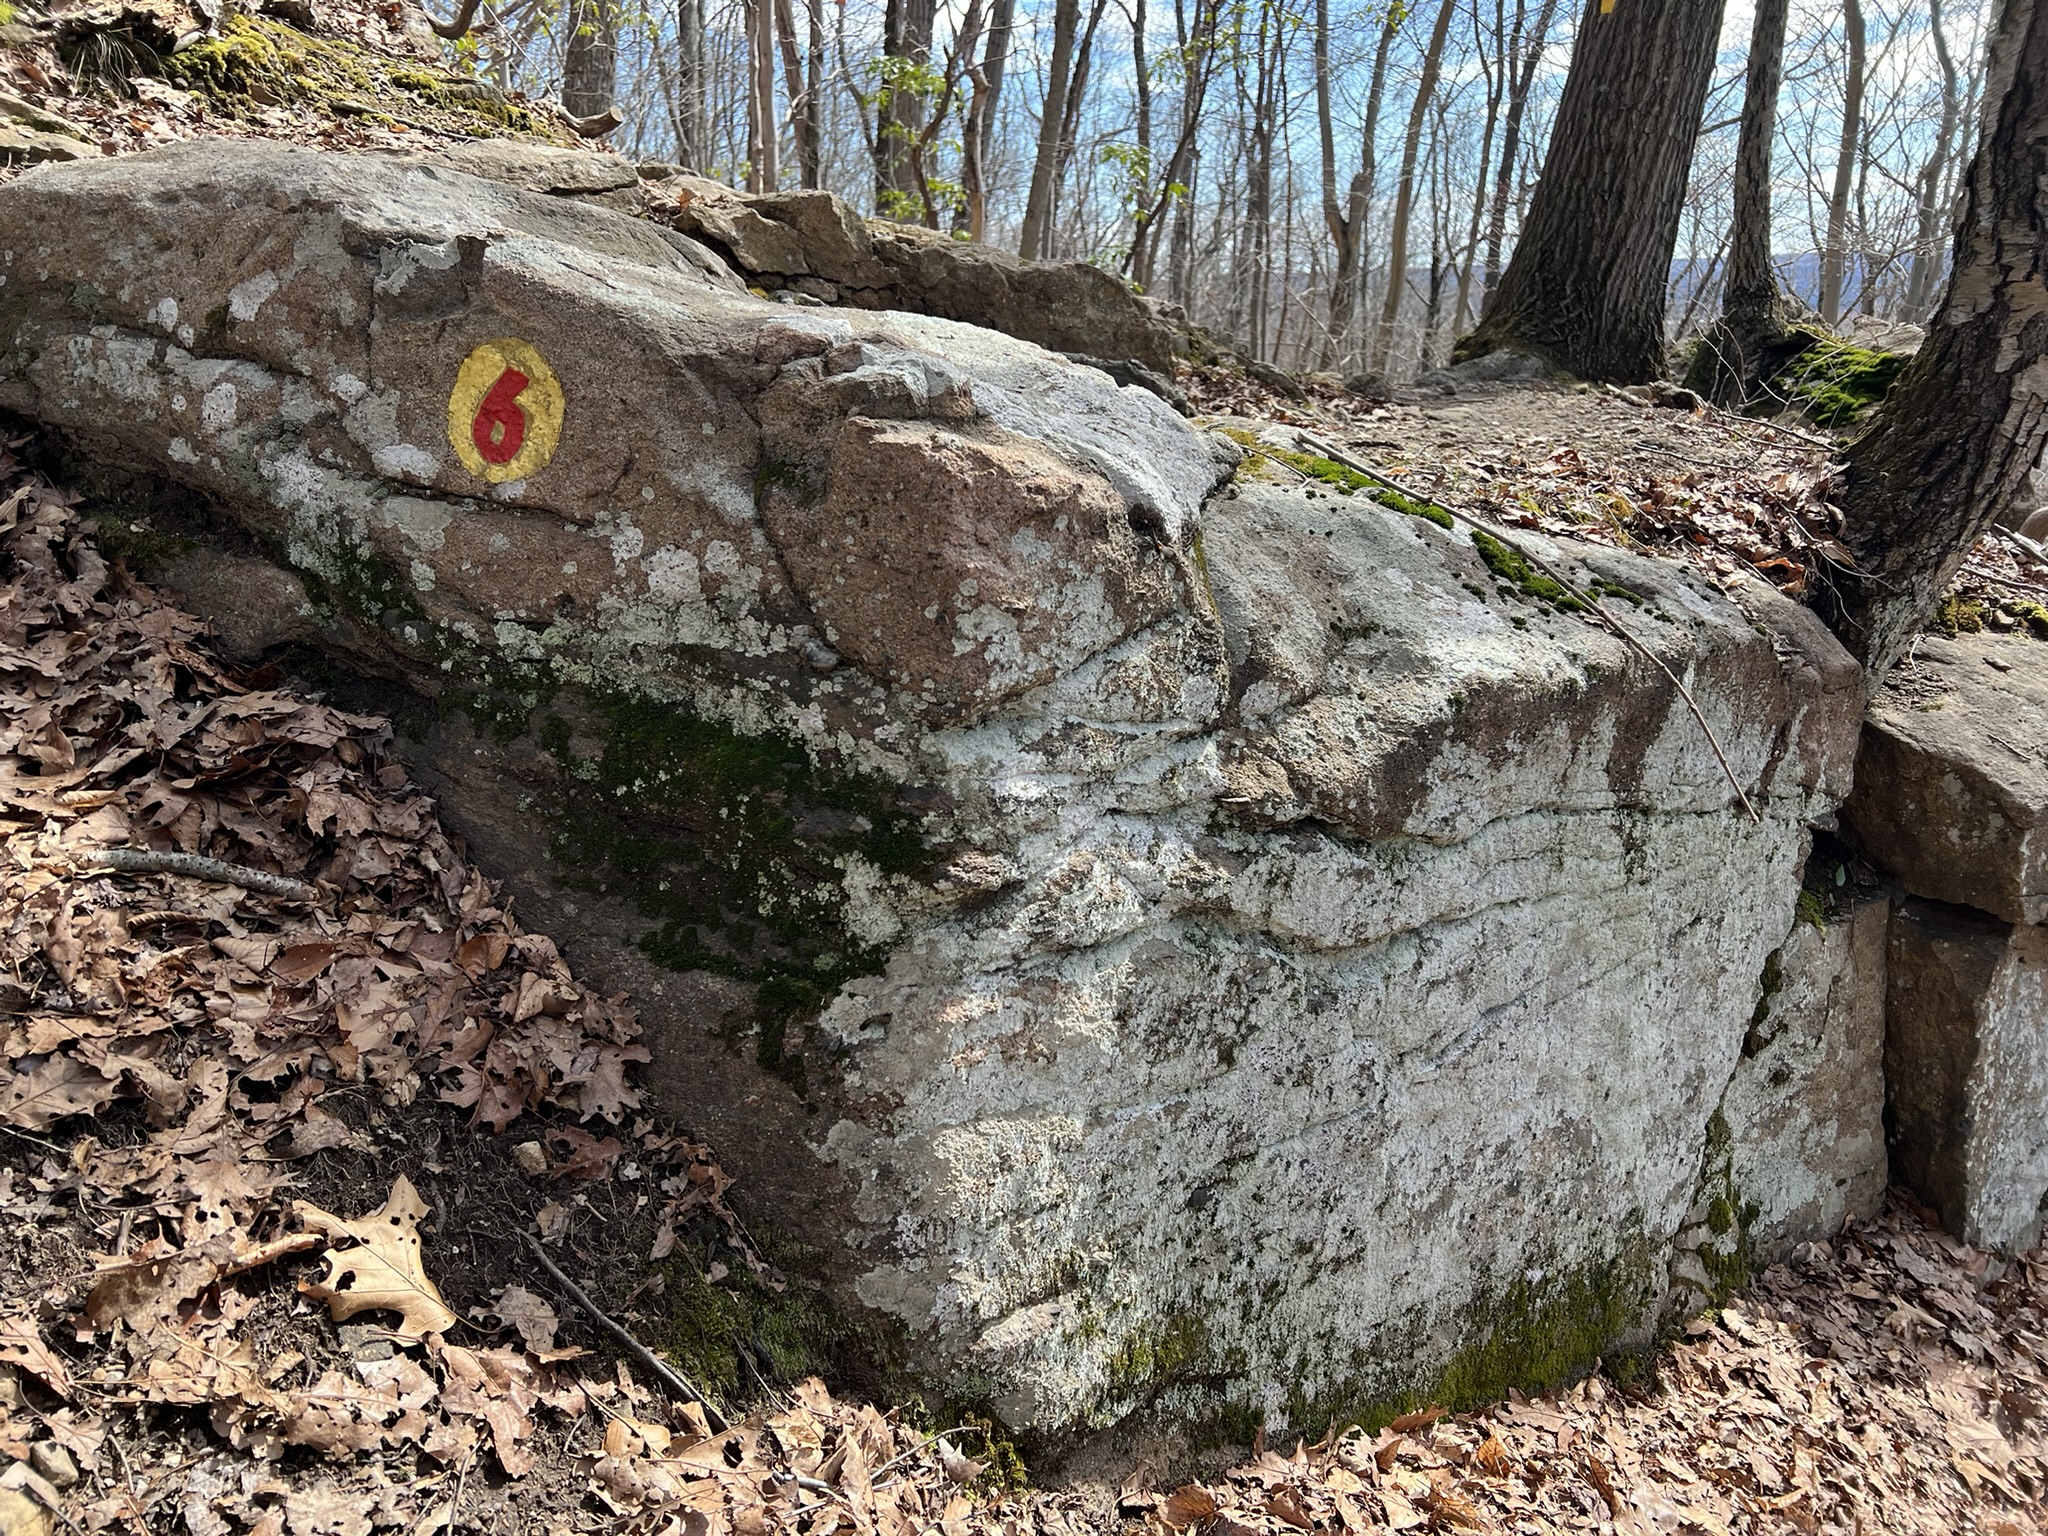
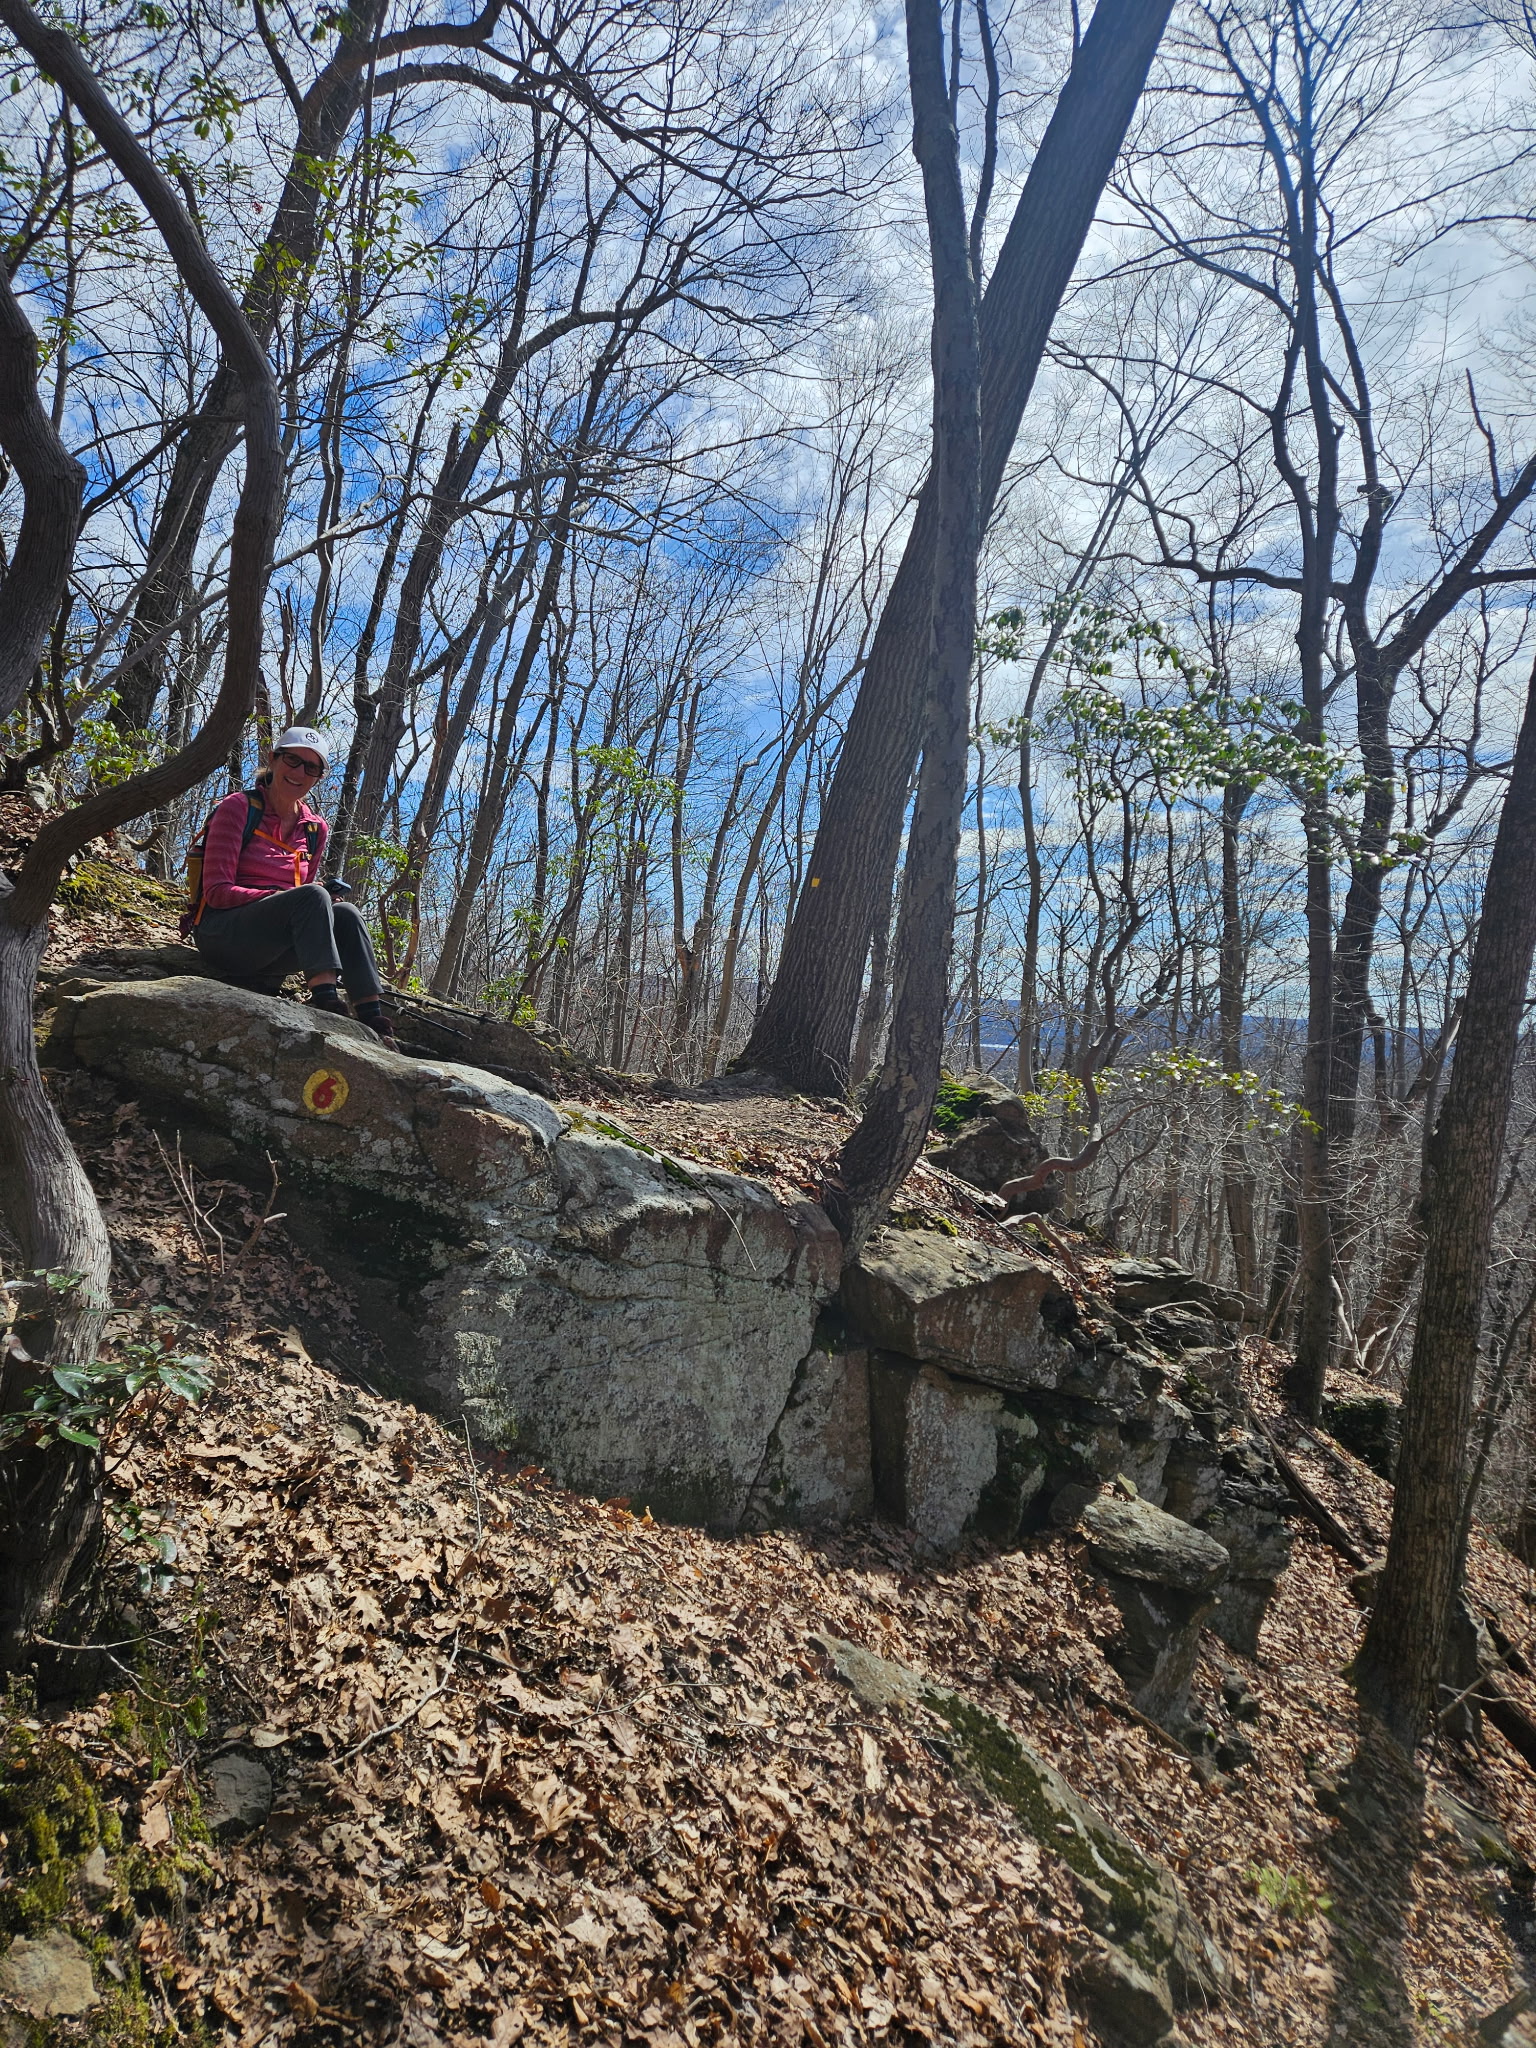
I first visited Sleeping Giant State Park in April of 2024 with my son, Jake. I convinced him to join me on the blue trail, which I had read was a difficult hike and was reluctant to tackle it alone. As we were climbing, we noticed numbered markers in random places and wondered what they were. Jake did an internet search and learned that the markers correspond to a Guide to the Geology of the Sleeping Giant State Park, by David M. Sherwood published in December of 2011. The 4-page summary on pages 8-11 on the Geological History of the Sleeping Giant is very useful for understanding the underlying rock formations specific to SGSP. The summary starts with a concise introduction explaining how tectonic, volcanic and glacial activity over millions of years created the iconic slopes and ridges of Sleeping Giant State Park that we see today. The guide includes a color-coded map that shows the approximate location of the markers along the trails. Since the guide was created 15 years ago, many of markers in the field have become faded or have disappeared. SGPA is working on geolocating them and has plans to freshen up the field markers, so watch their website for updates.
Blue to Red Circle to Violet loop. 2.5 miles. 624’ of ascent.
On that day back in 2024, we did a 2.5 mile counter-clockwise loop from the main parking lot on Mount Carmel Avenue on the blue trail to the red circle connector trail and back on the violet trail. The blue trail is a difficult trail with scrambles and steep climbing up an exposed rock face. It was along this rock face that we started noticing the numbered circles and Jake found the guide on his phone. At the time, we had fun reading about a few of the stations. The guide has links to high-resolution photos, which help you know what you are looking for, along with a detailed explanation of what you are looking at once you find it. In some cases, the feature itself is near the trail, and the documentation describes where to find it.
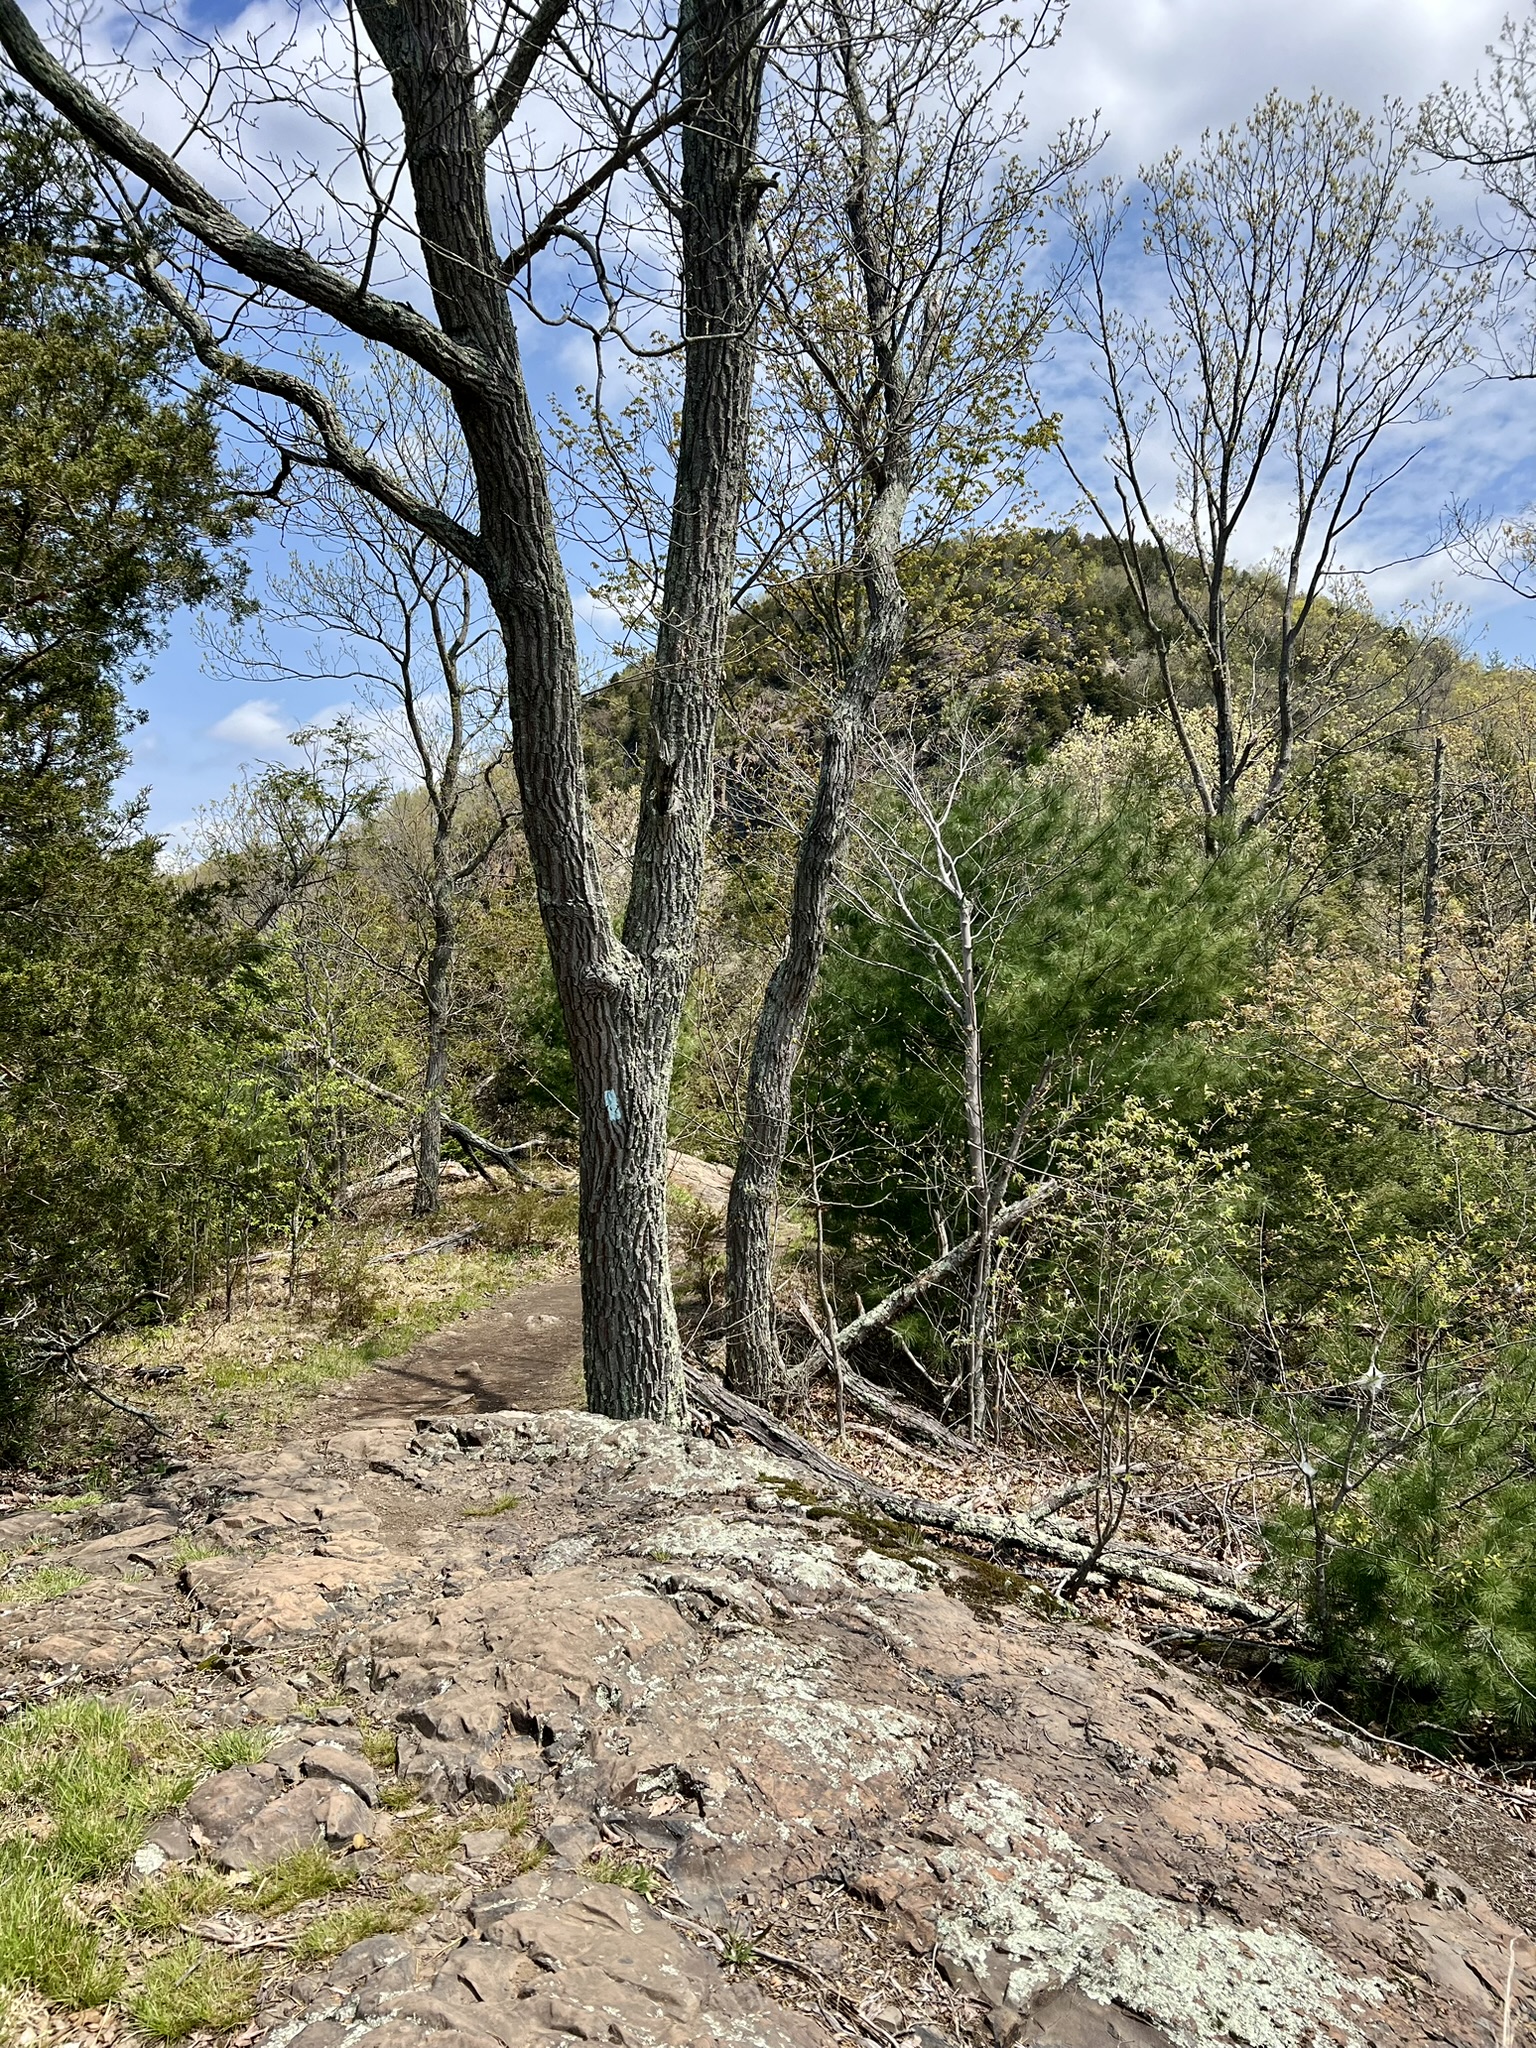
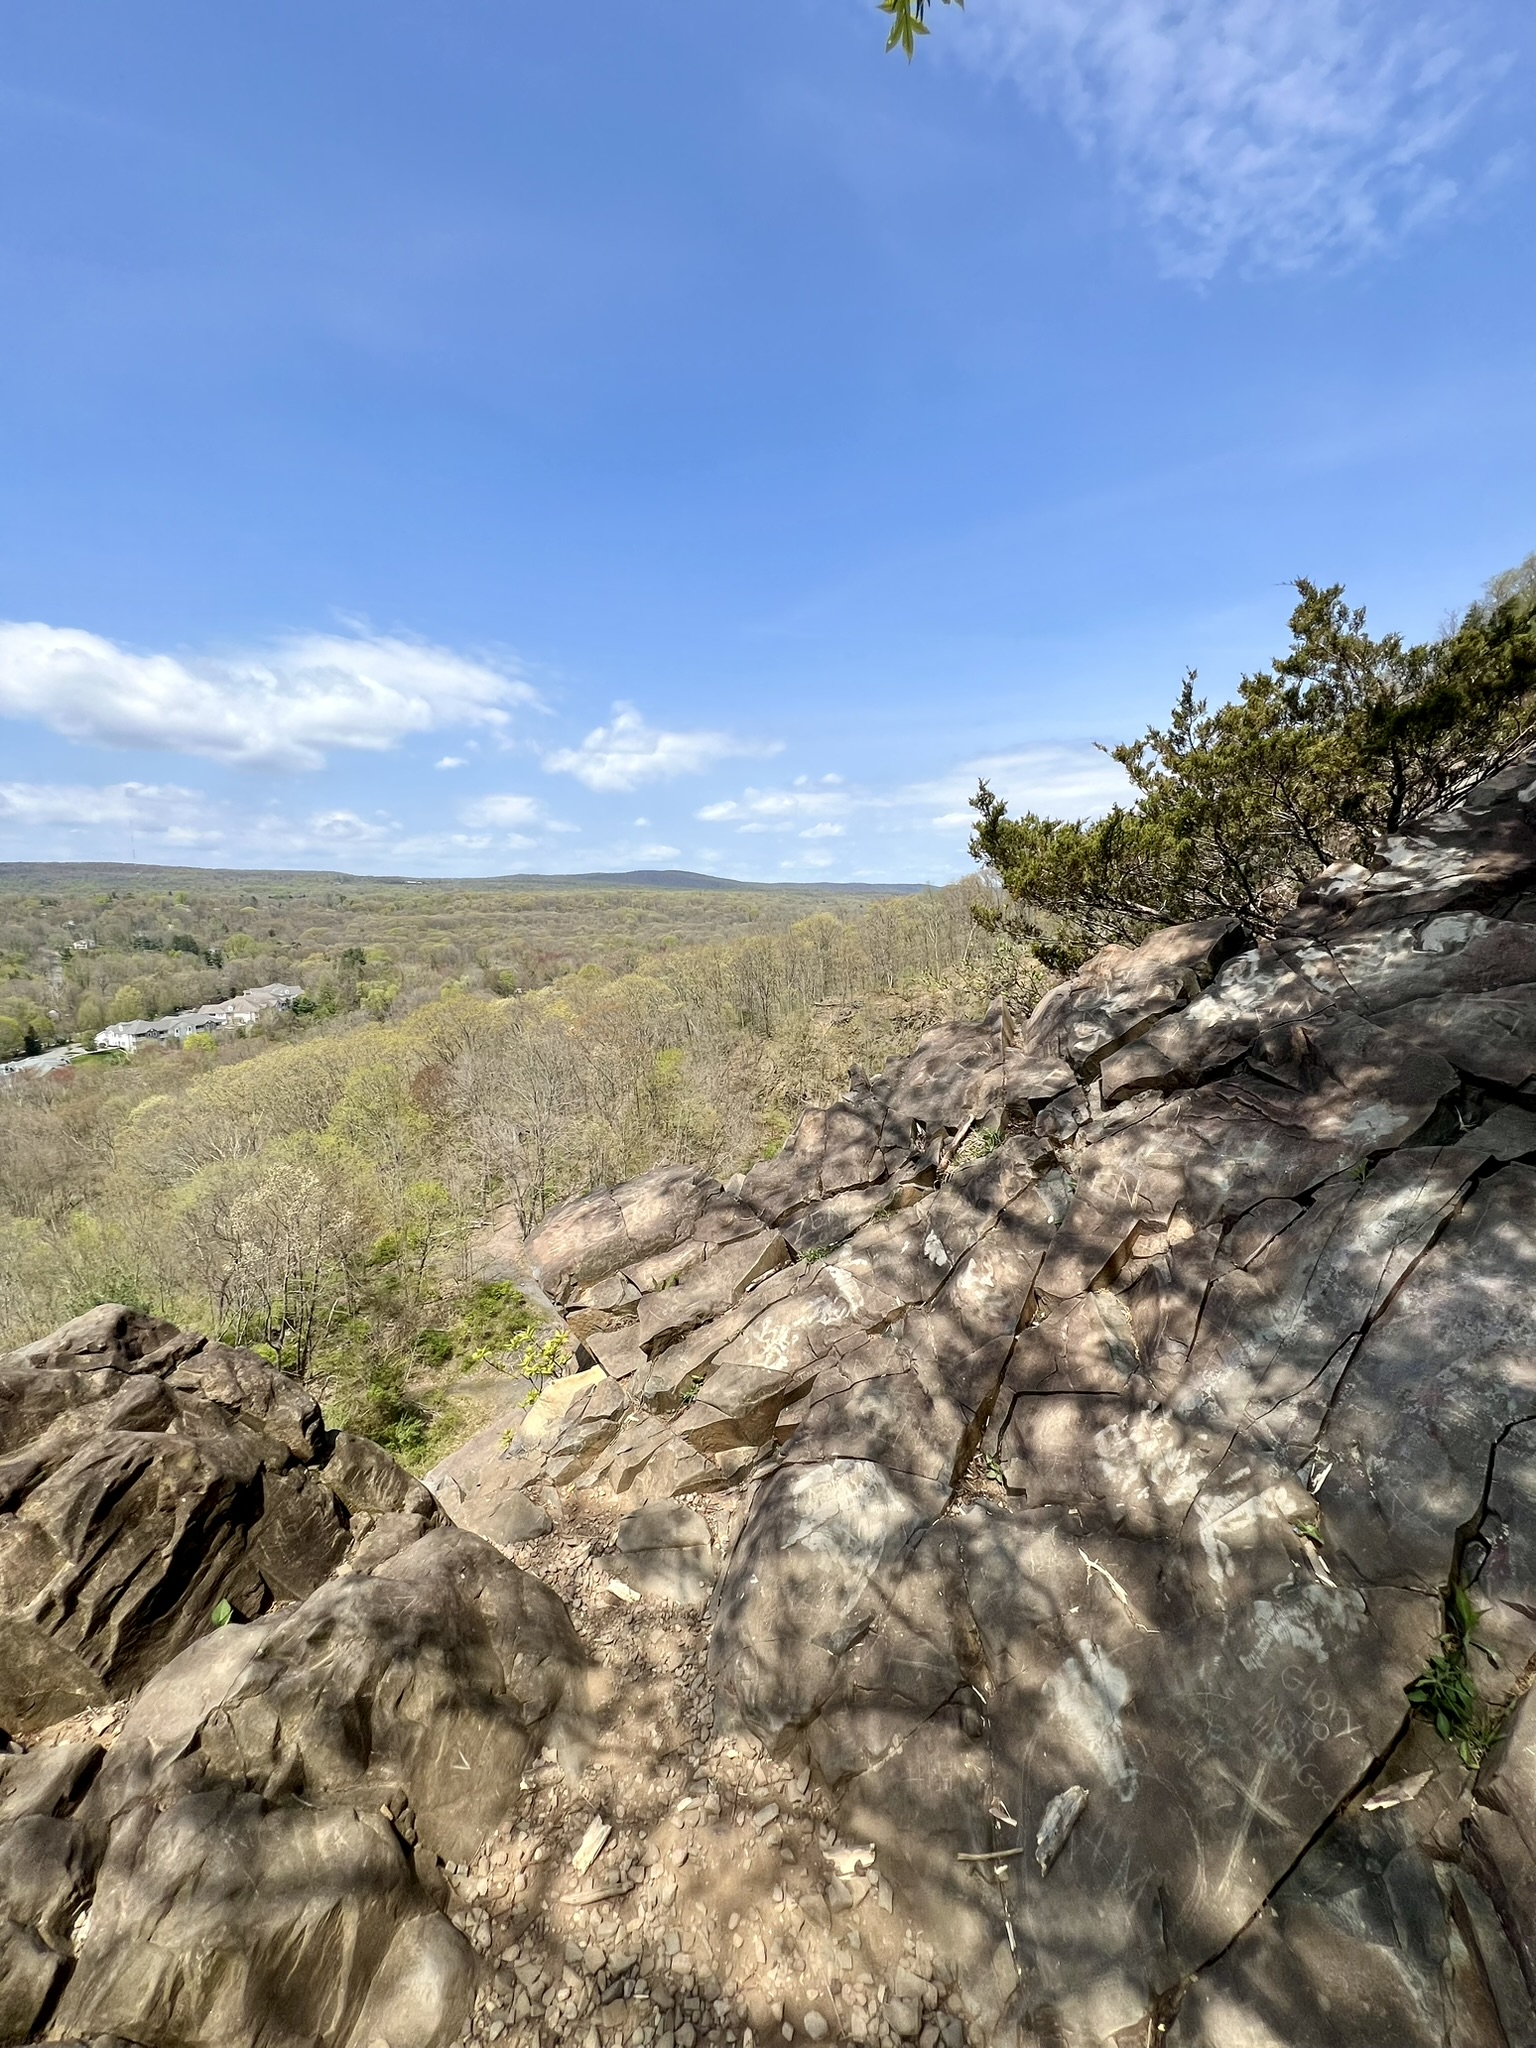
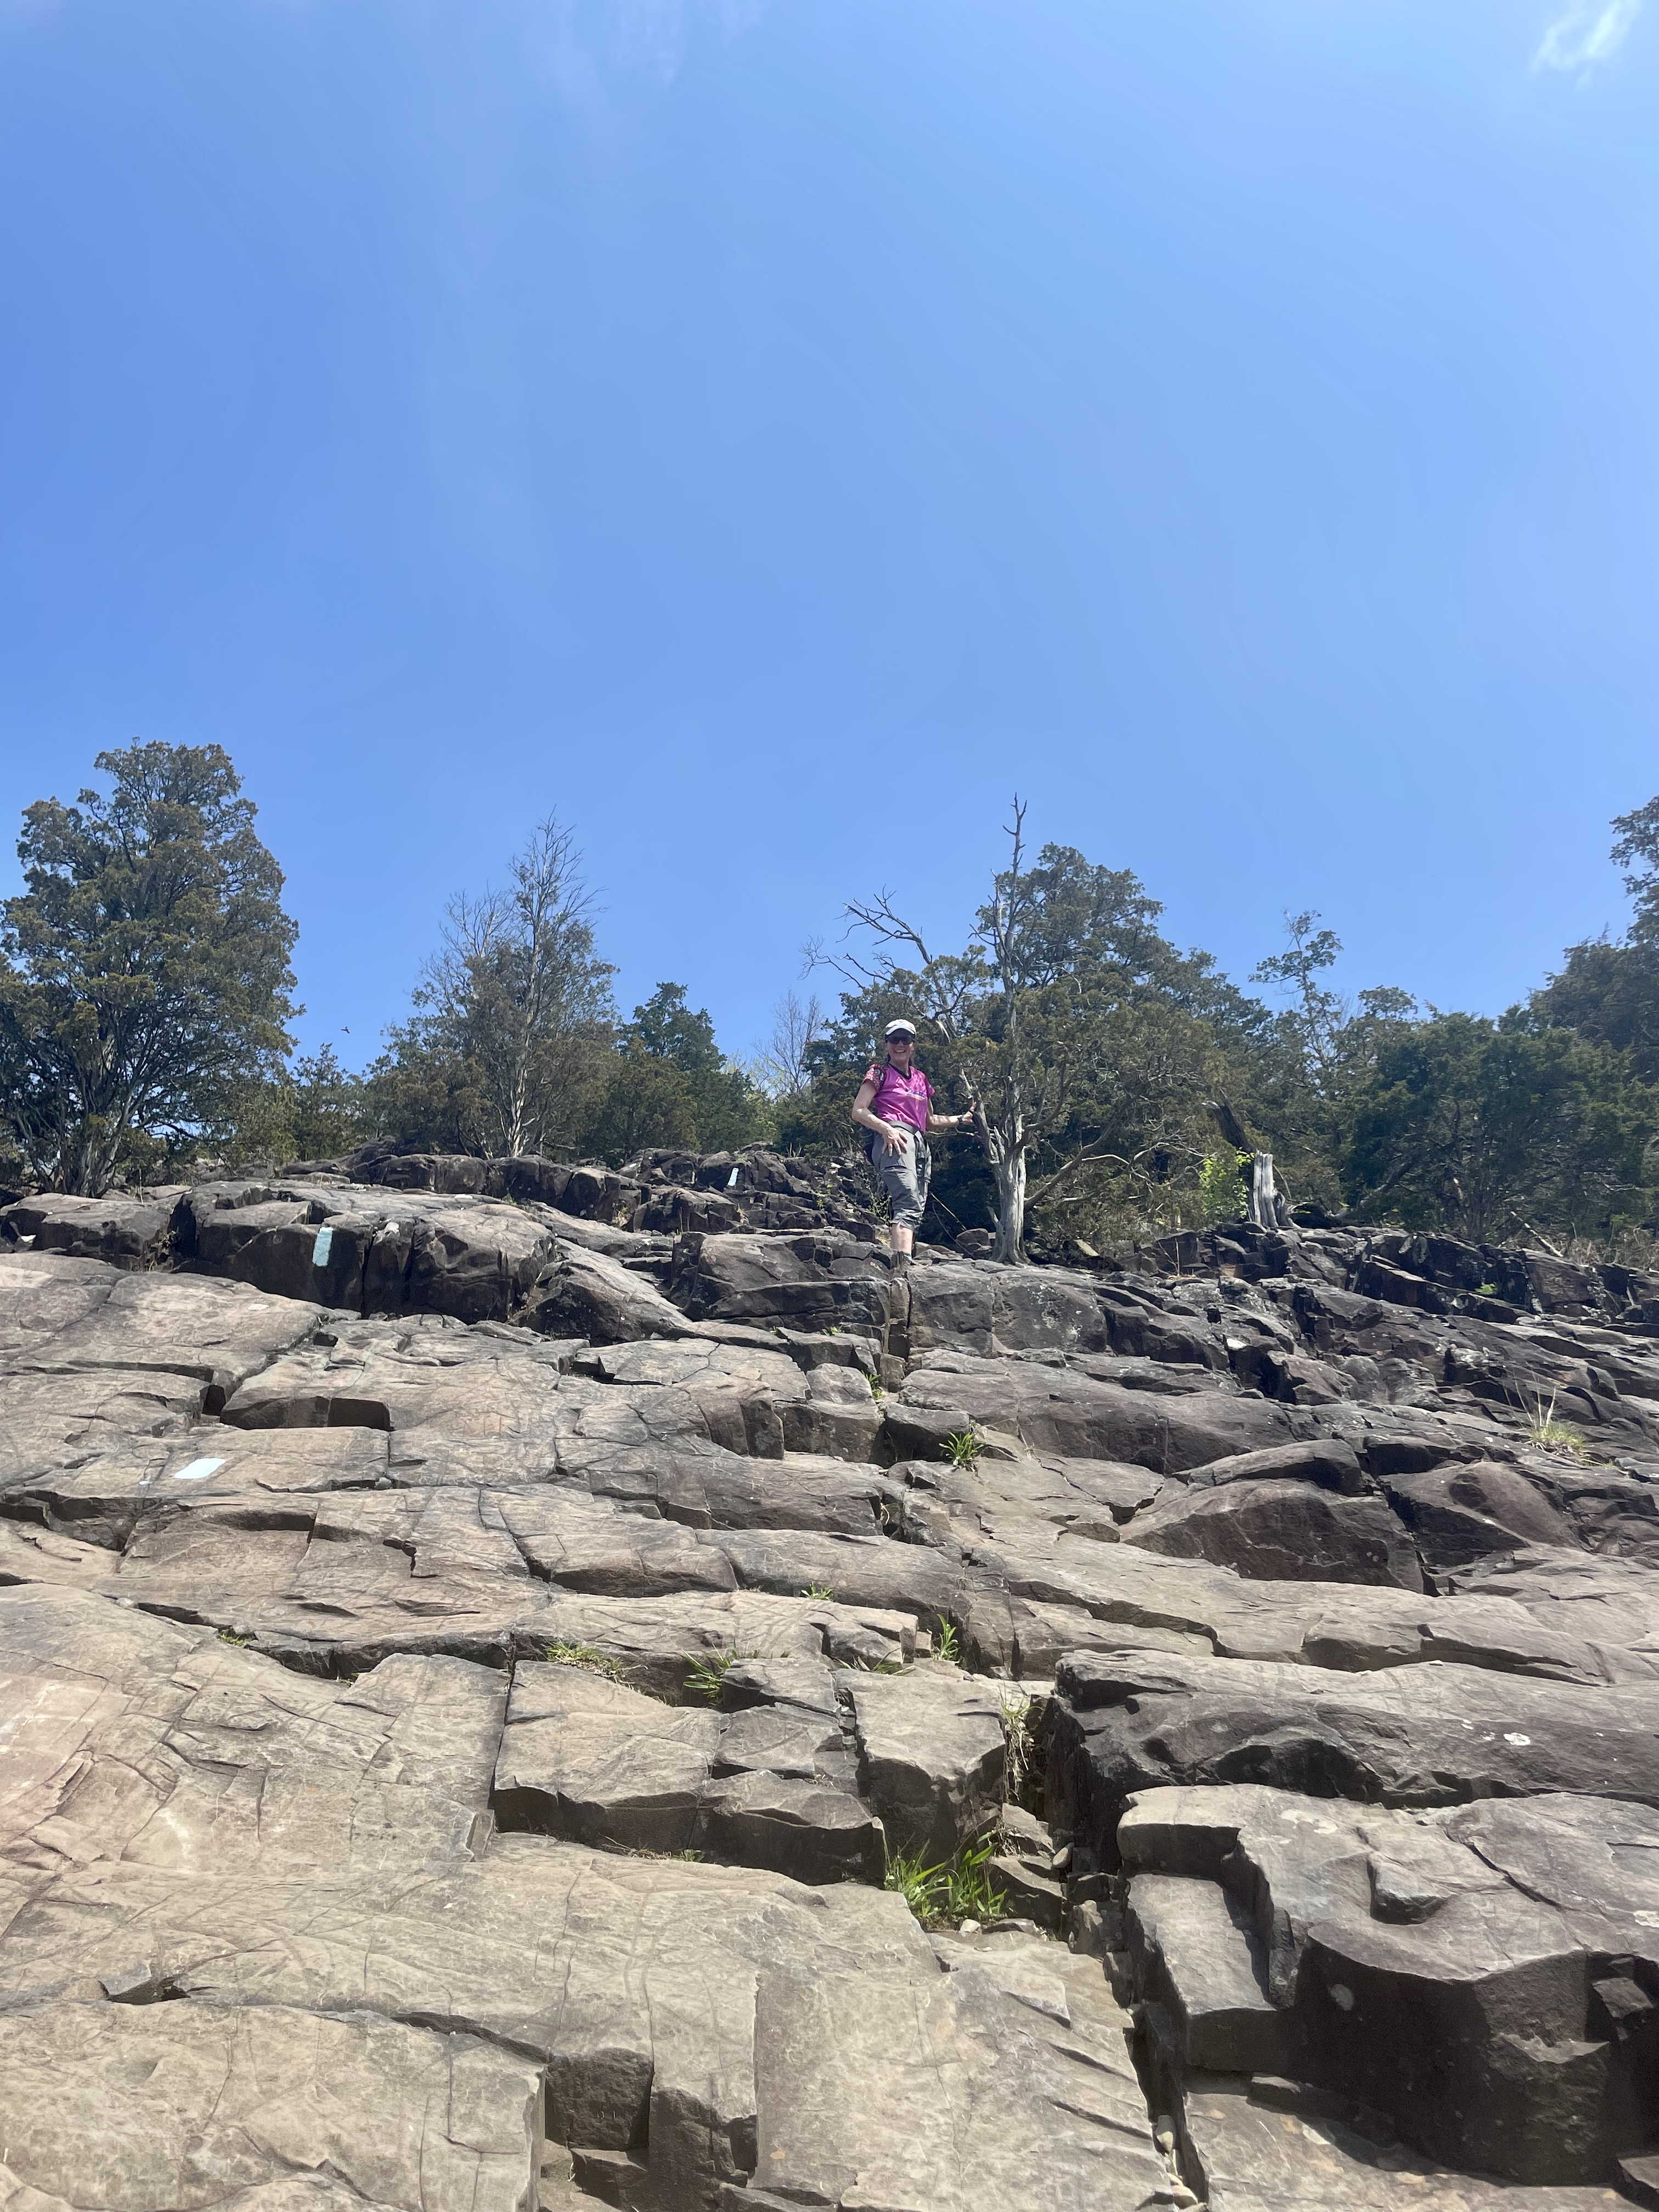
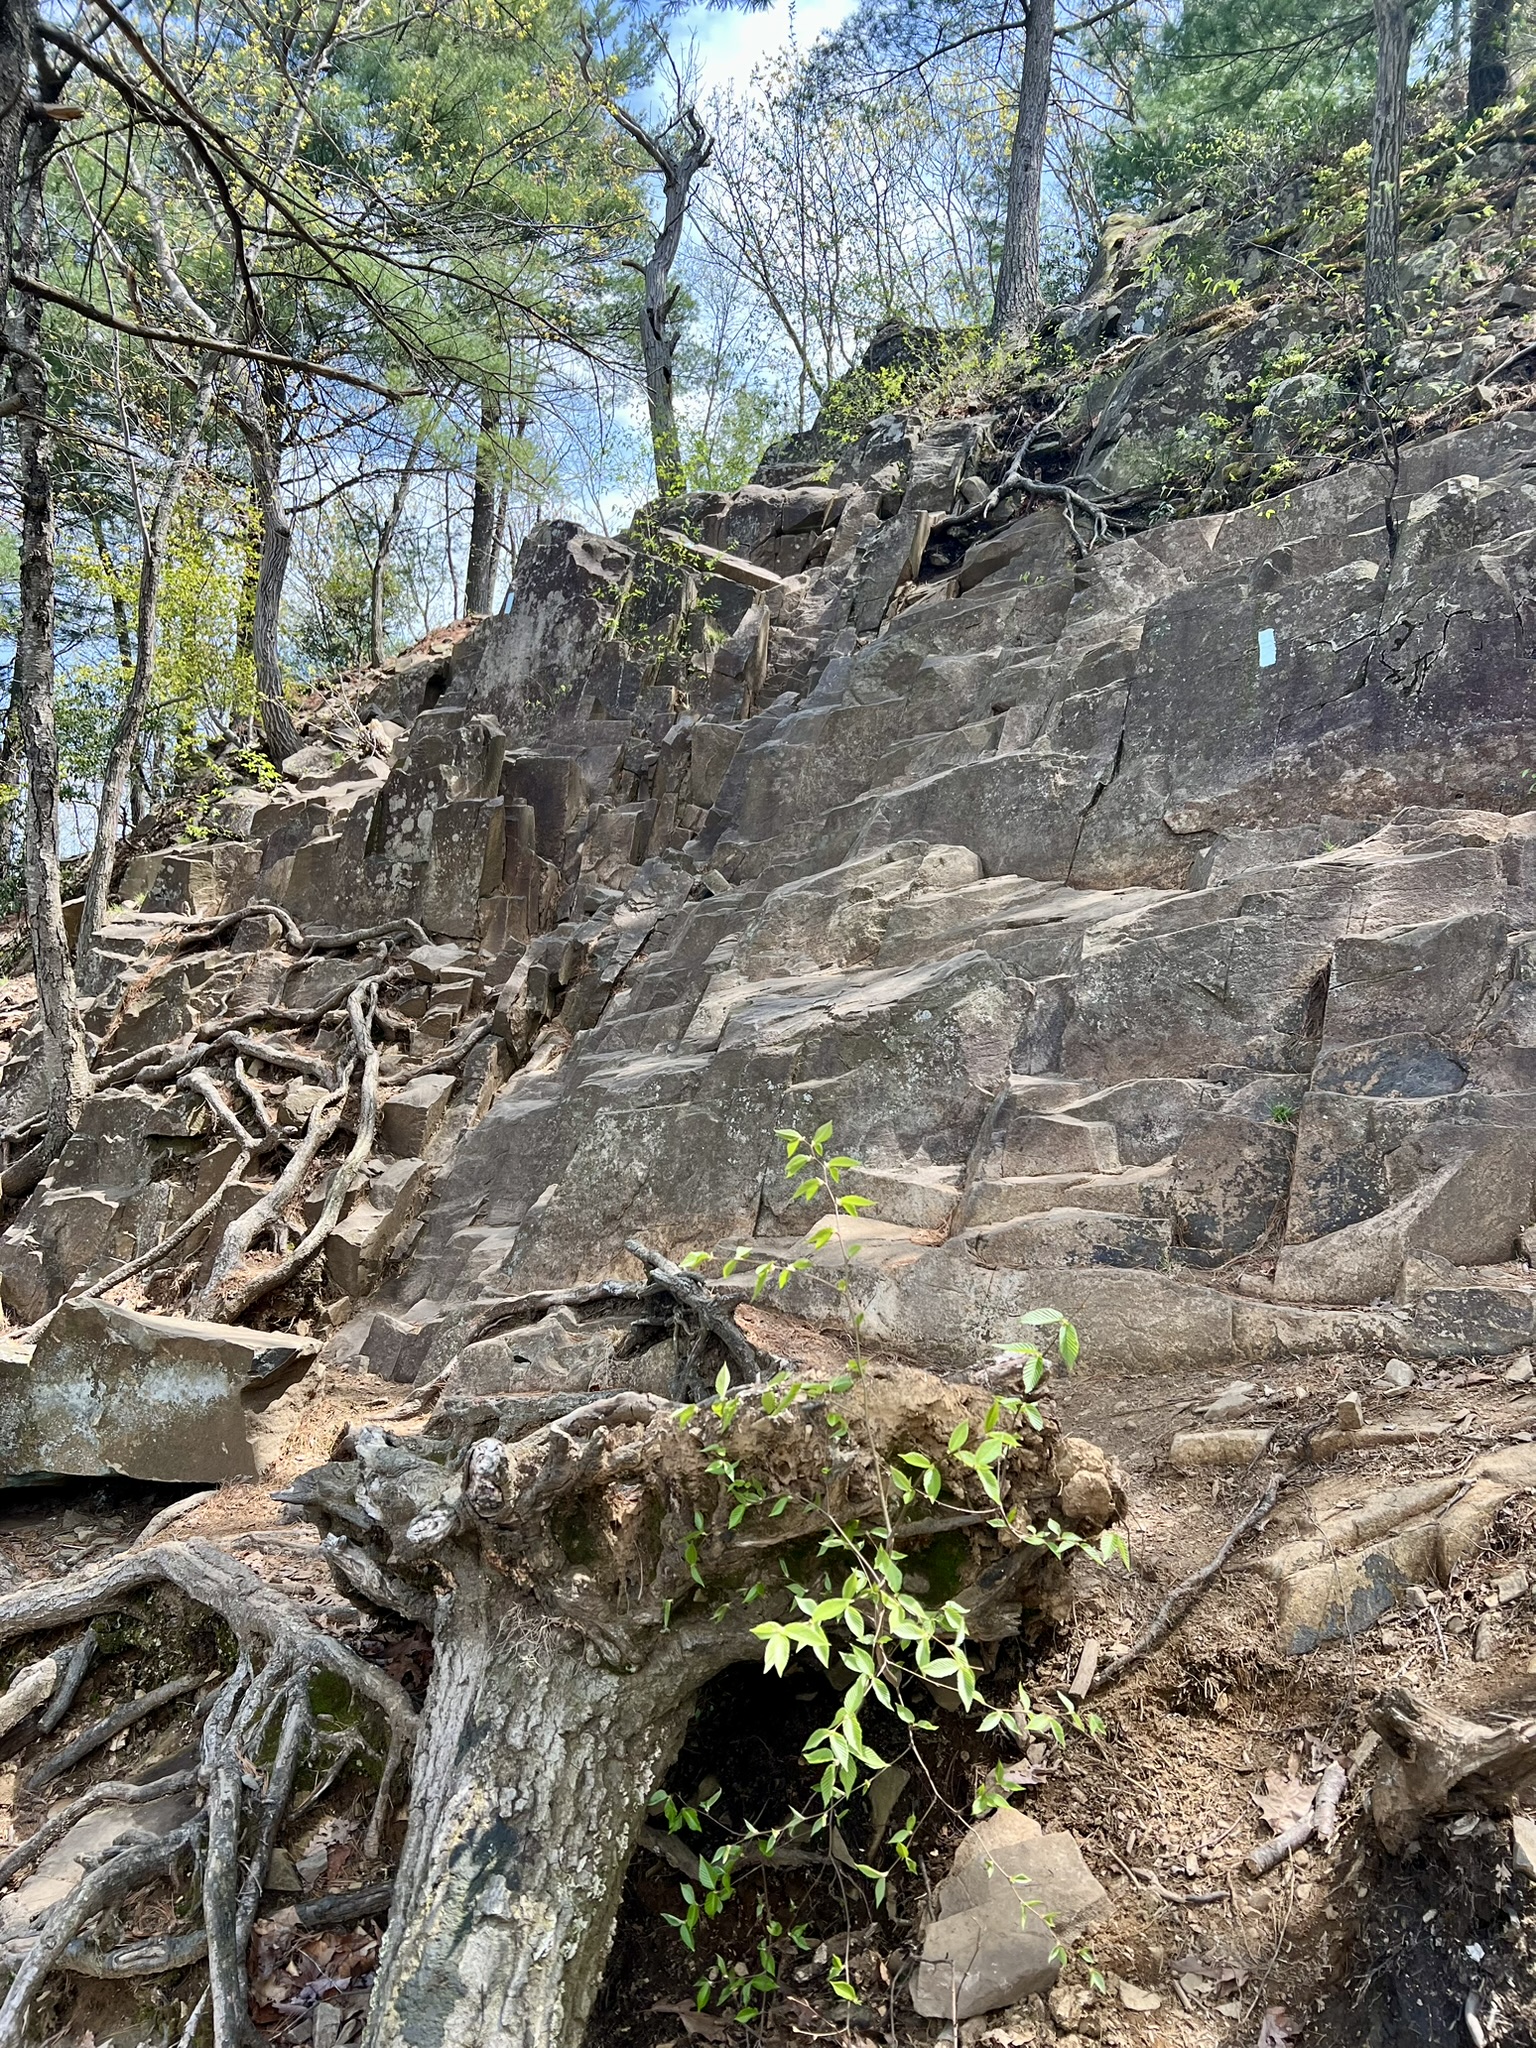
Views and scrambles along the blue trail
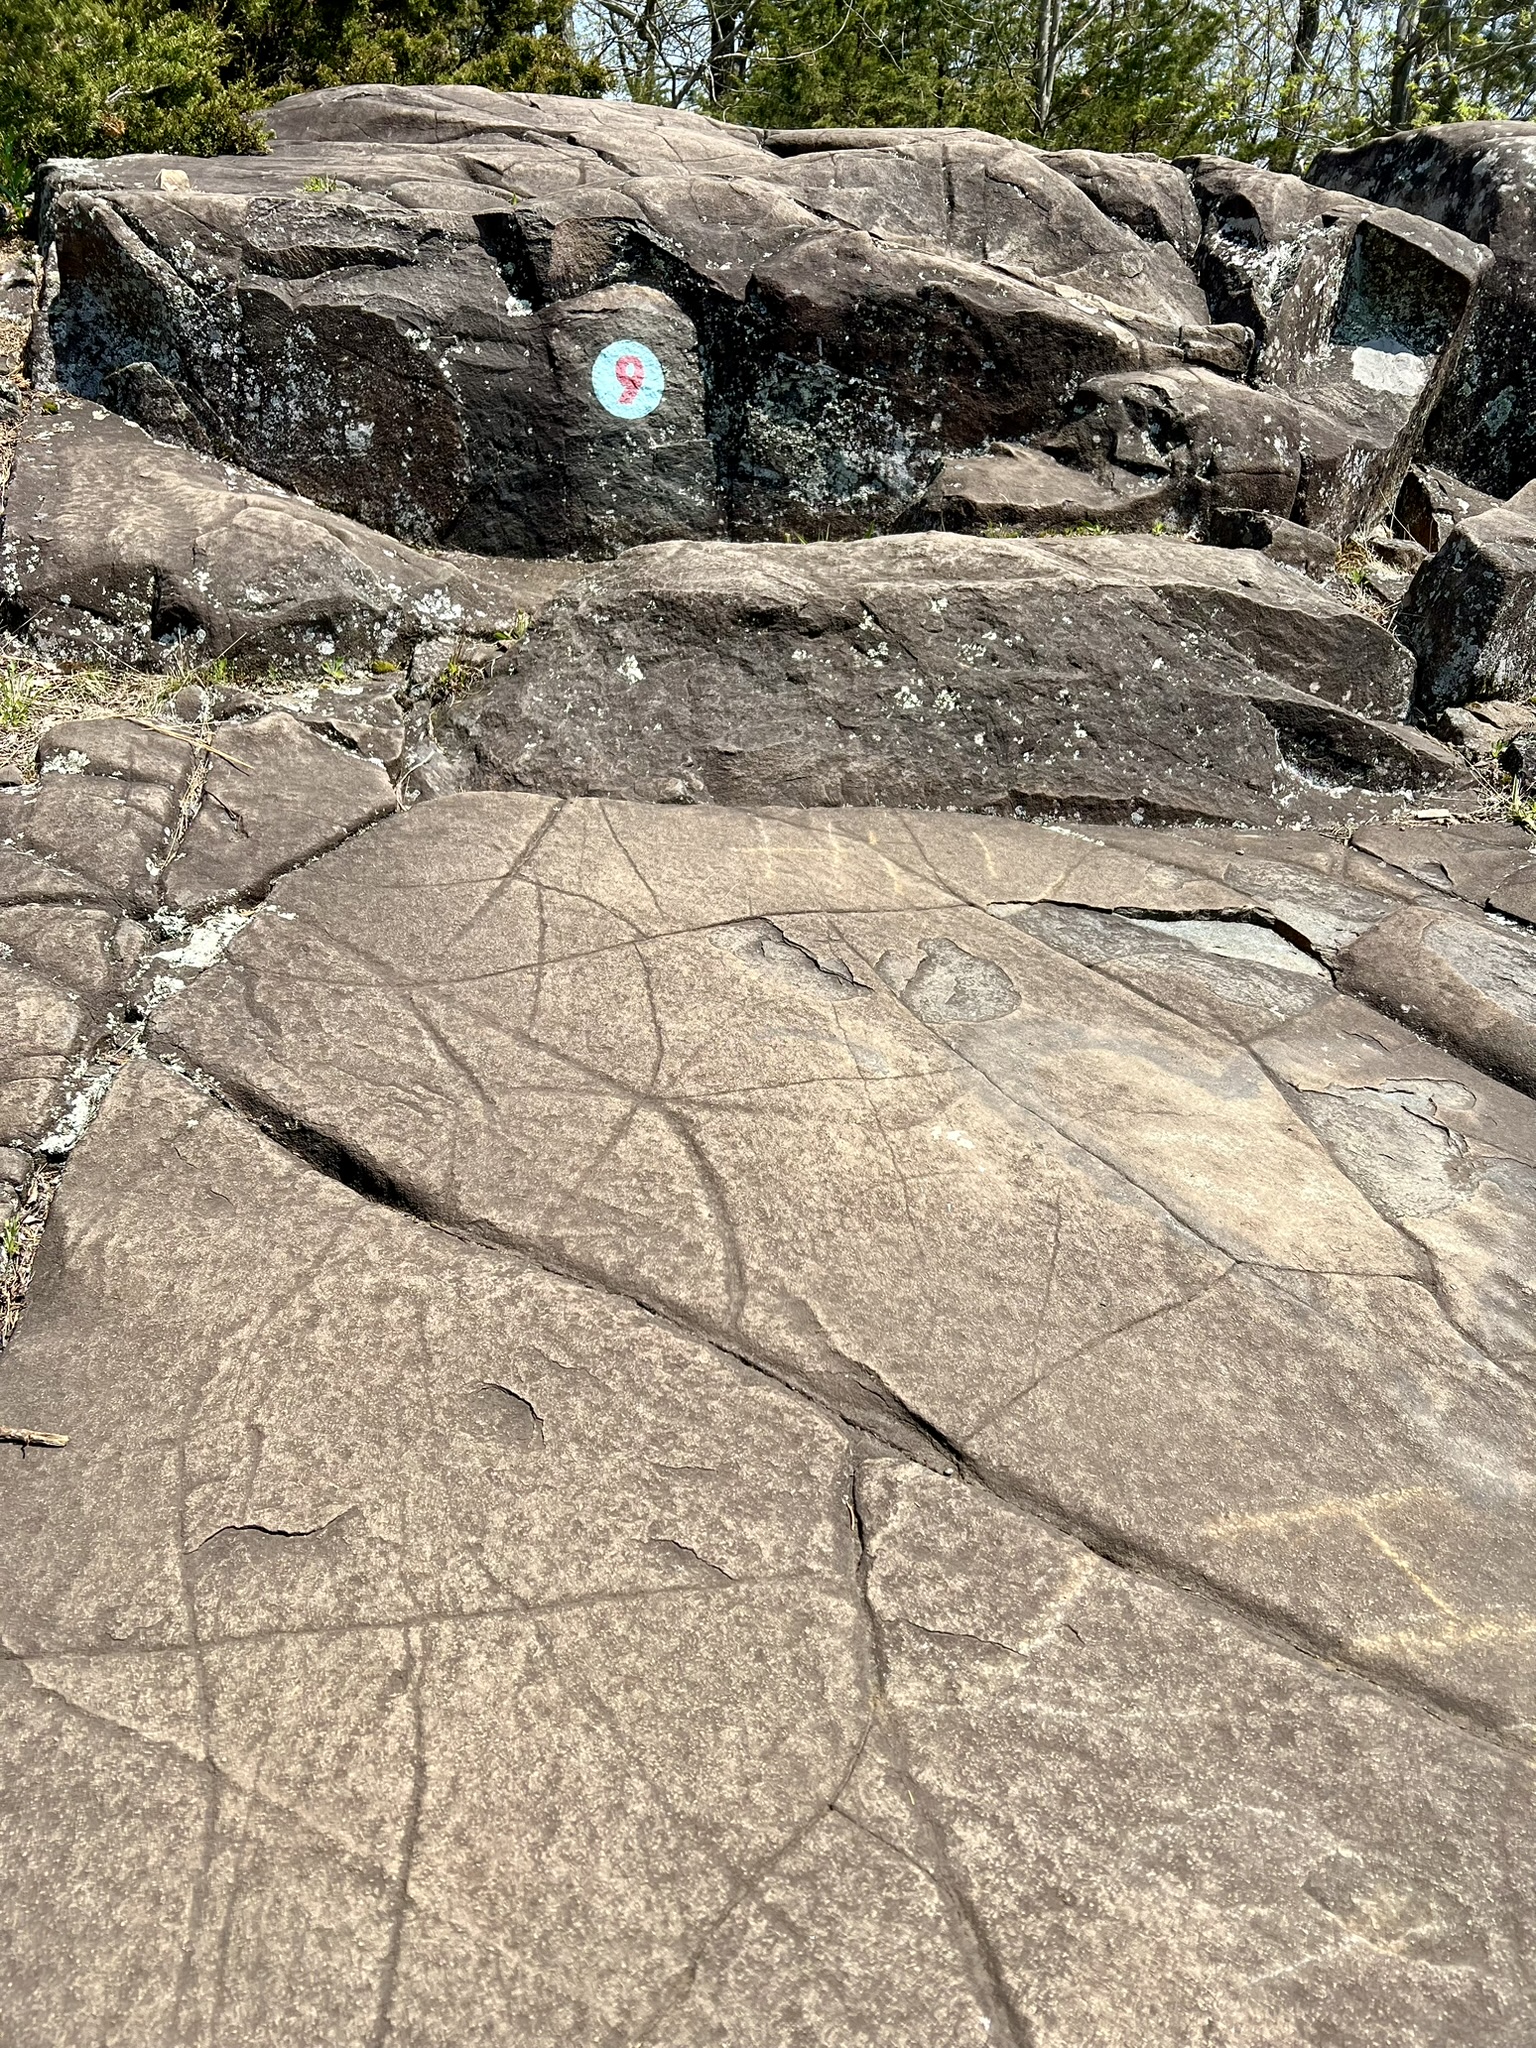
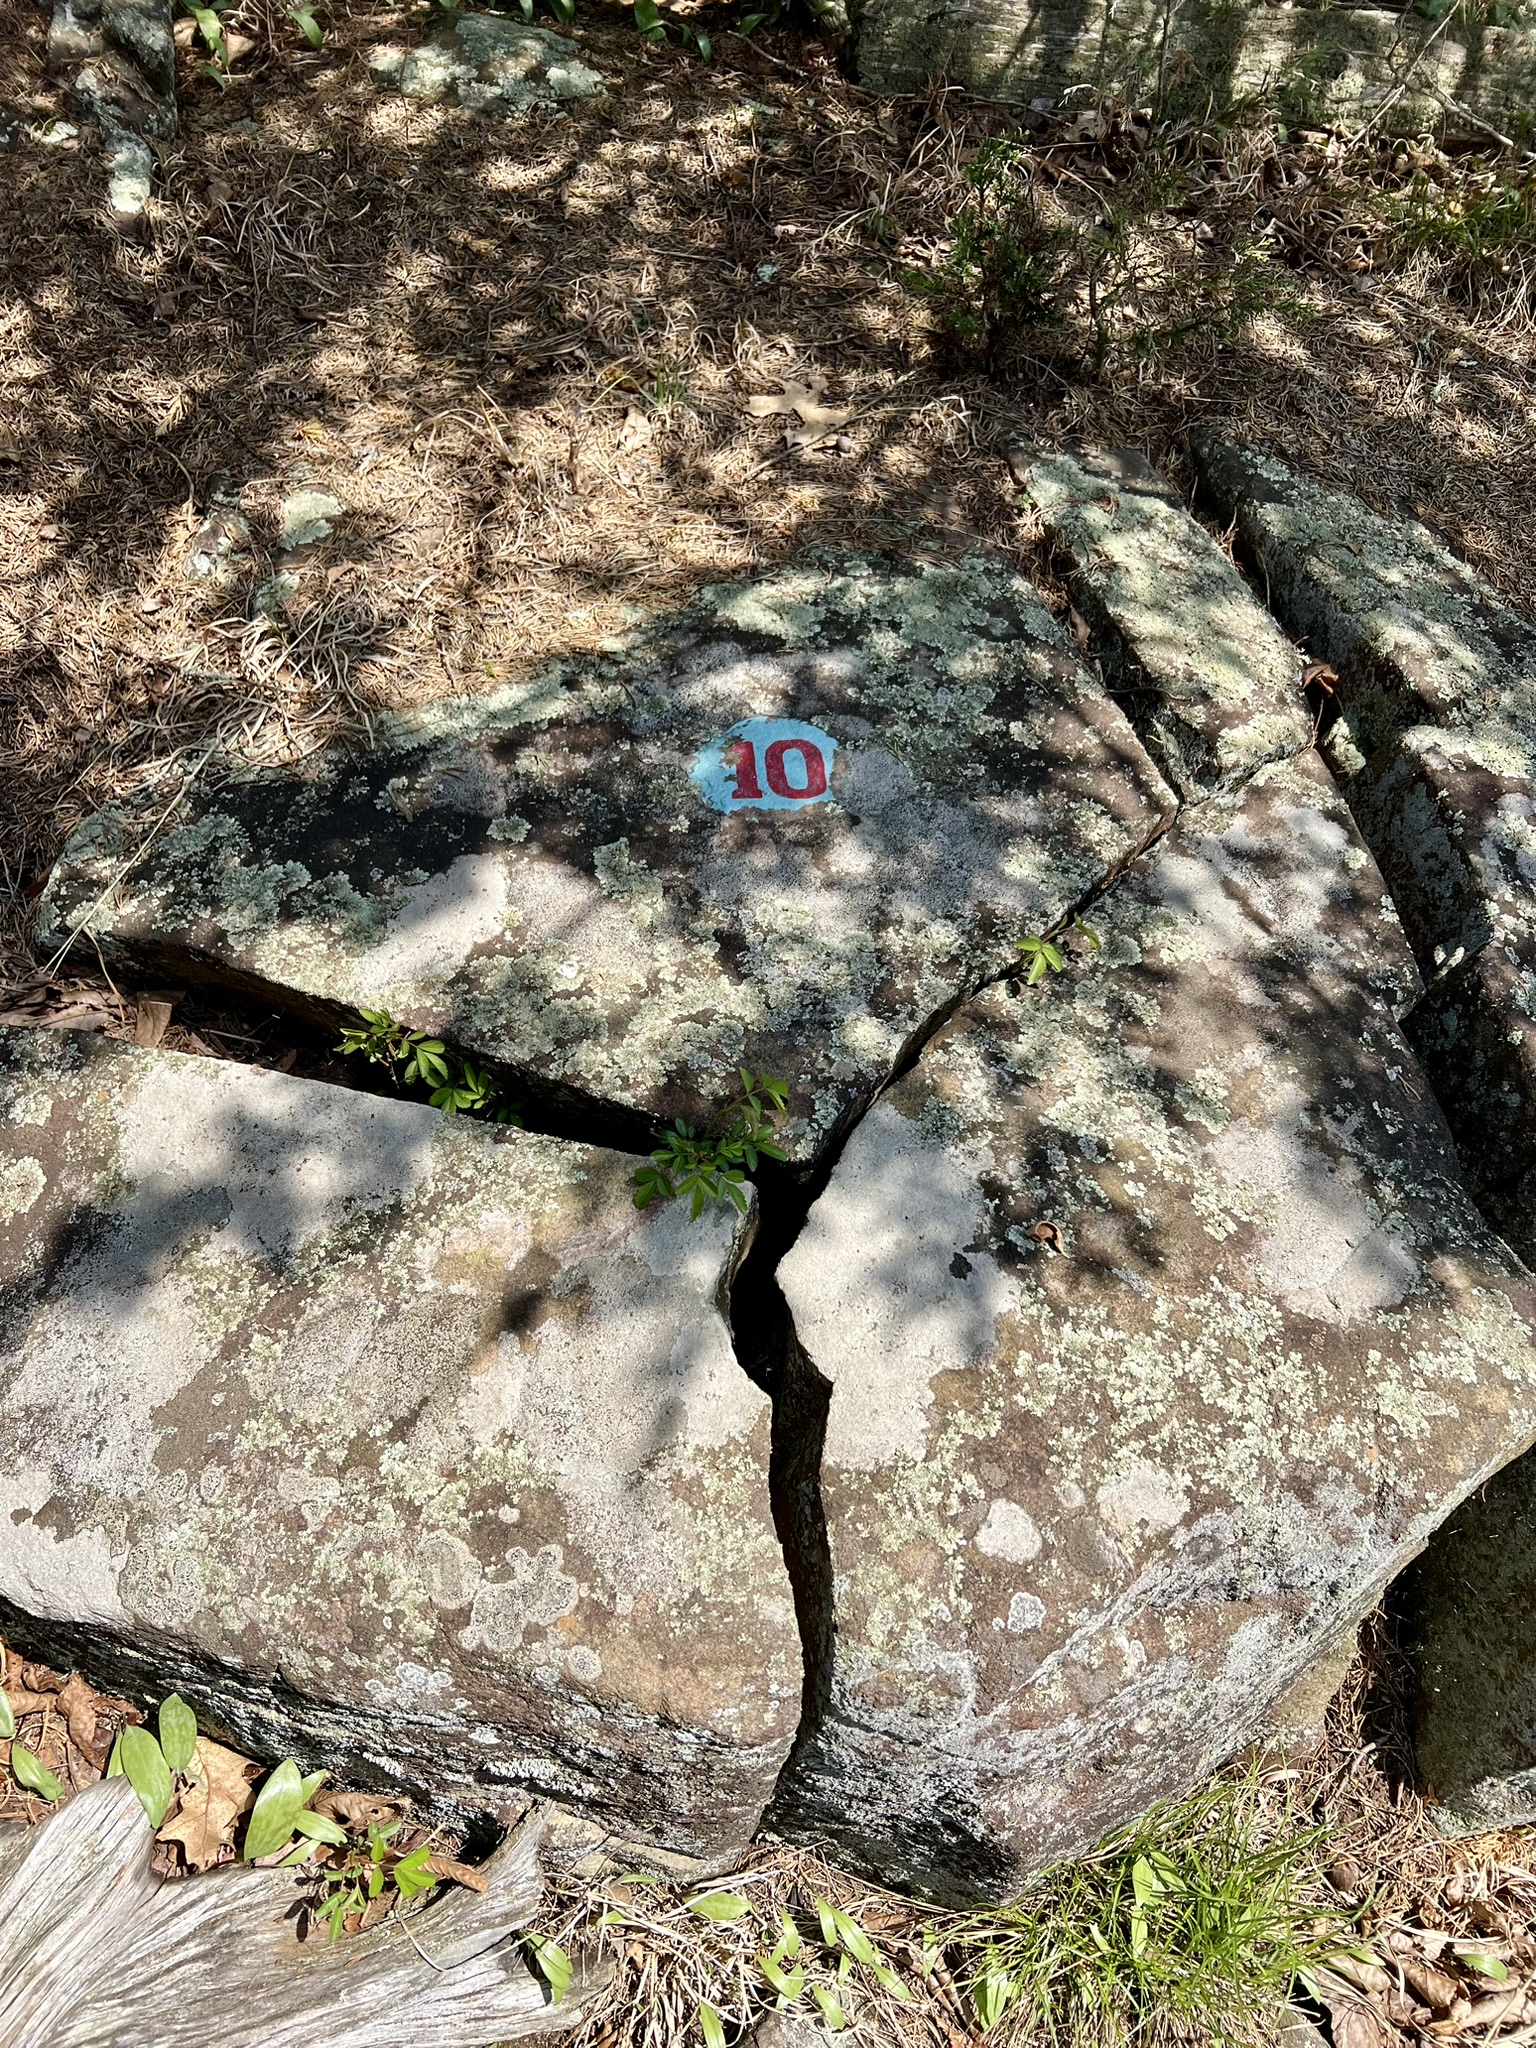
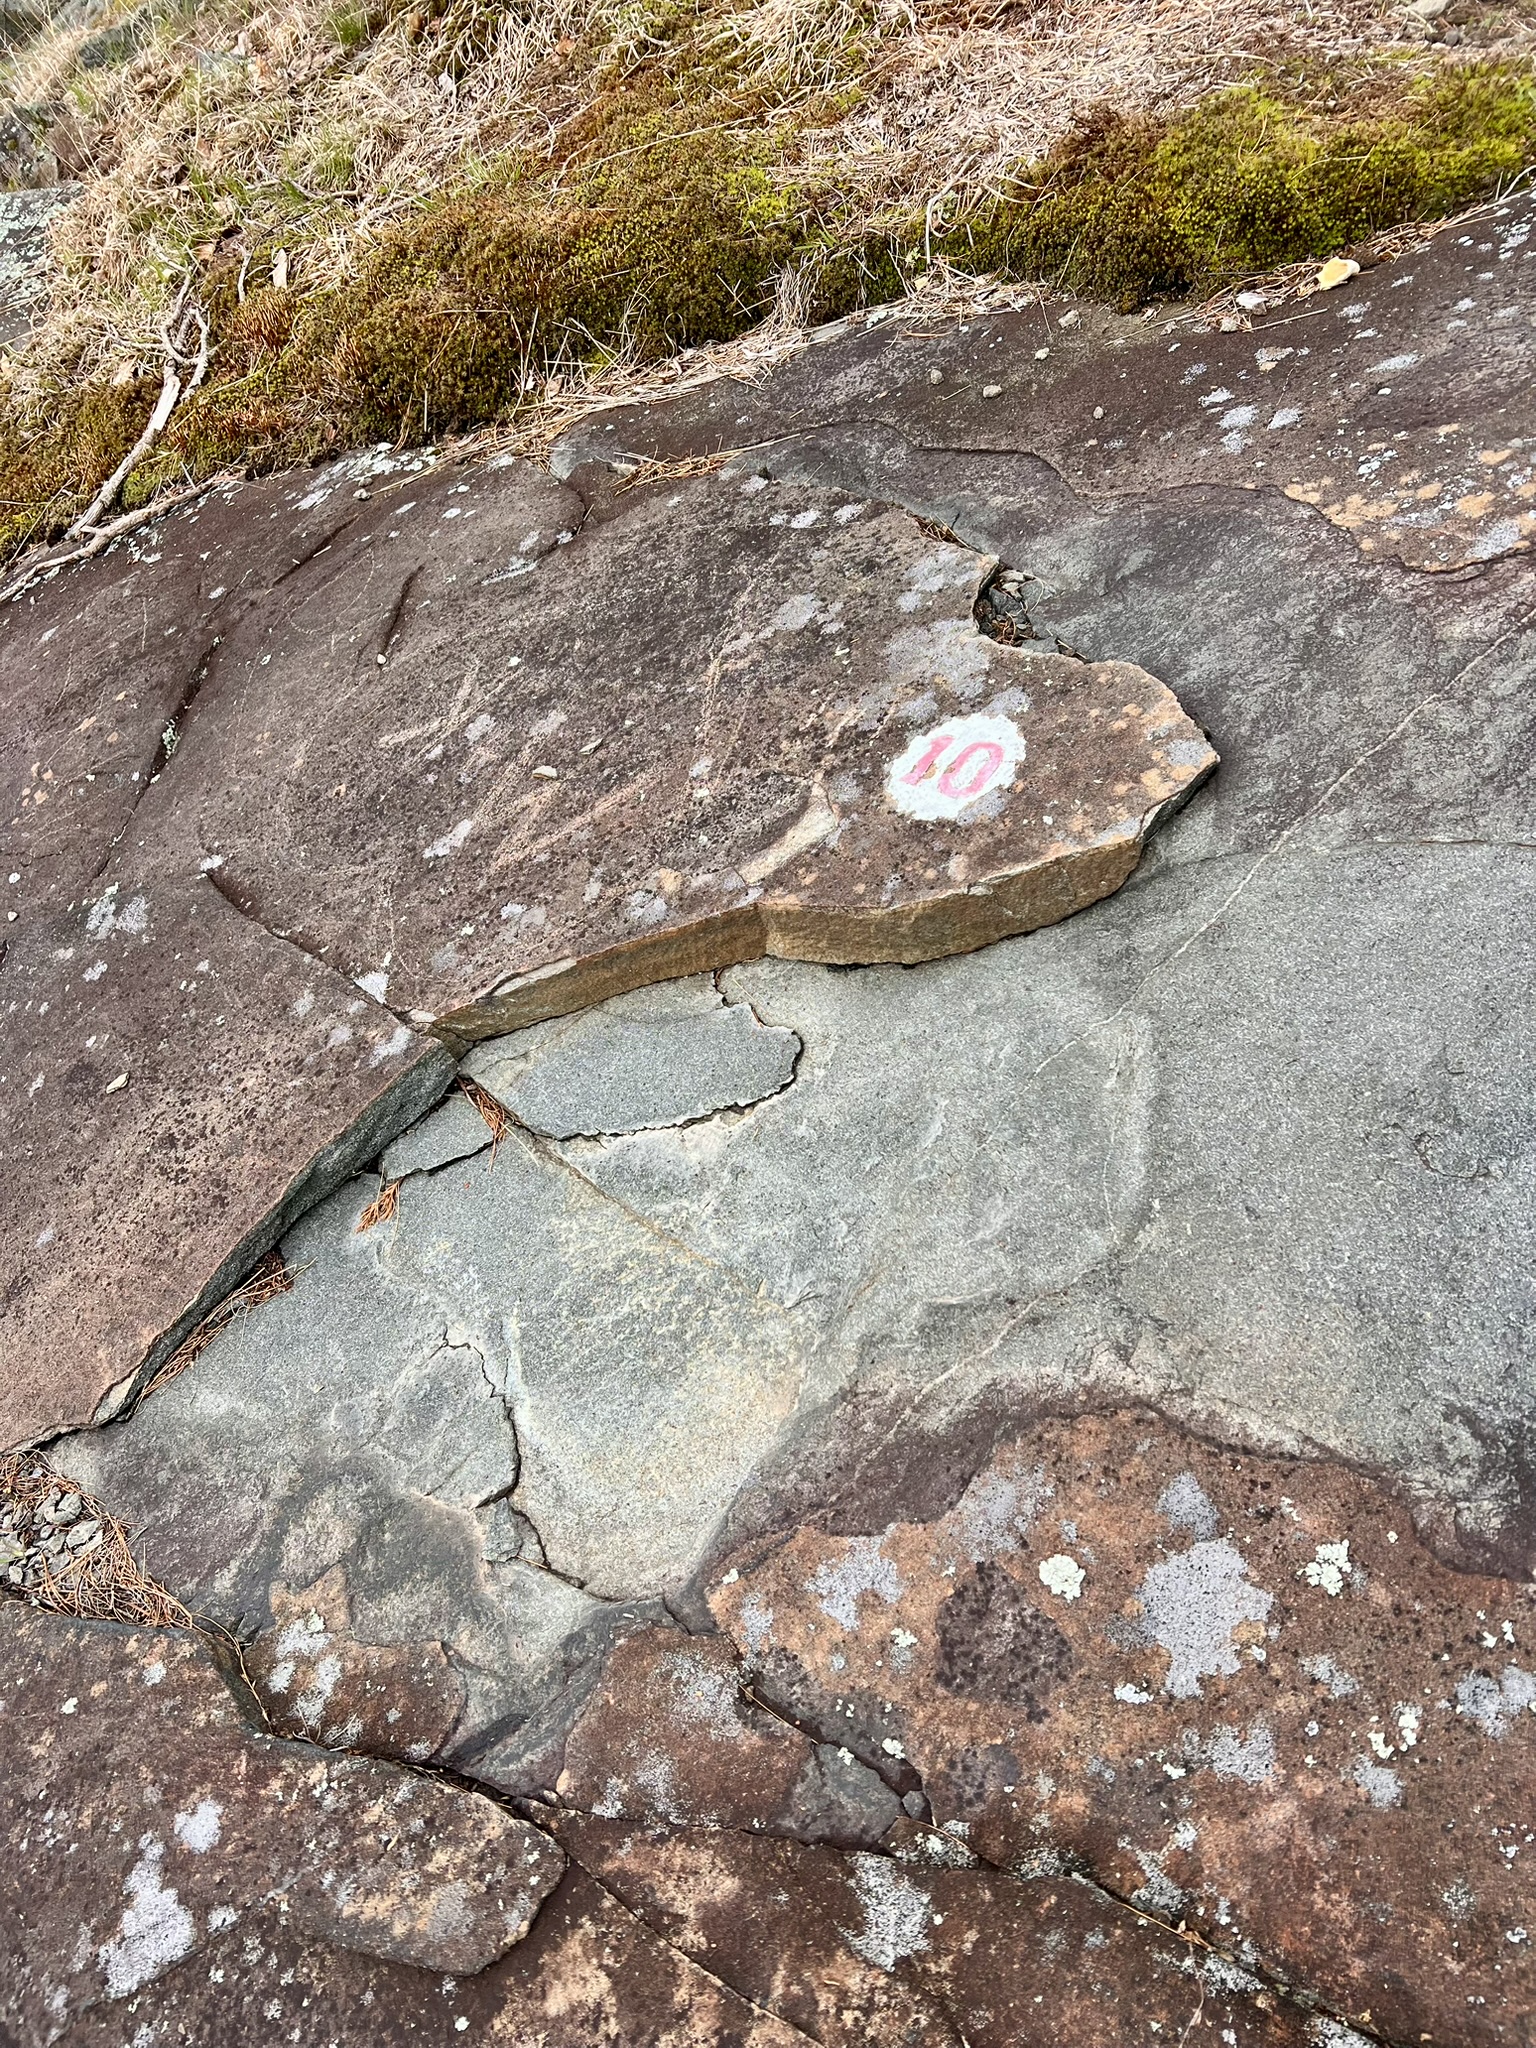
Two of the markers I photographed are B9 and B10. The B9 station is an excellent example of the process of exfoliation. The guide describes how the pressure of the overlying sandstone lessened with erosion over millions of years, causing cracks to form in the underlying diabase, which allowed layers of stone to peel off. Sherwood describes this original sandstone layer as being “perhaps as much as a mile thick”, which is hard to wrap my head around. B10 is one of those markers where the actual station is 30 feet away. This highlighted feature is a fractured diabase boulder, one of many that can be found in SGSP. The guide describes several potential causes, such as fallen rock, or cracks forming as the rock cooled and contracted.
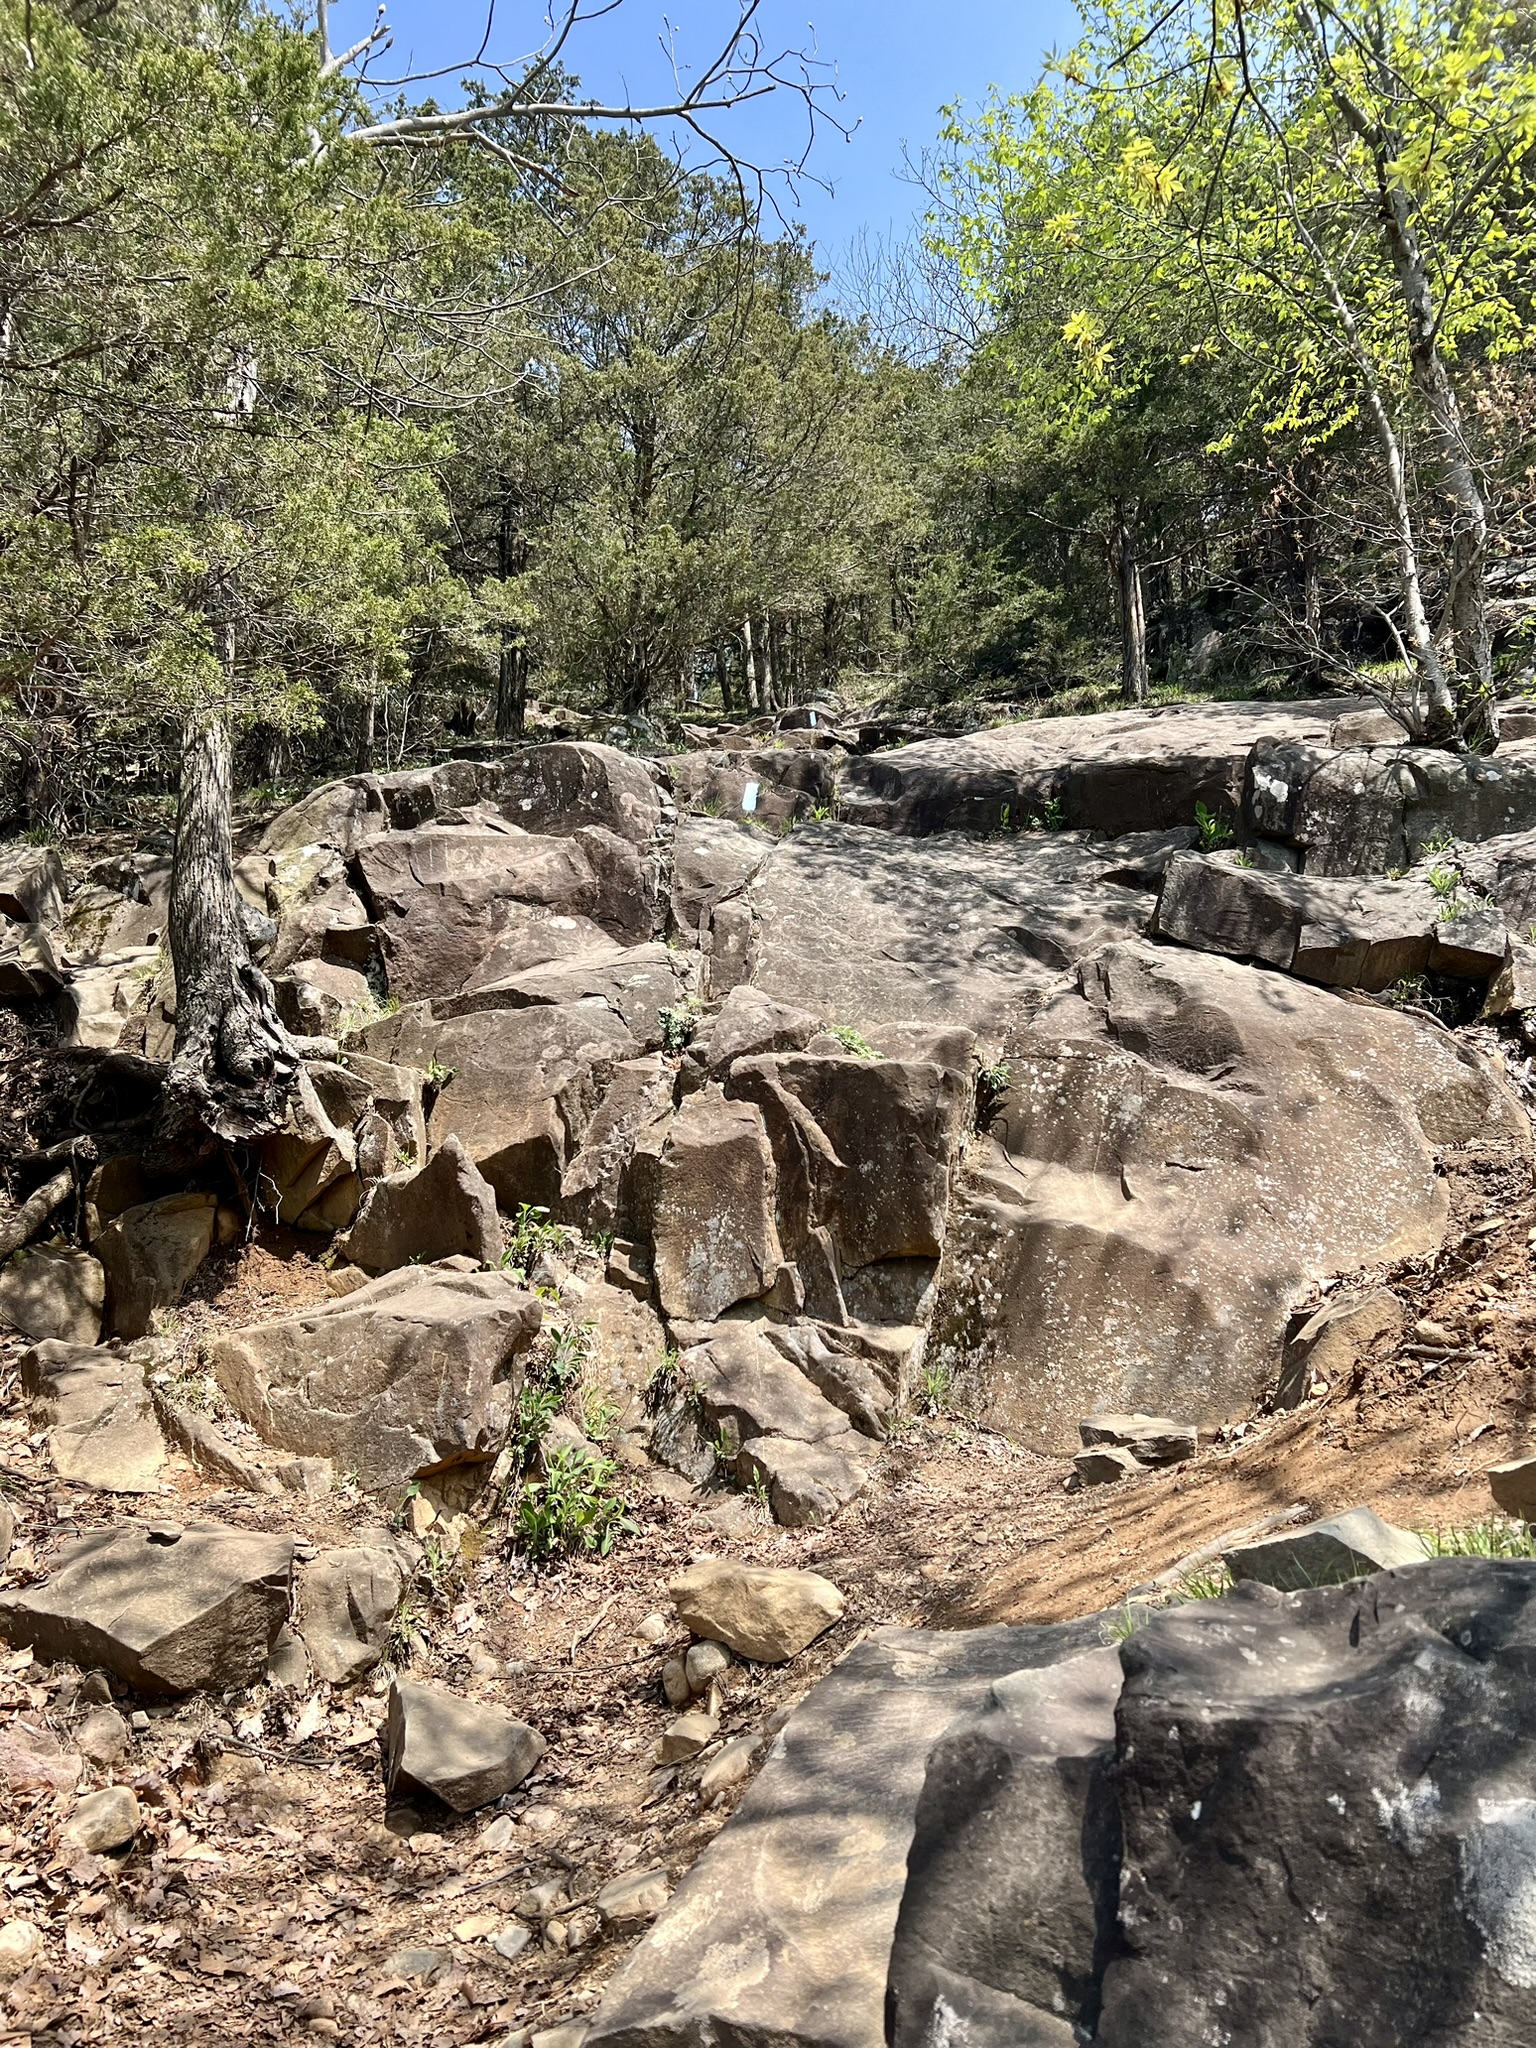
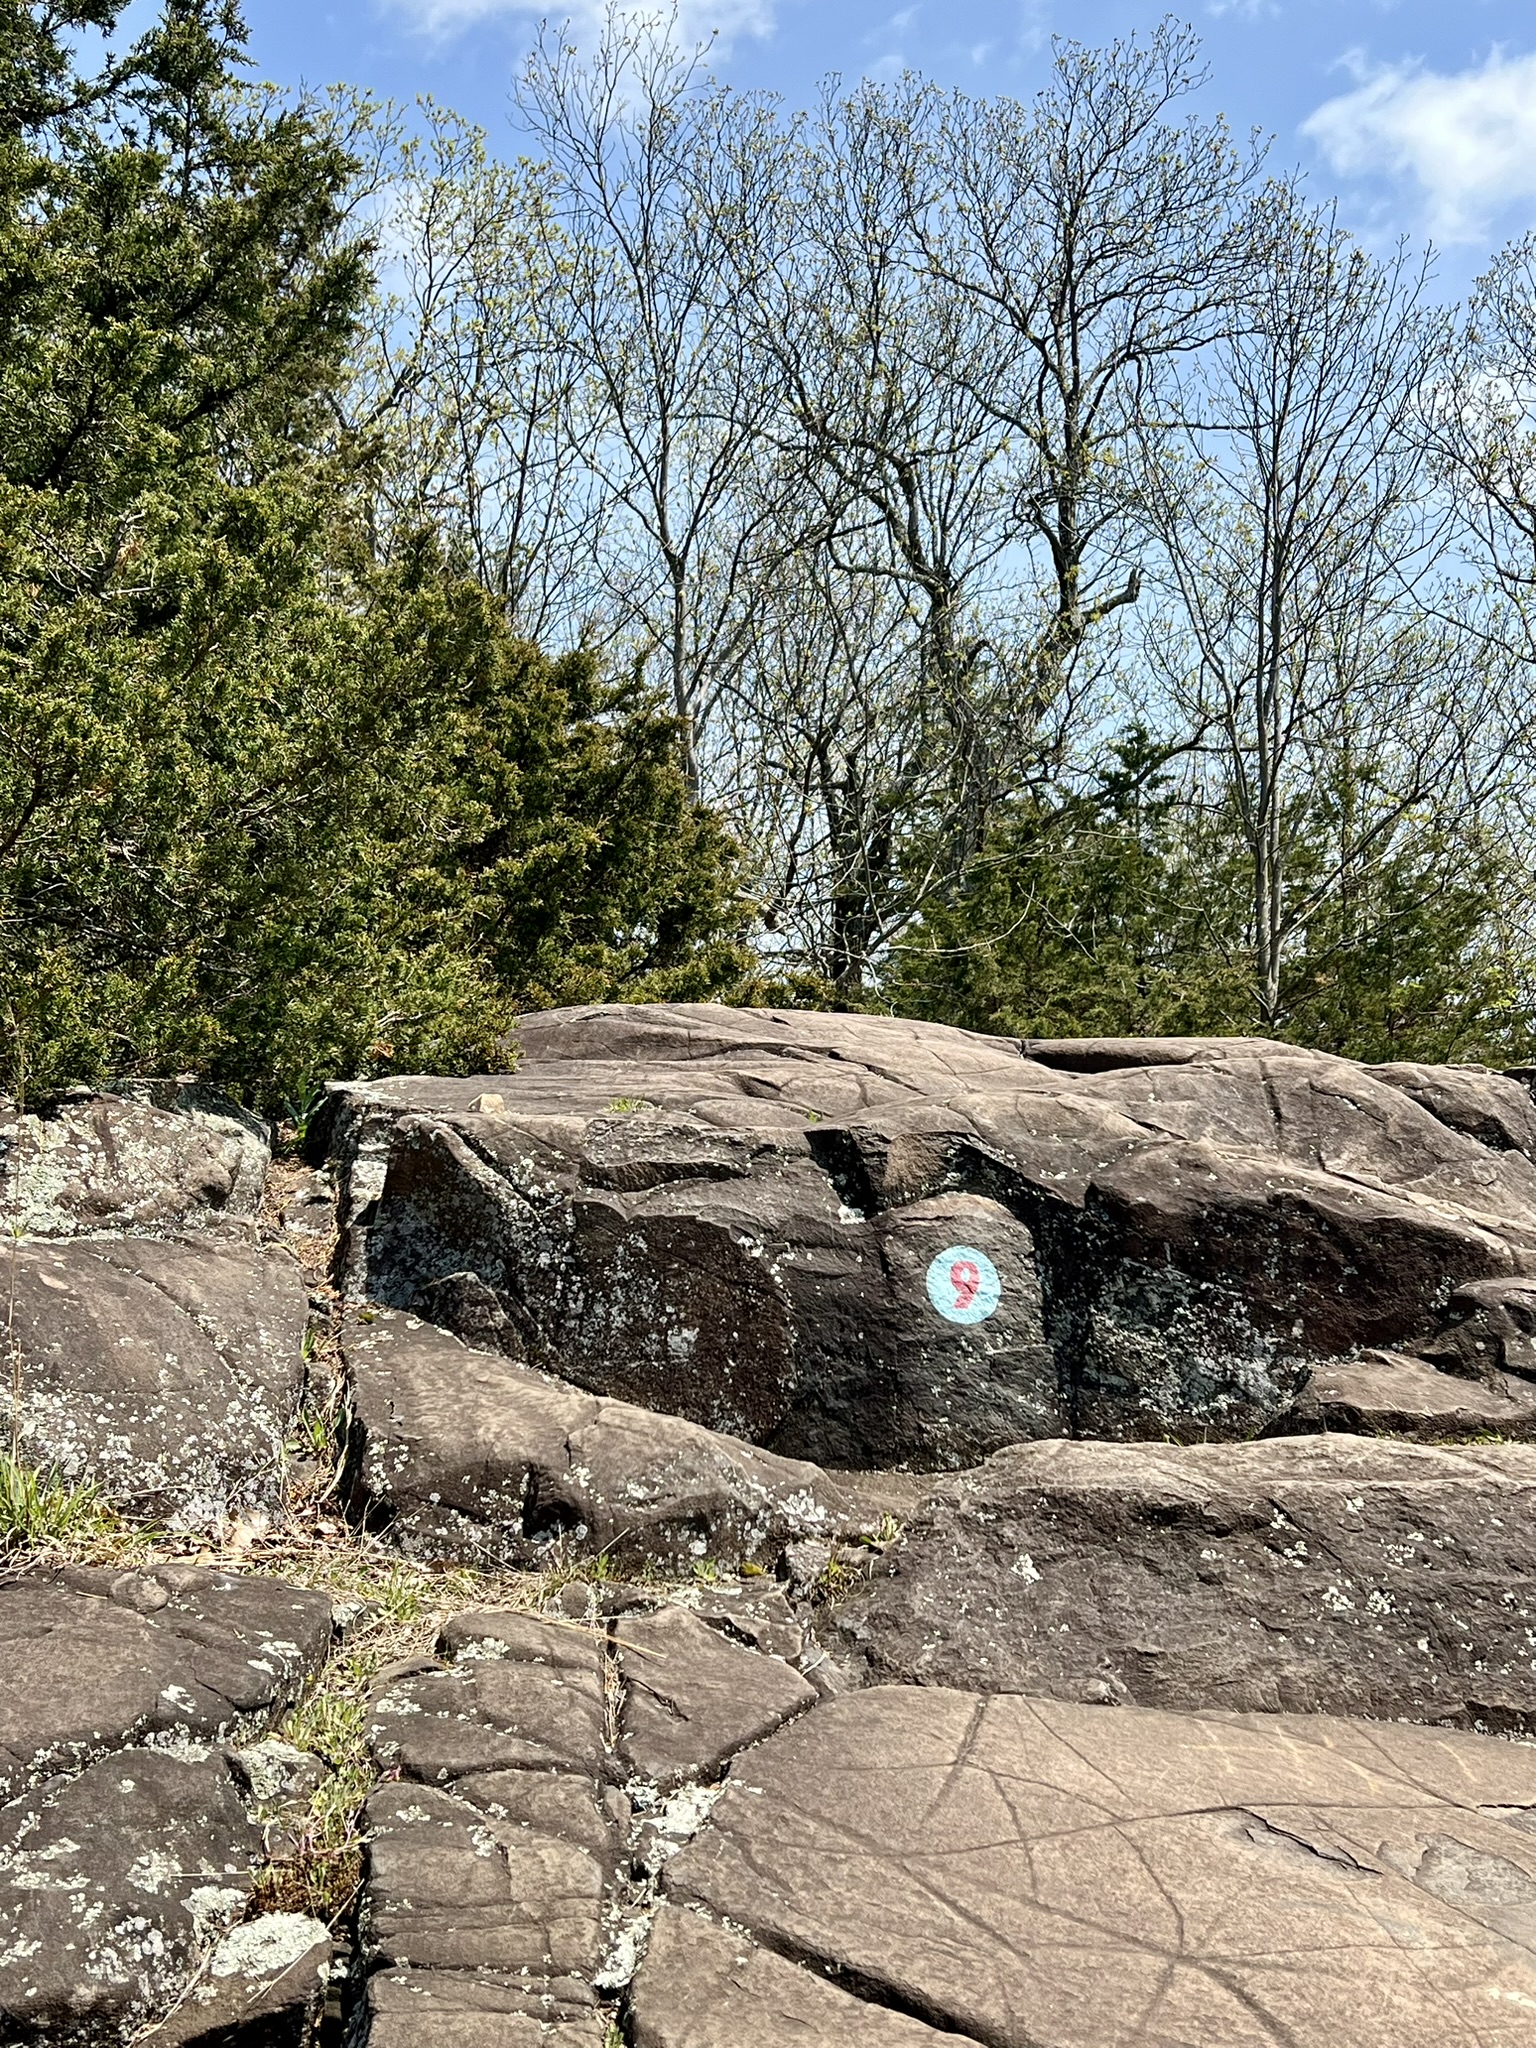
The violet trail has plenty of difficult scramble sections, too, but without the overall feeling of exposure you feel on the blue trail. The highlight of the violet trail is the view of the original quarry and its ruins. Quarrying operations occurred here from 1912 to 1930, when citizens’ efforts effectively shut it down. The SGPA website has a synopsis on the history of Quarrying the Giant, as well as several old photos, on its website.
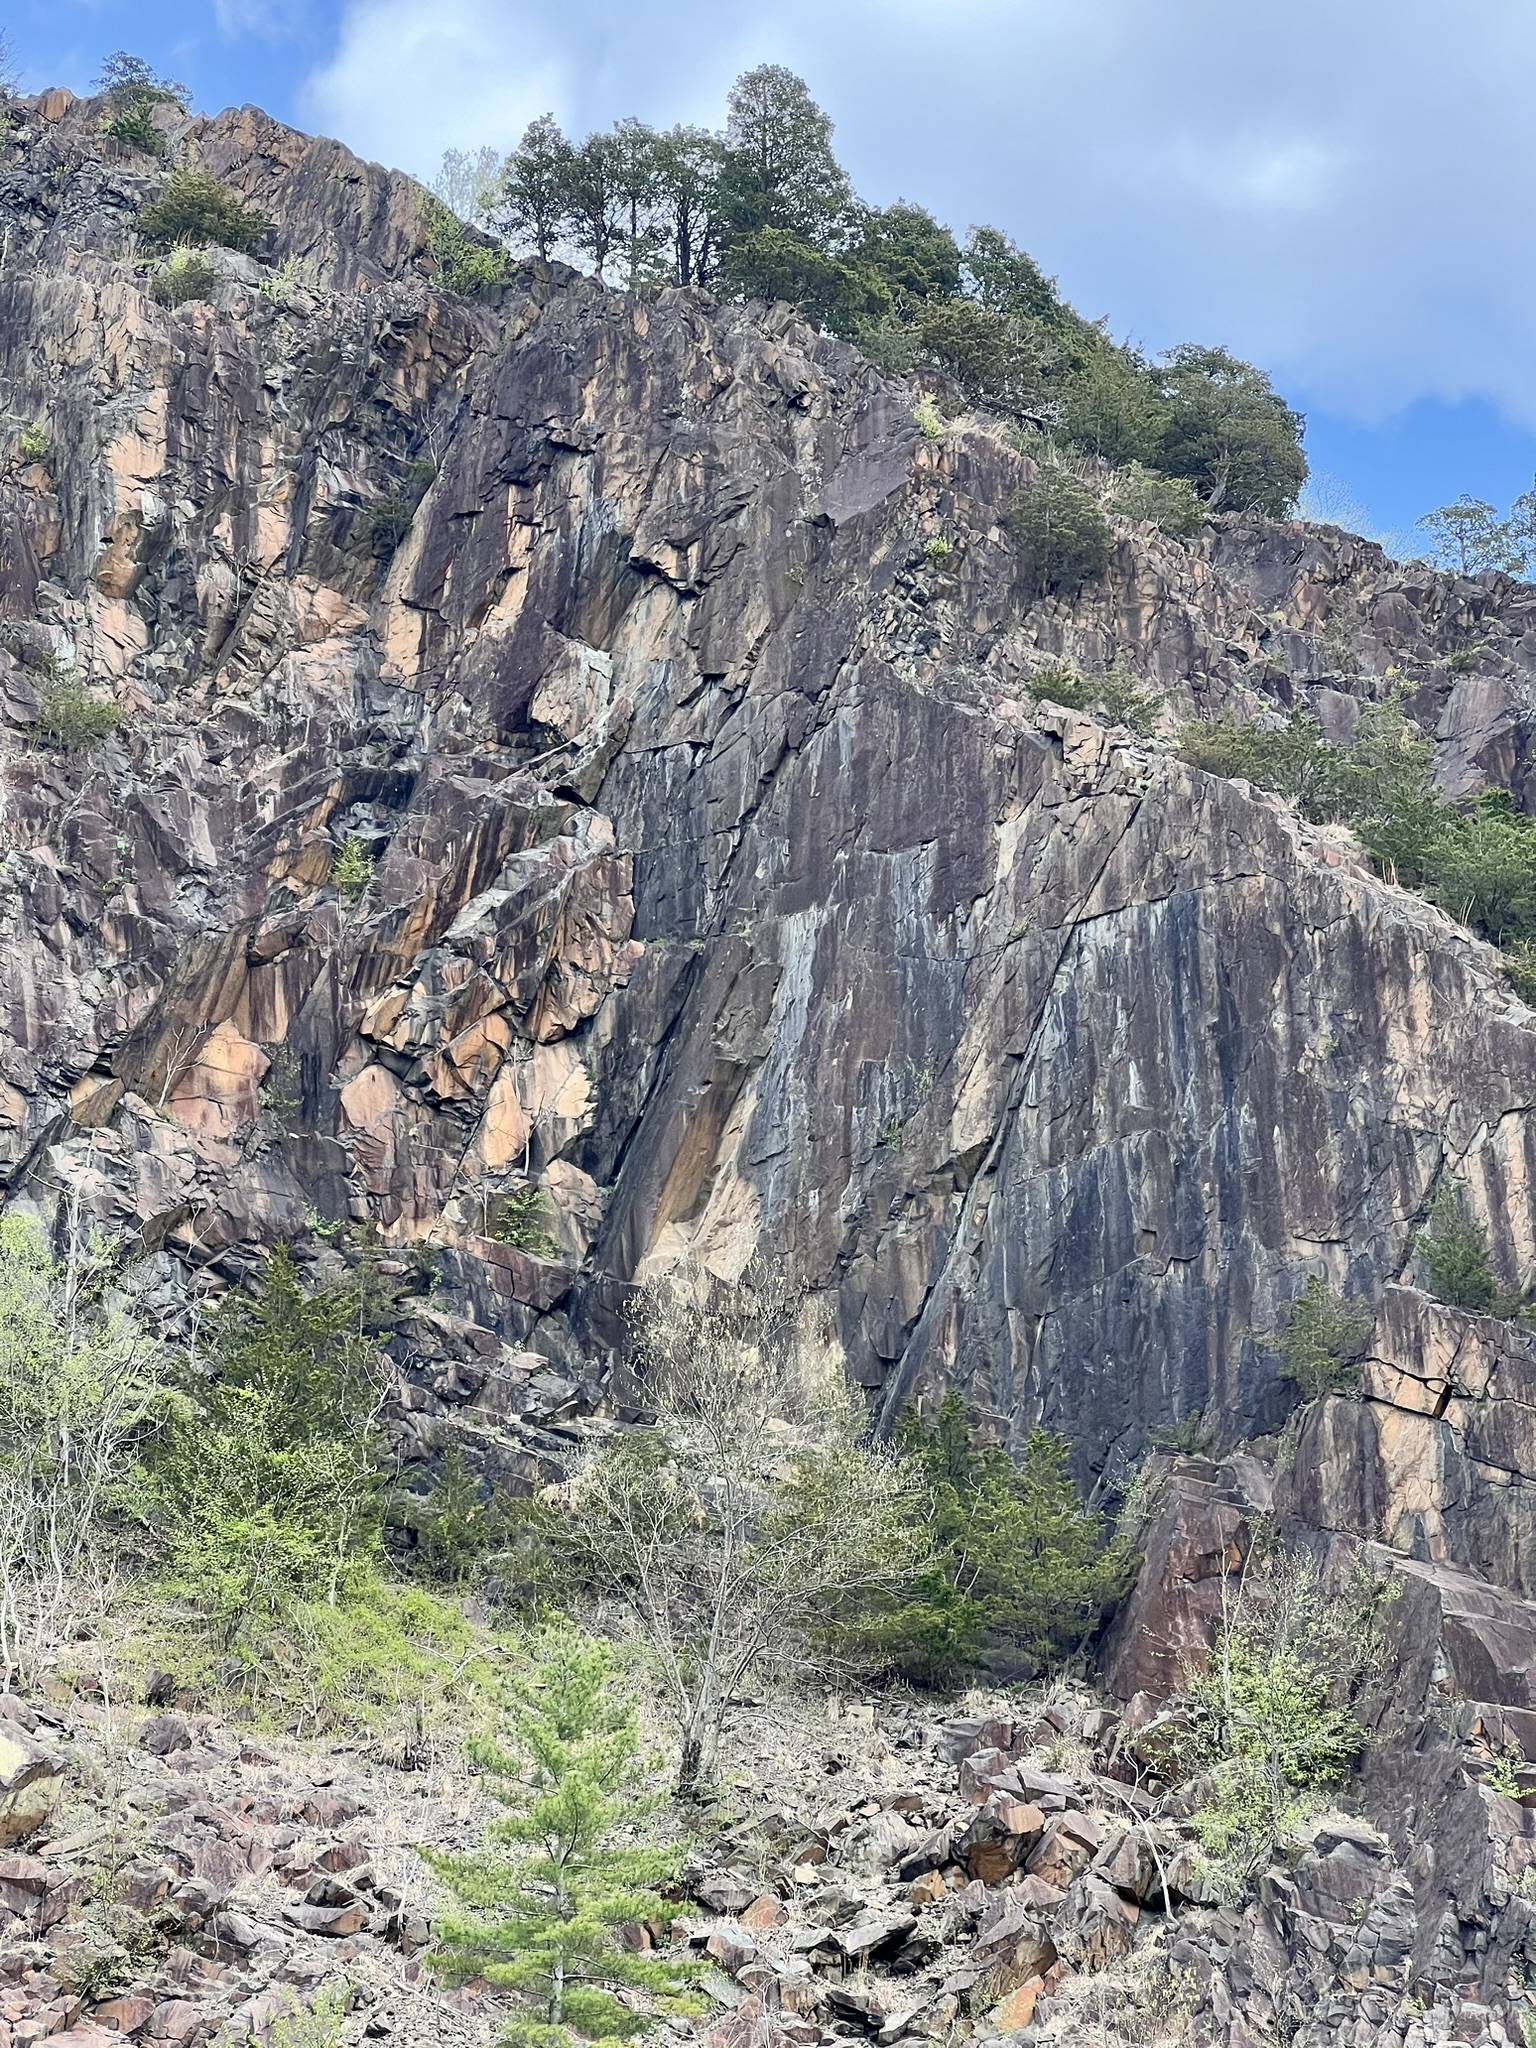
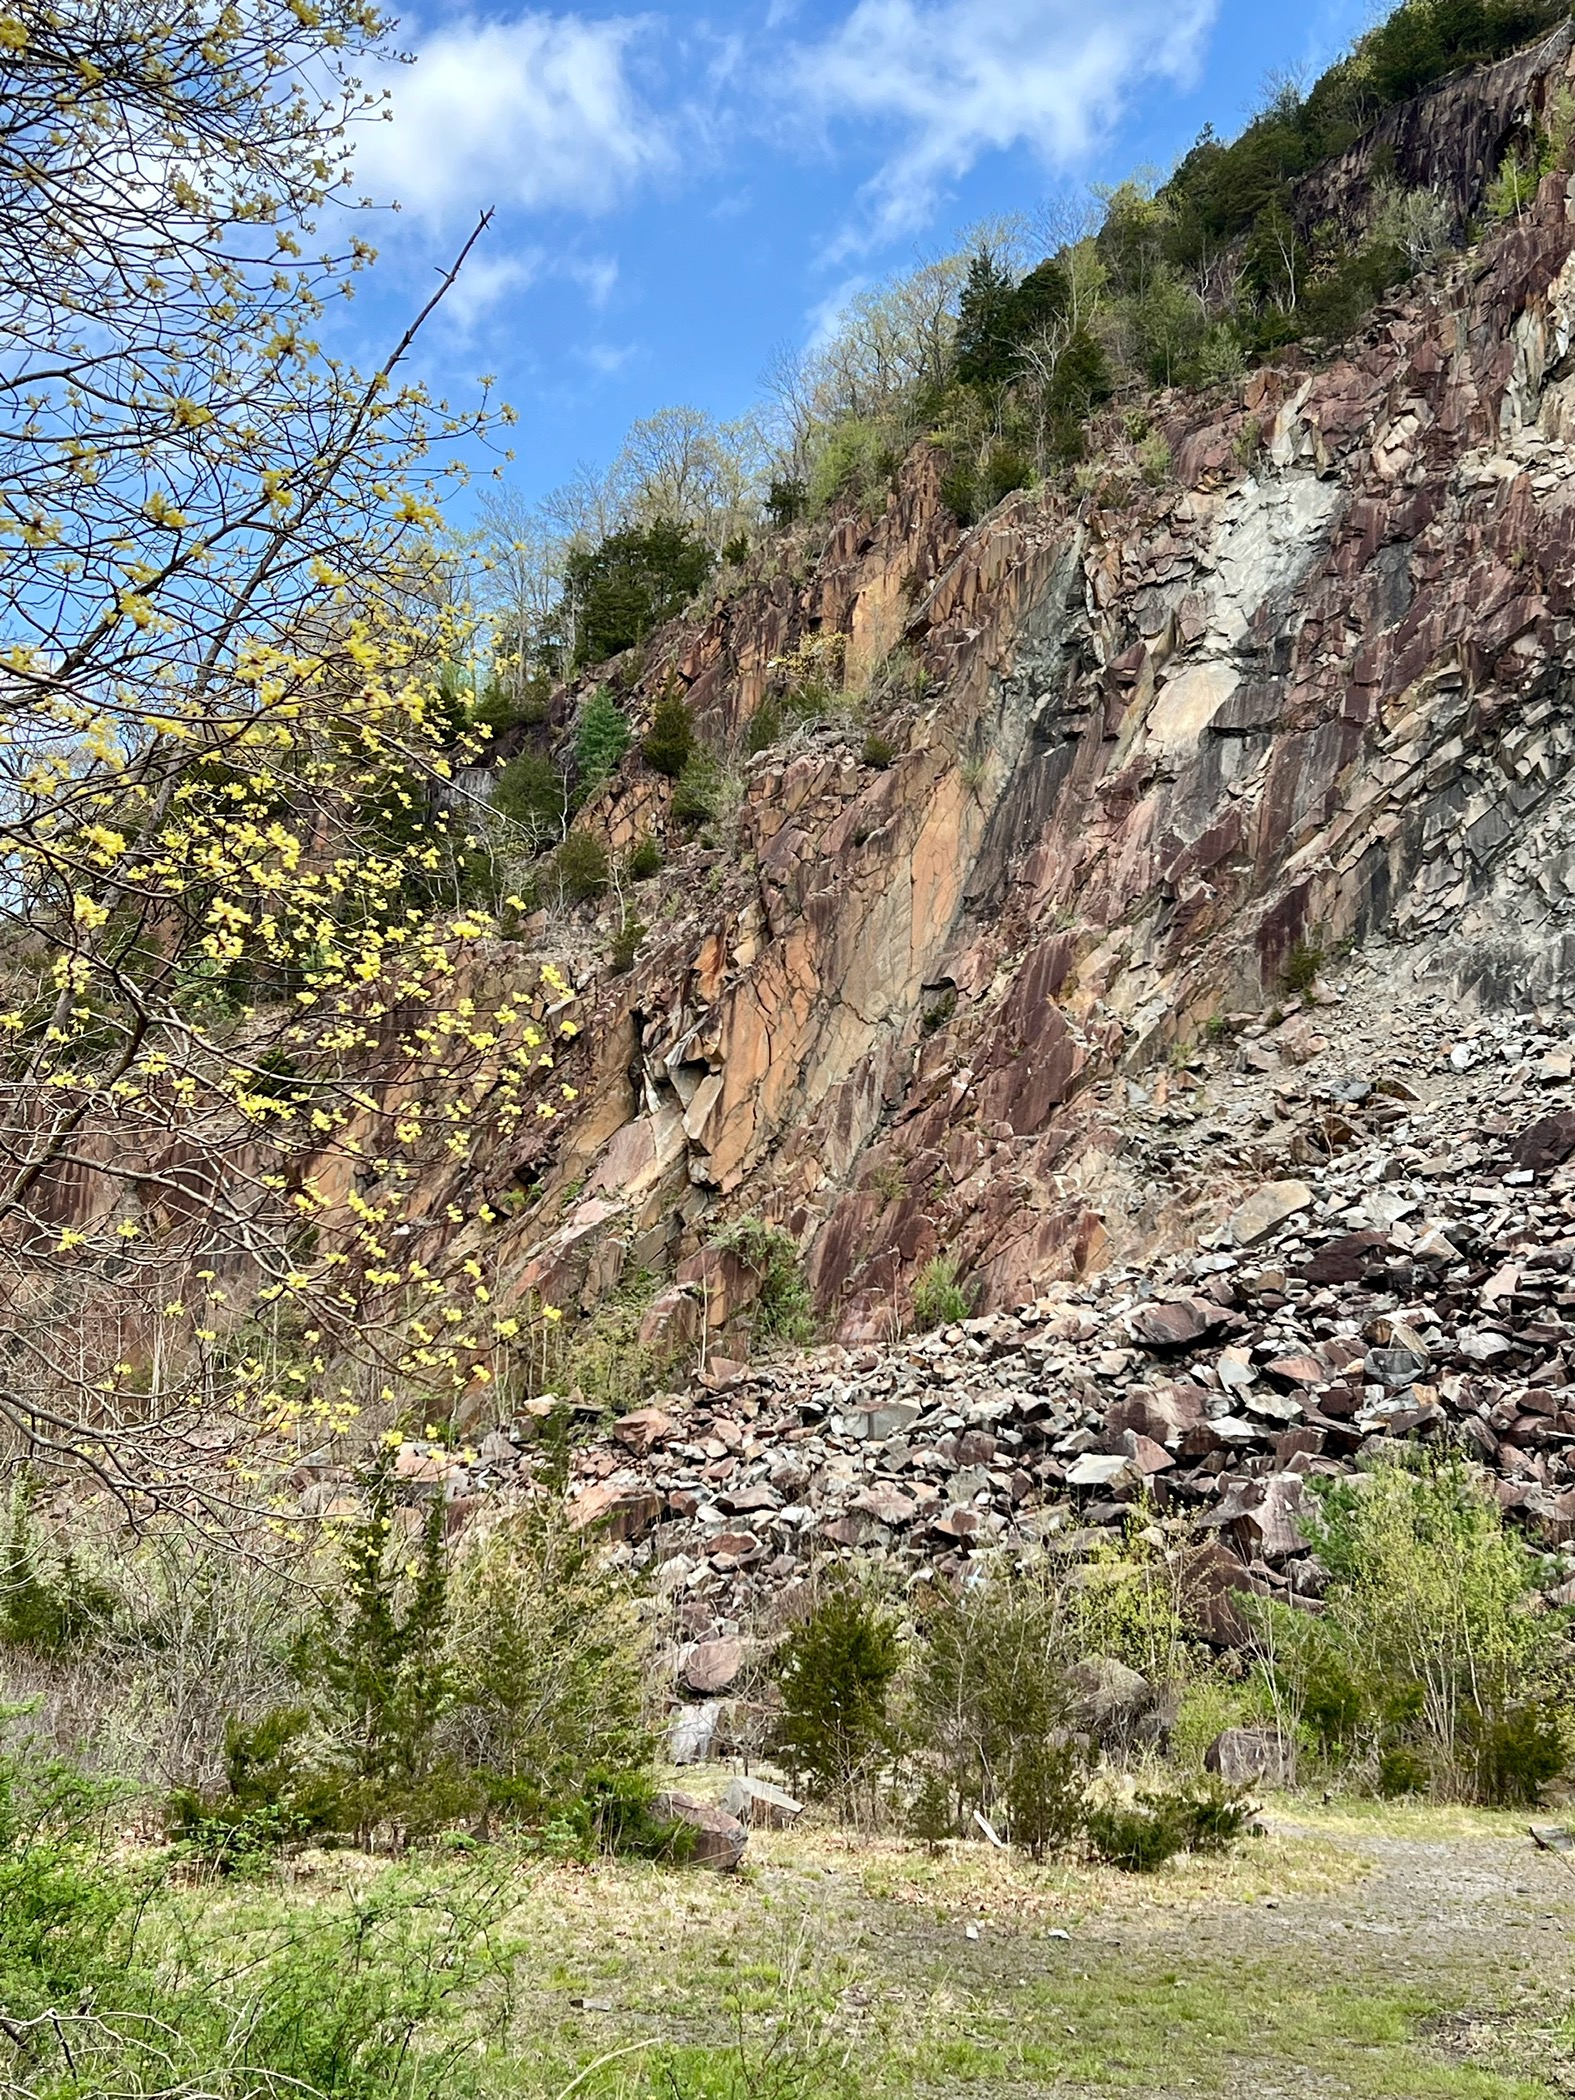
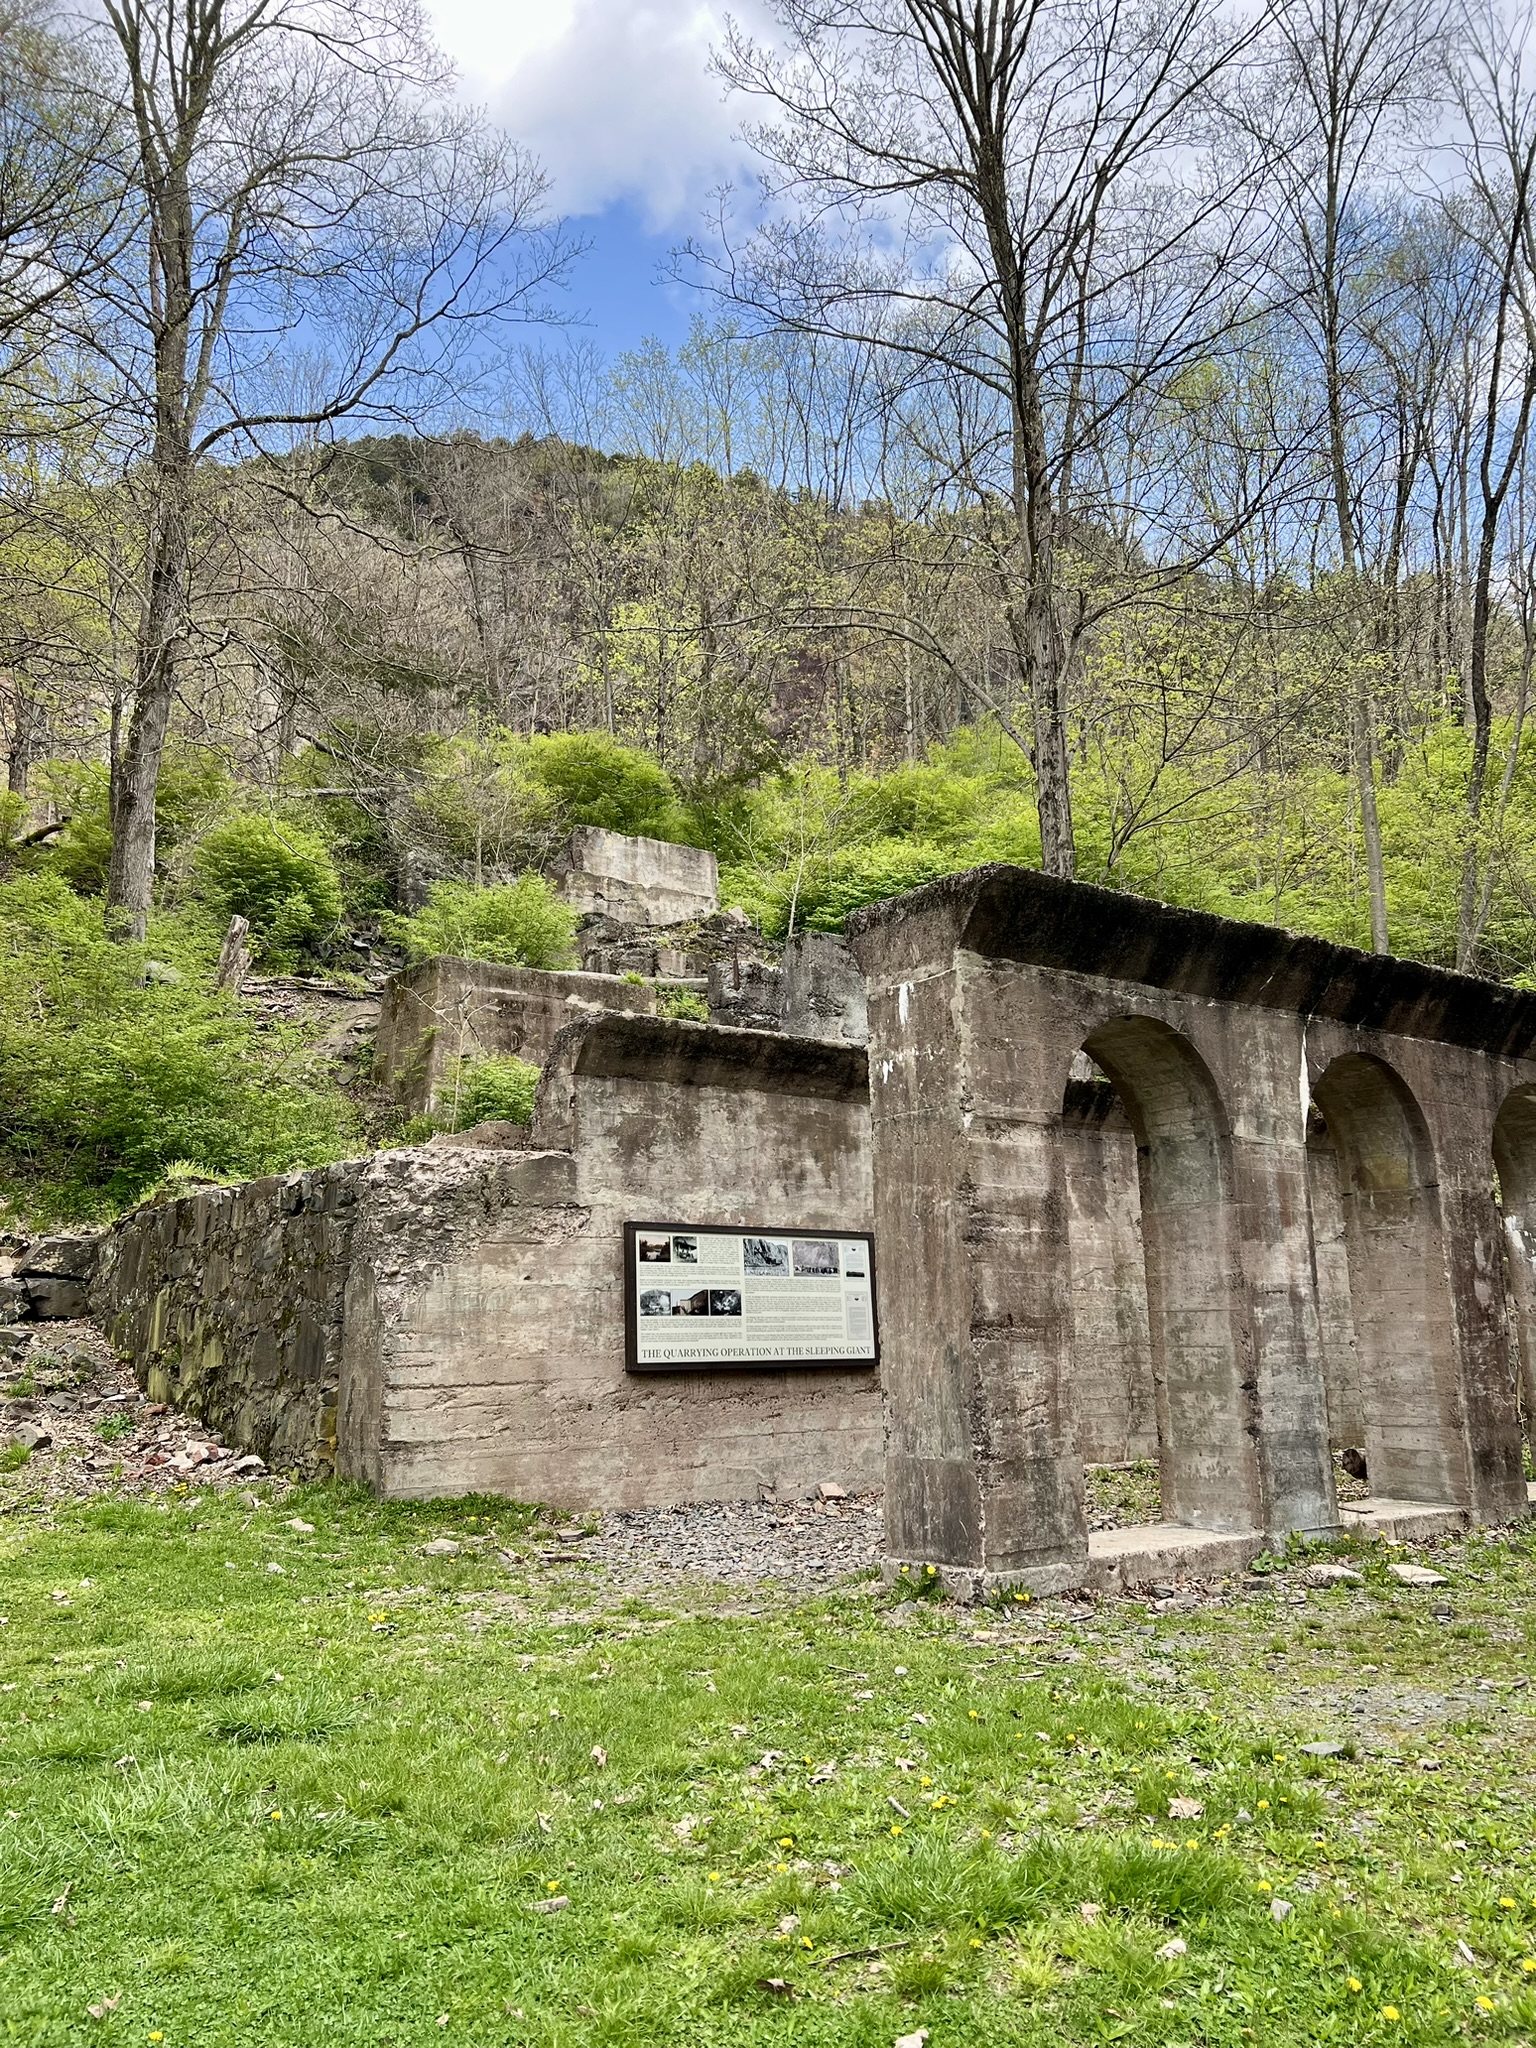
Views of the quarry and historical ruins
Orange/yellow loop. 5.2 miles with 1,036’ of ascent.
In early April, my hiking friend Mosi and I did a clockwise loop, orange to yellow. She is another great resource for hiking ideas. You can find her at ct-trails.com or on Instagram @connecticuttrails. She also recently started her Trail Tells podcast on YouTube. The start of the orange trail has great views of the giant’s head and the impressive talus slopes. Partway along is an unmarked trail on the right that we took as far as the scenic viewpoint looking over Quinnipiac University. (The maps denote this as The Nature Trail.) Mosi indulged my desire to locate geology markers and pause to read about them. We did not find any of the orange trail geology markers. The orange trail ends at the eastern side of the park where it converges with multiple other trails at the trailhead off Chestnut Lane. There are some pullouts to be able to park and start from that end.

The view of Quinnipiac University from the lookout
We had more success on the yellow trail, where we located Y7, Y6, Y4, Y3 and Y2. Y7 is described as a Beautiful Sandstone Cluster. And we did indeed find several beautiful clusters! In the guide, there are links to high resolution photos such as this one, which are useful to help identify the geologic formation in the field. Sandstone is a sedimentary rock. The guide explains that “approximately 210 million years ago, sand and pebbles that had been deposited in this area by ancient streams were gradually cemented together.” The clusters found in this area are chunks that have broken off from larger sandstone outcrops.
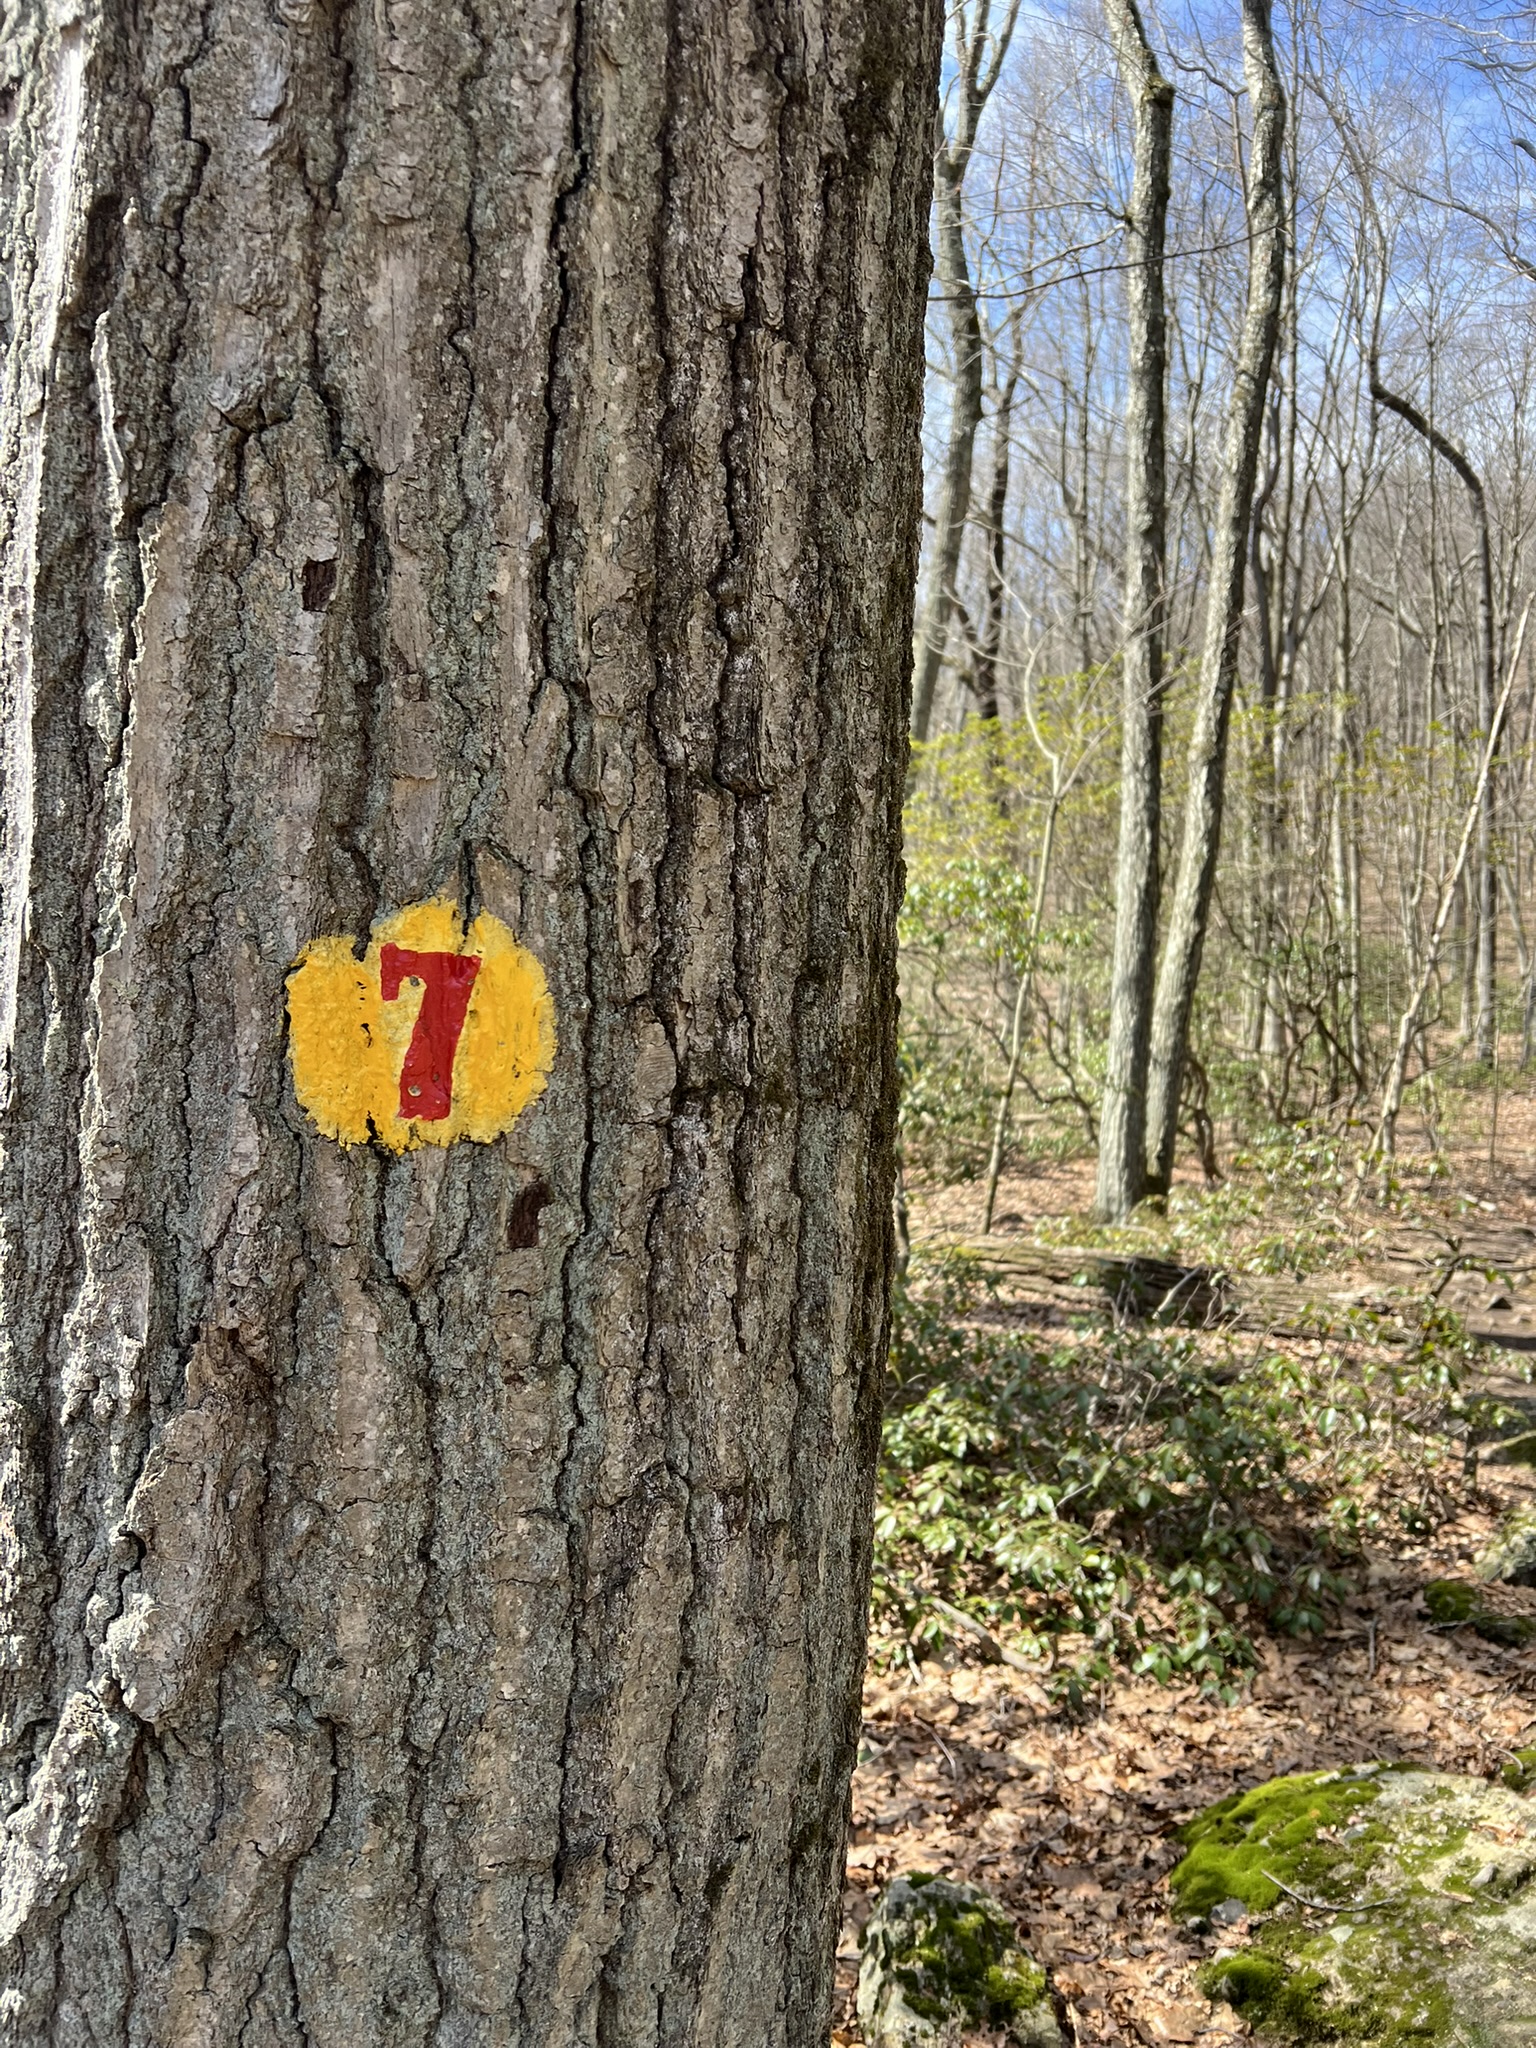
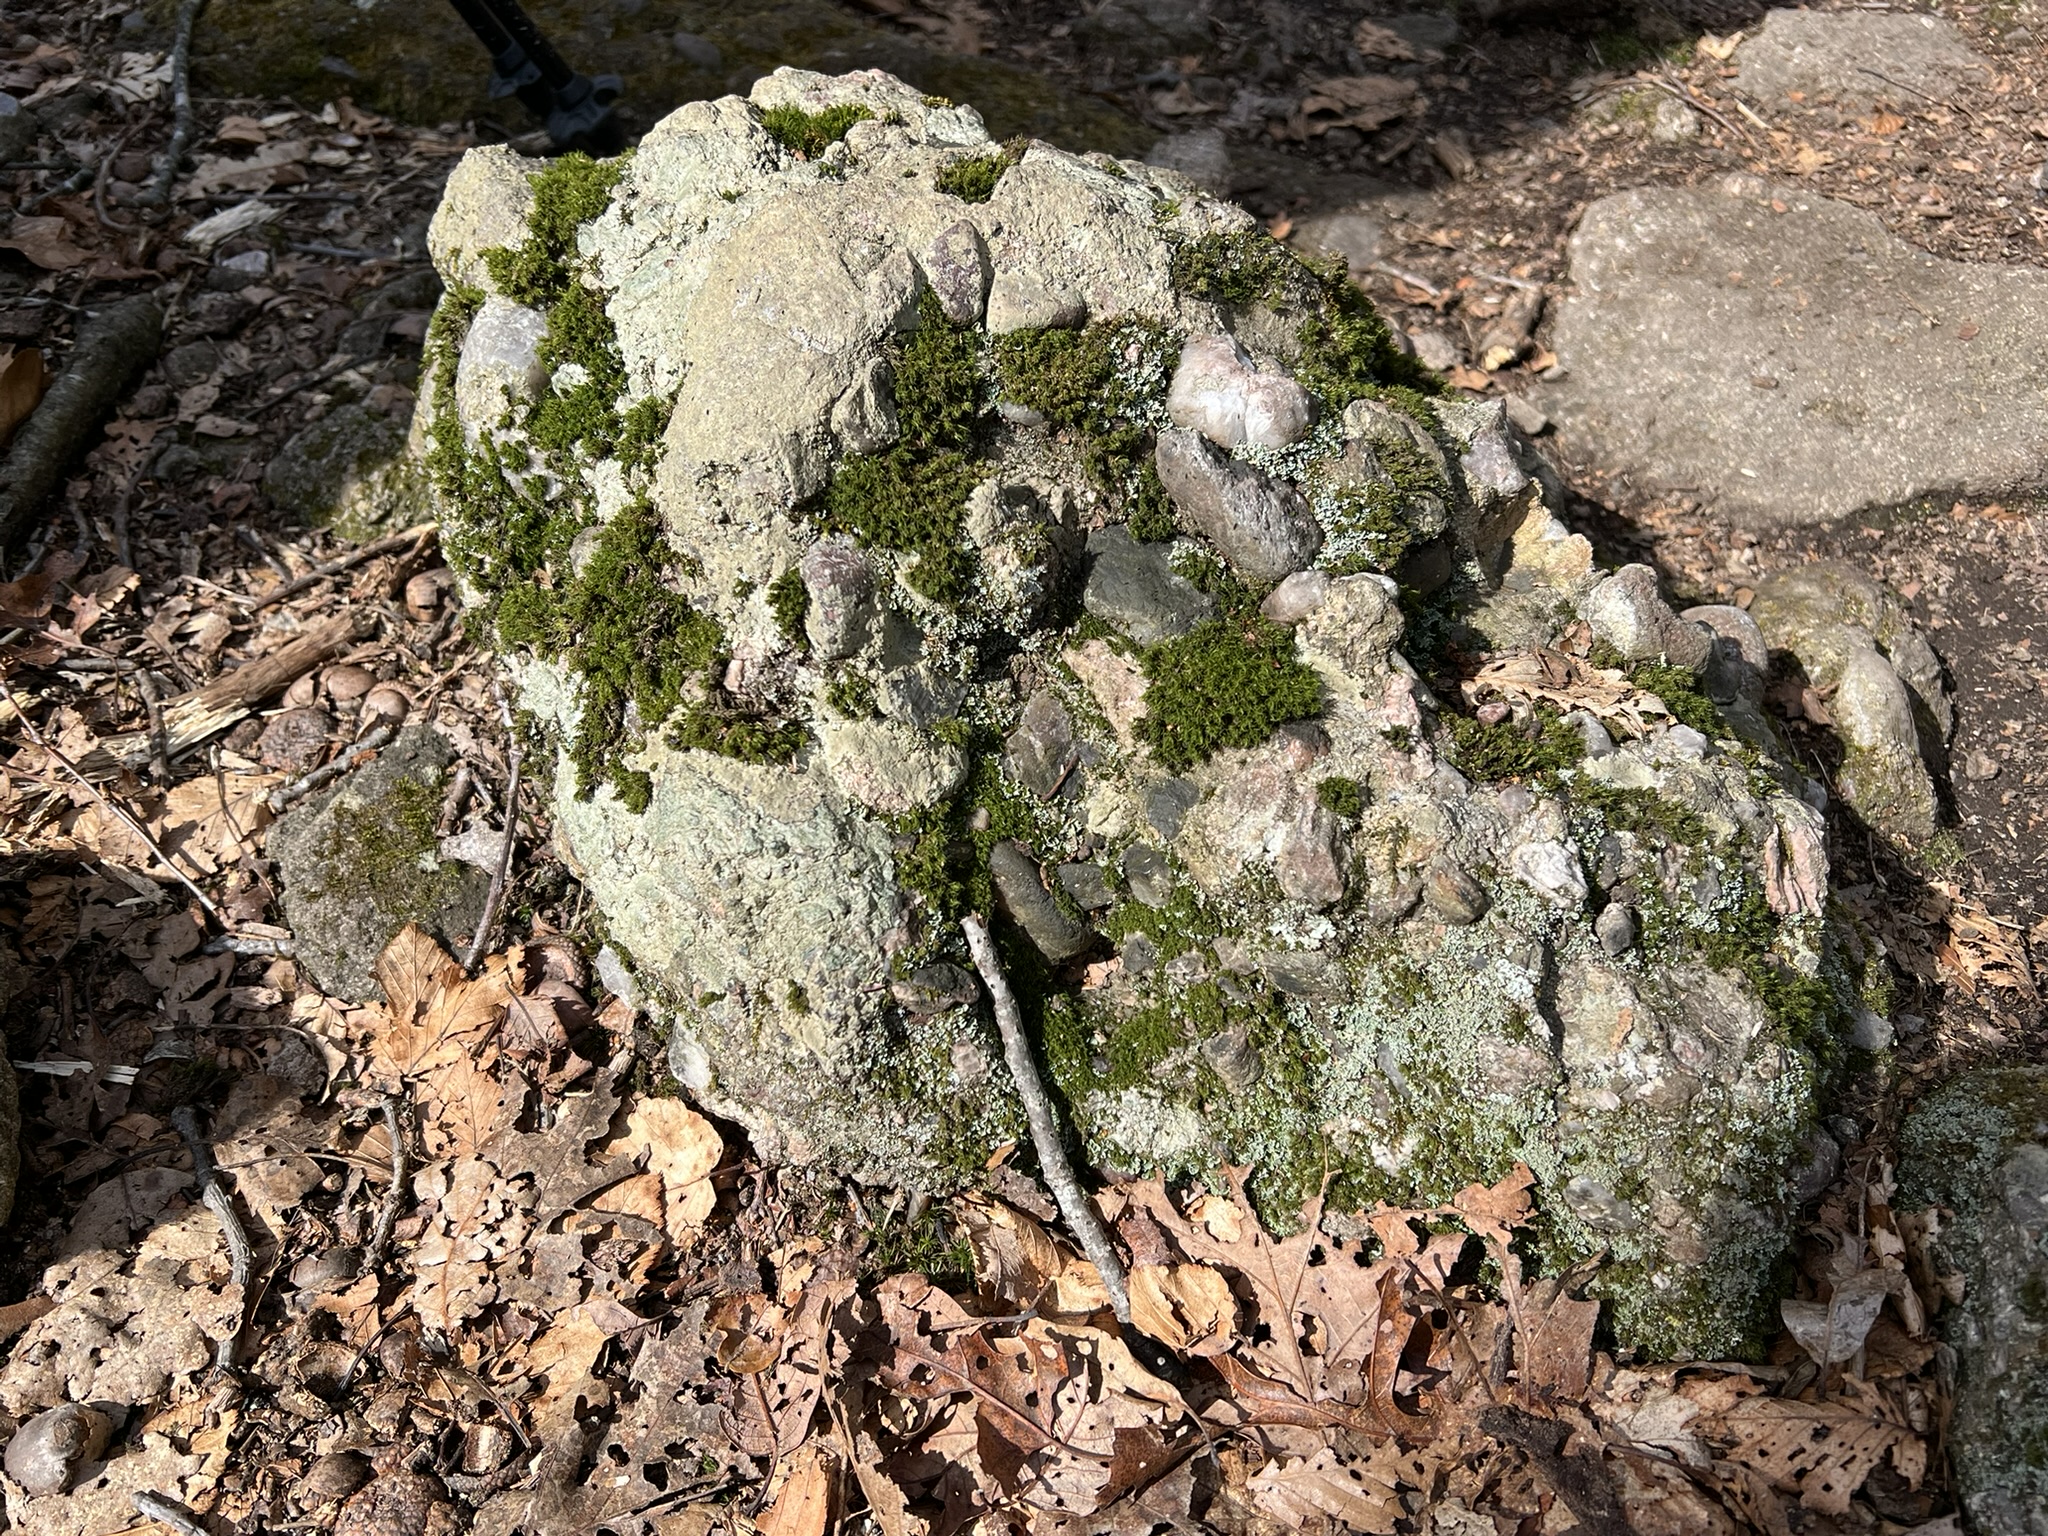
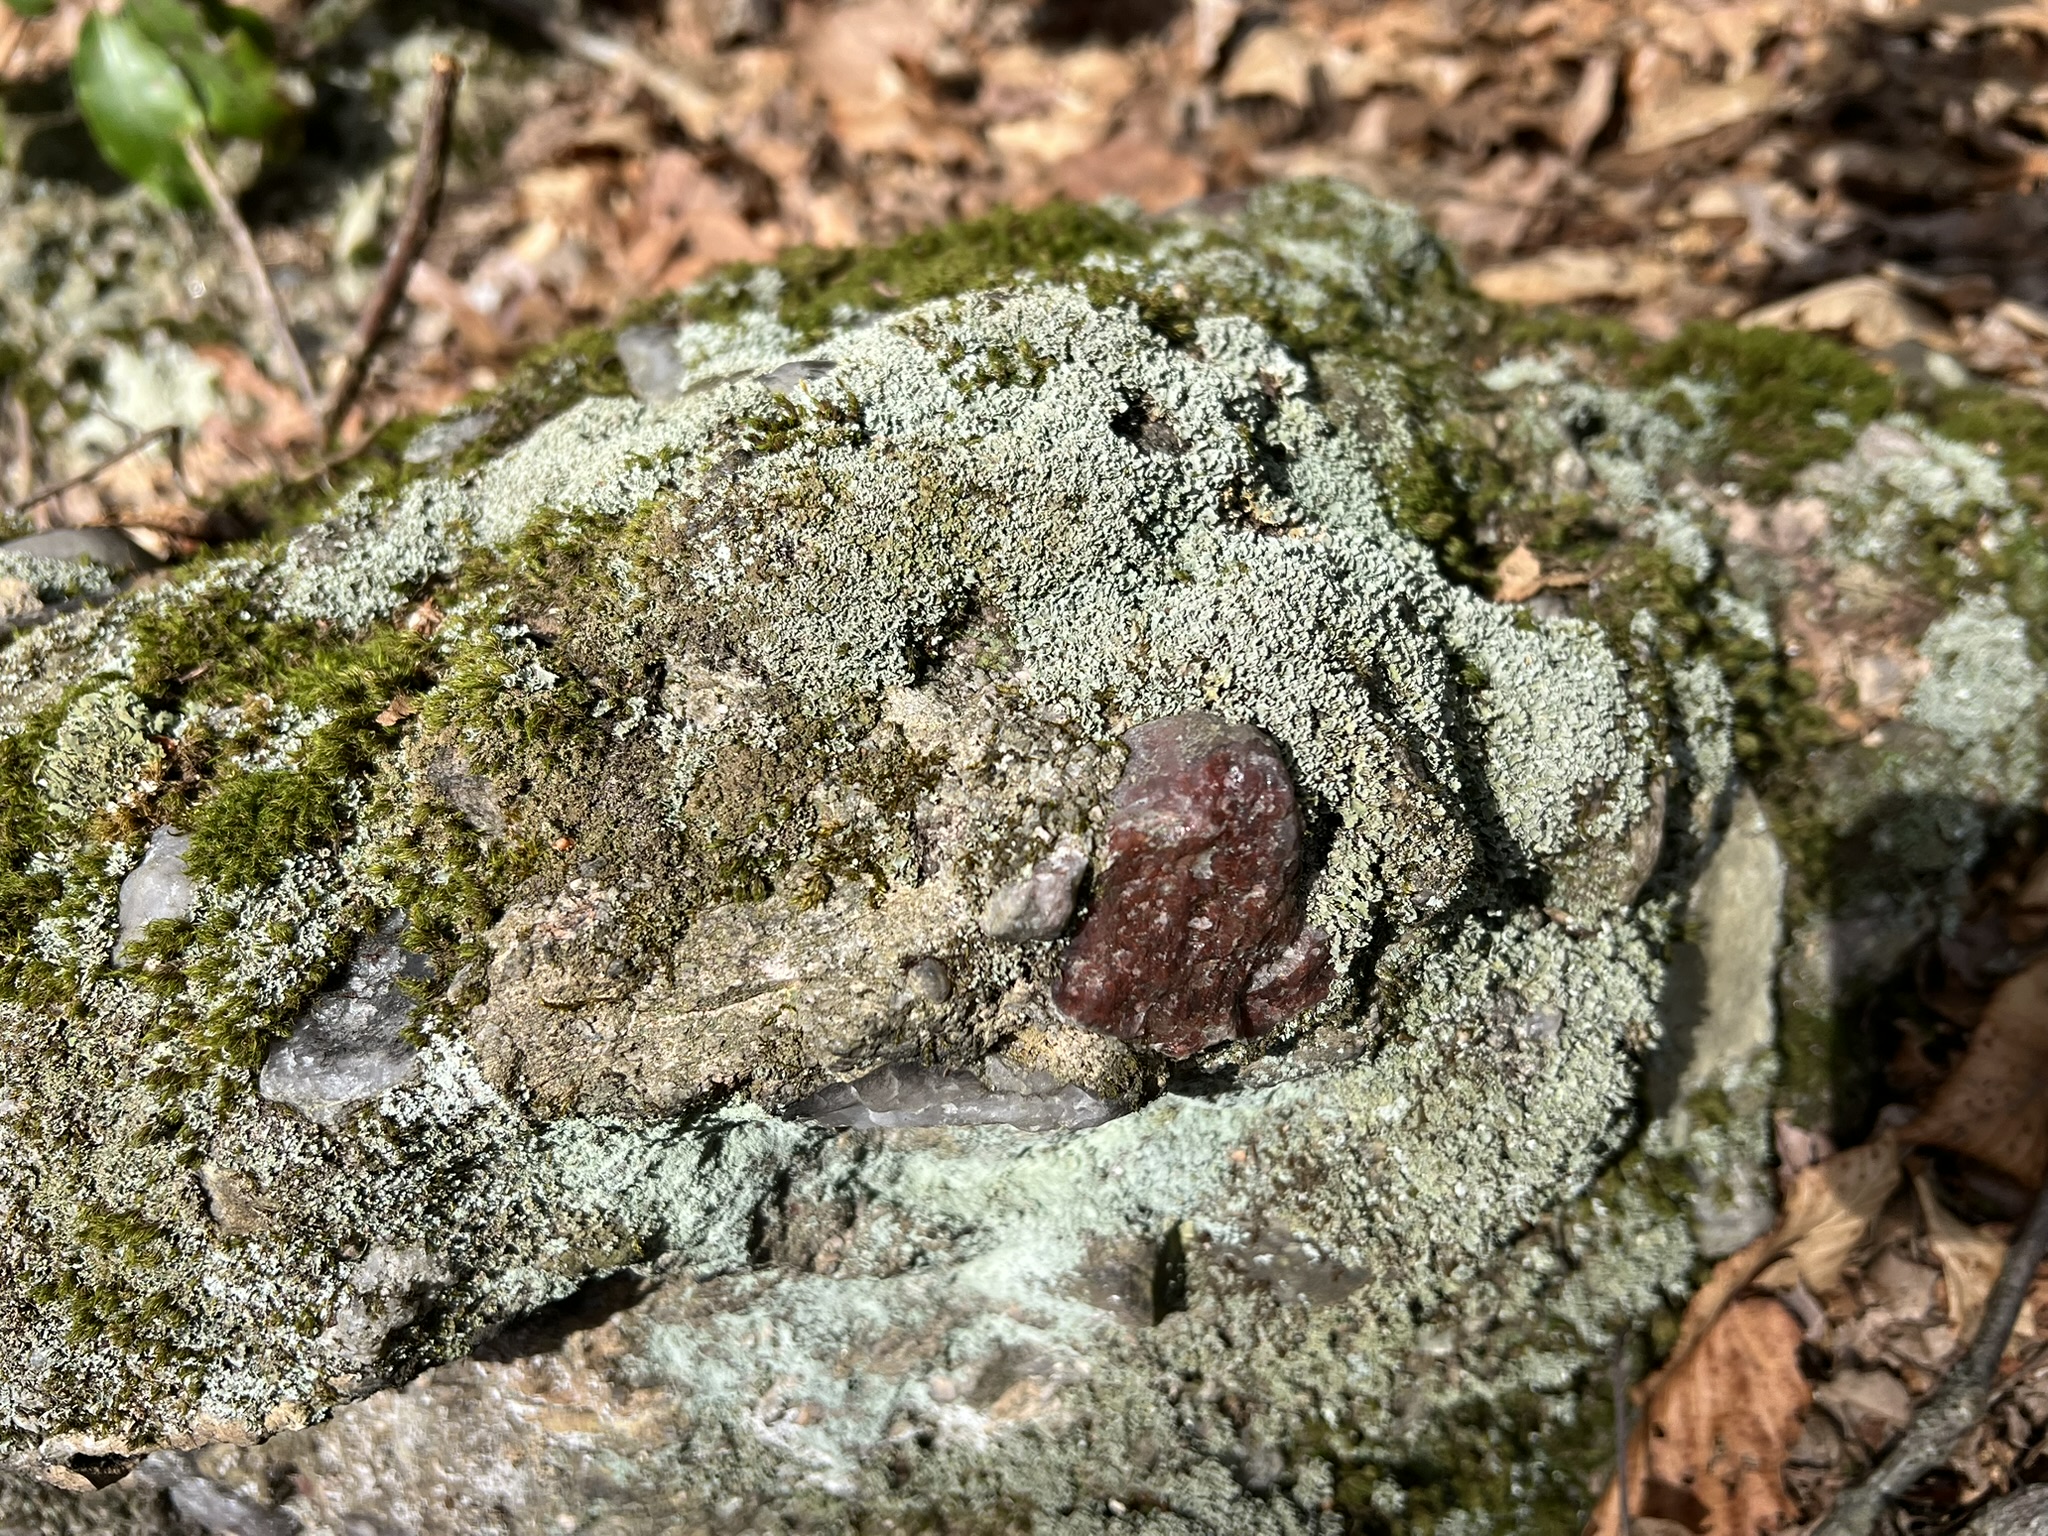
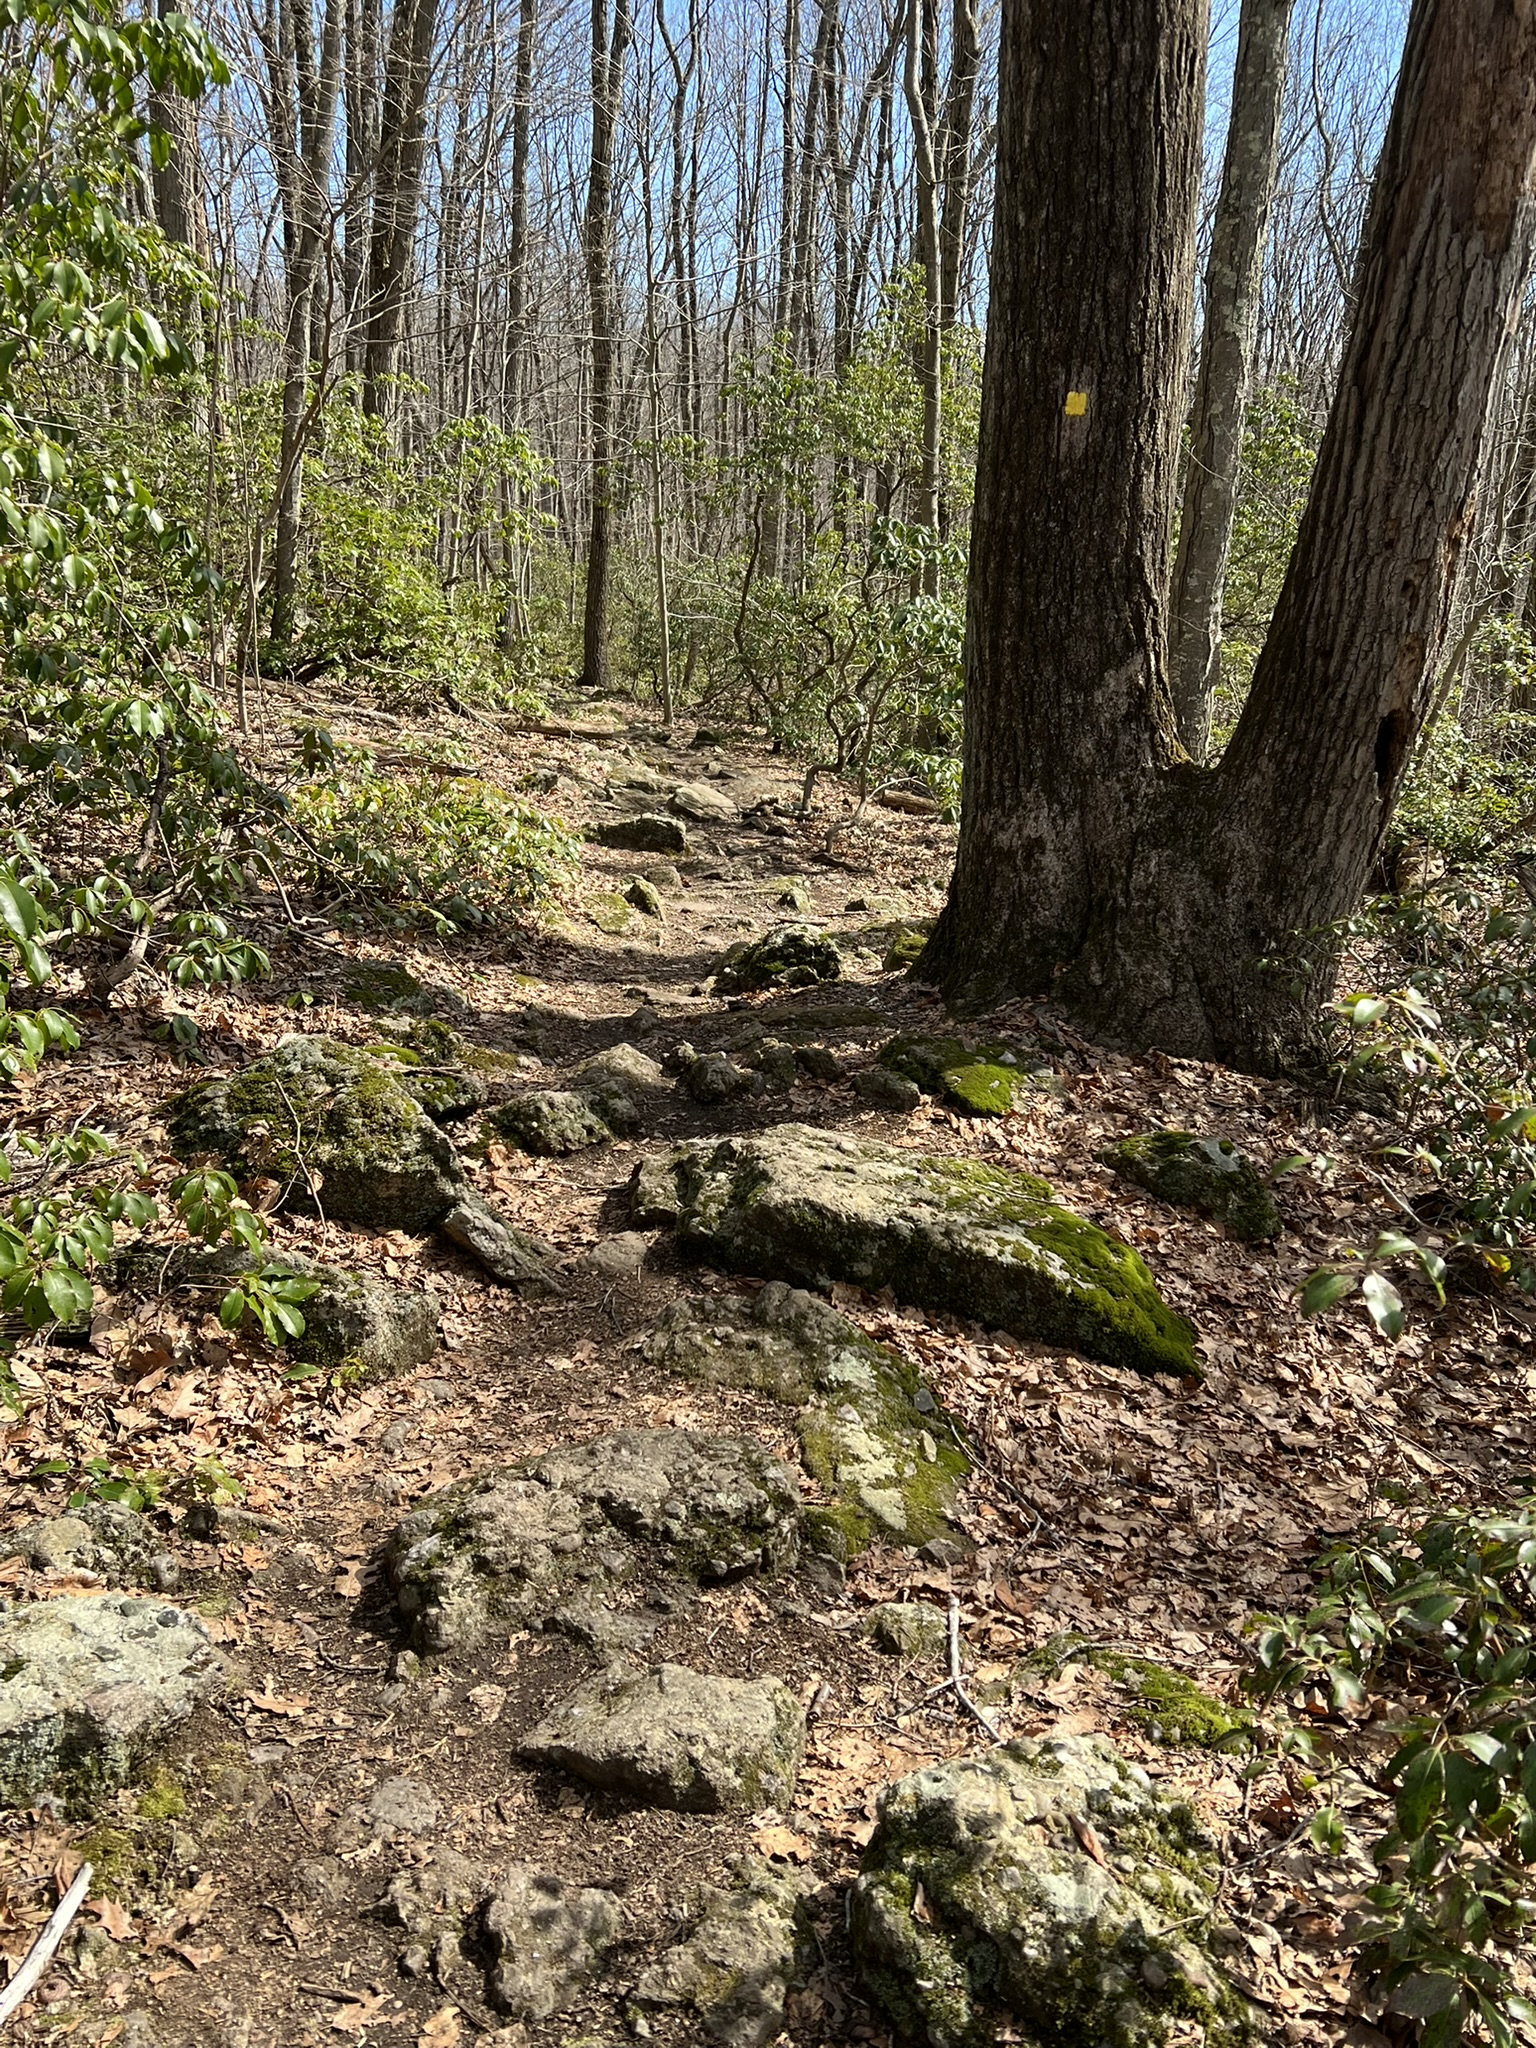
The Y7 marker on a nearby tree; close-ups of the sandstone clusters; what the clusters look like spread out on the trail
Y6 shows Sandstone Outcrops and the Rock Cycle. The guide talks about how these outcrops are formed. It also explains how this station “marks a boundary within the Park. West of this site, most of the rock within the Giant consists of exposed diabase….[while] east of this station…any remaining diabase is still buried underground and the visible rock outcrops are predominantly composed of sandstone.” The Y4 station is called Looking Out Onto Connecticut’s Past, and talks about the geologic history of the area and the processes that formed the rock surface visible today. The marker was quite faded, but we could still discern the number 4. From this scenic viewpoint you can see Long Island Sound, and part of the East Rock Ridge, which has a similar makeup as that of SGSP.
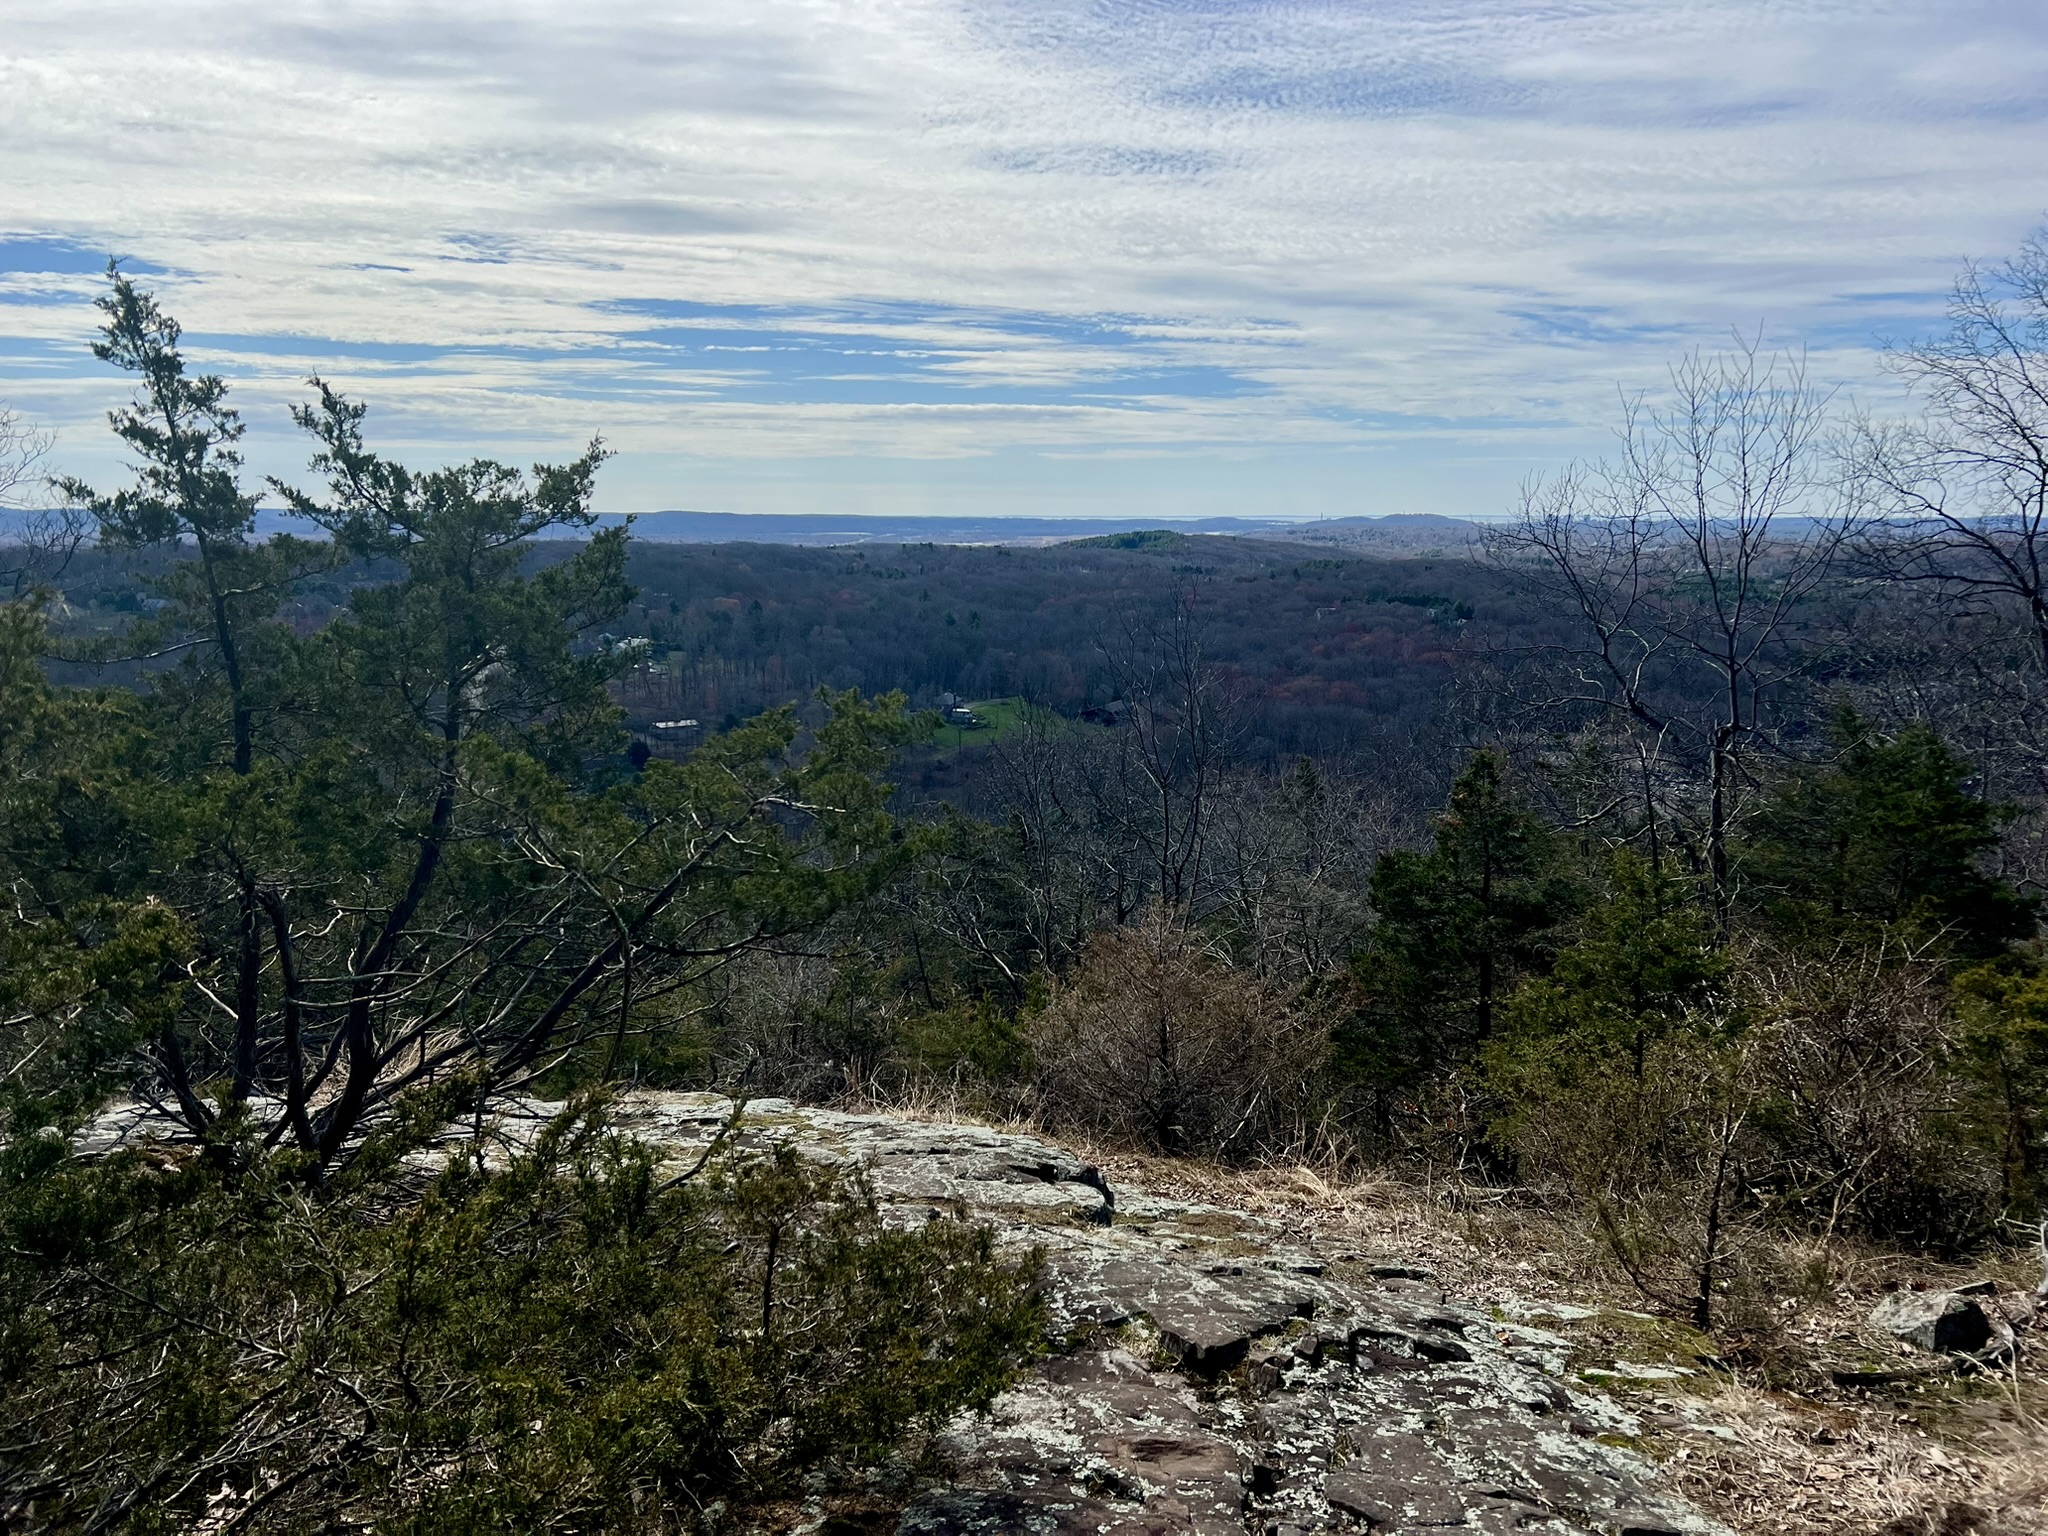
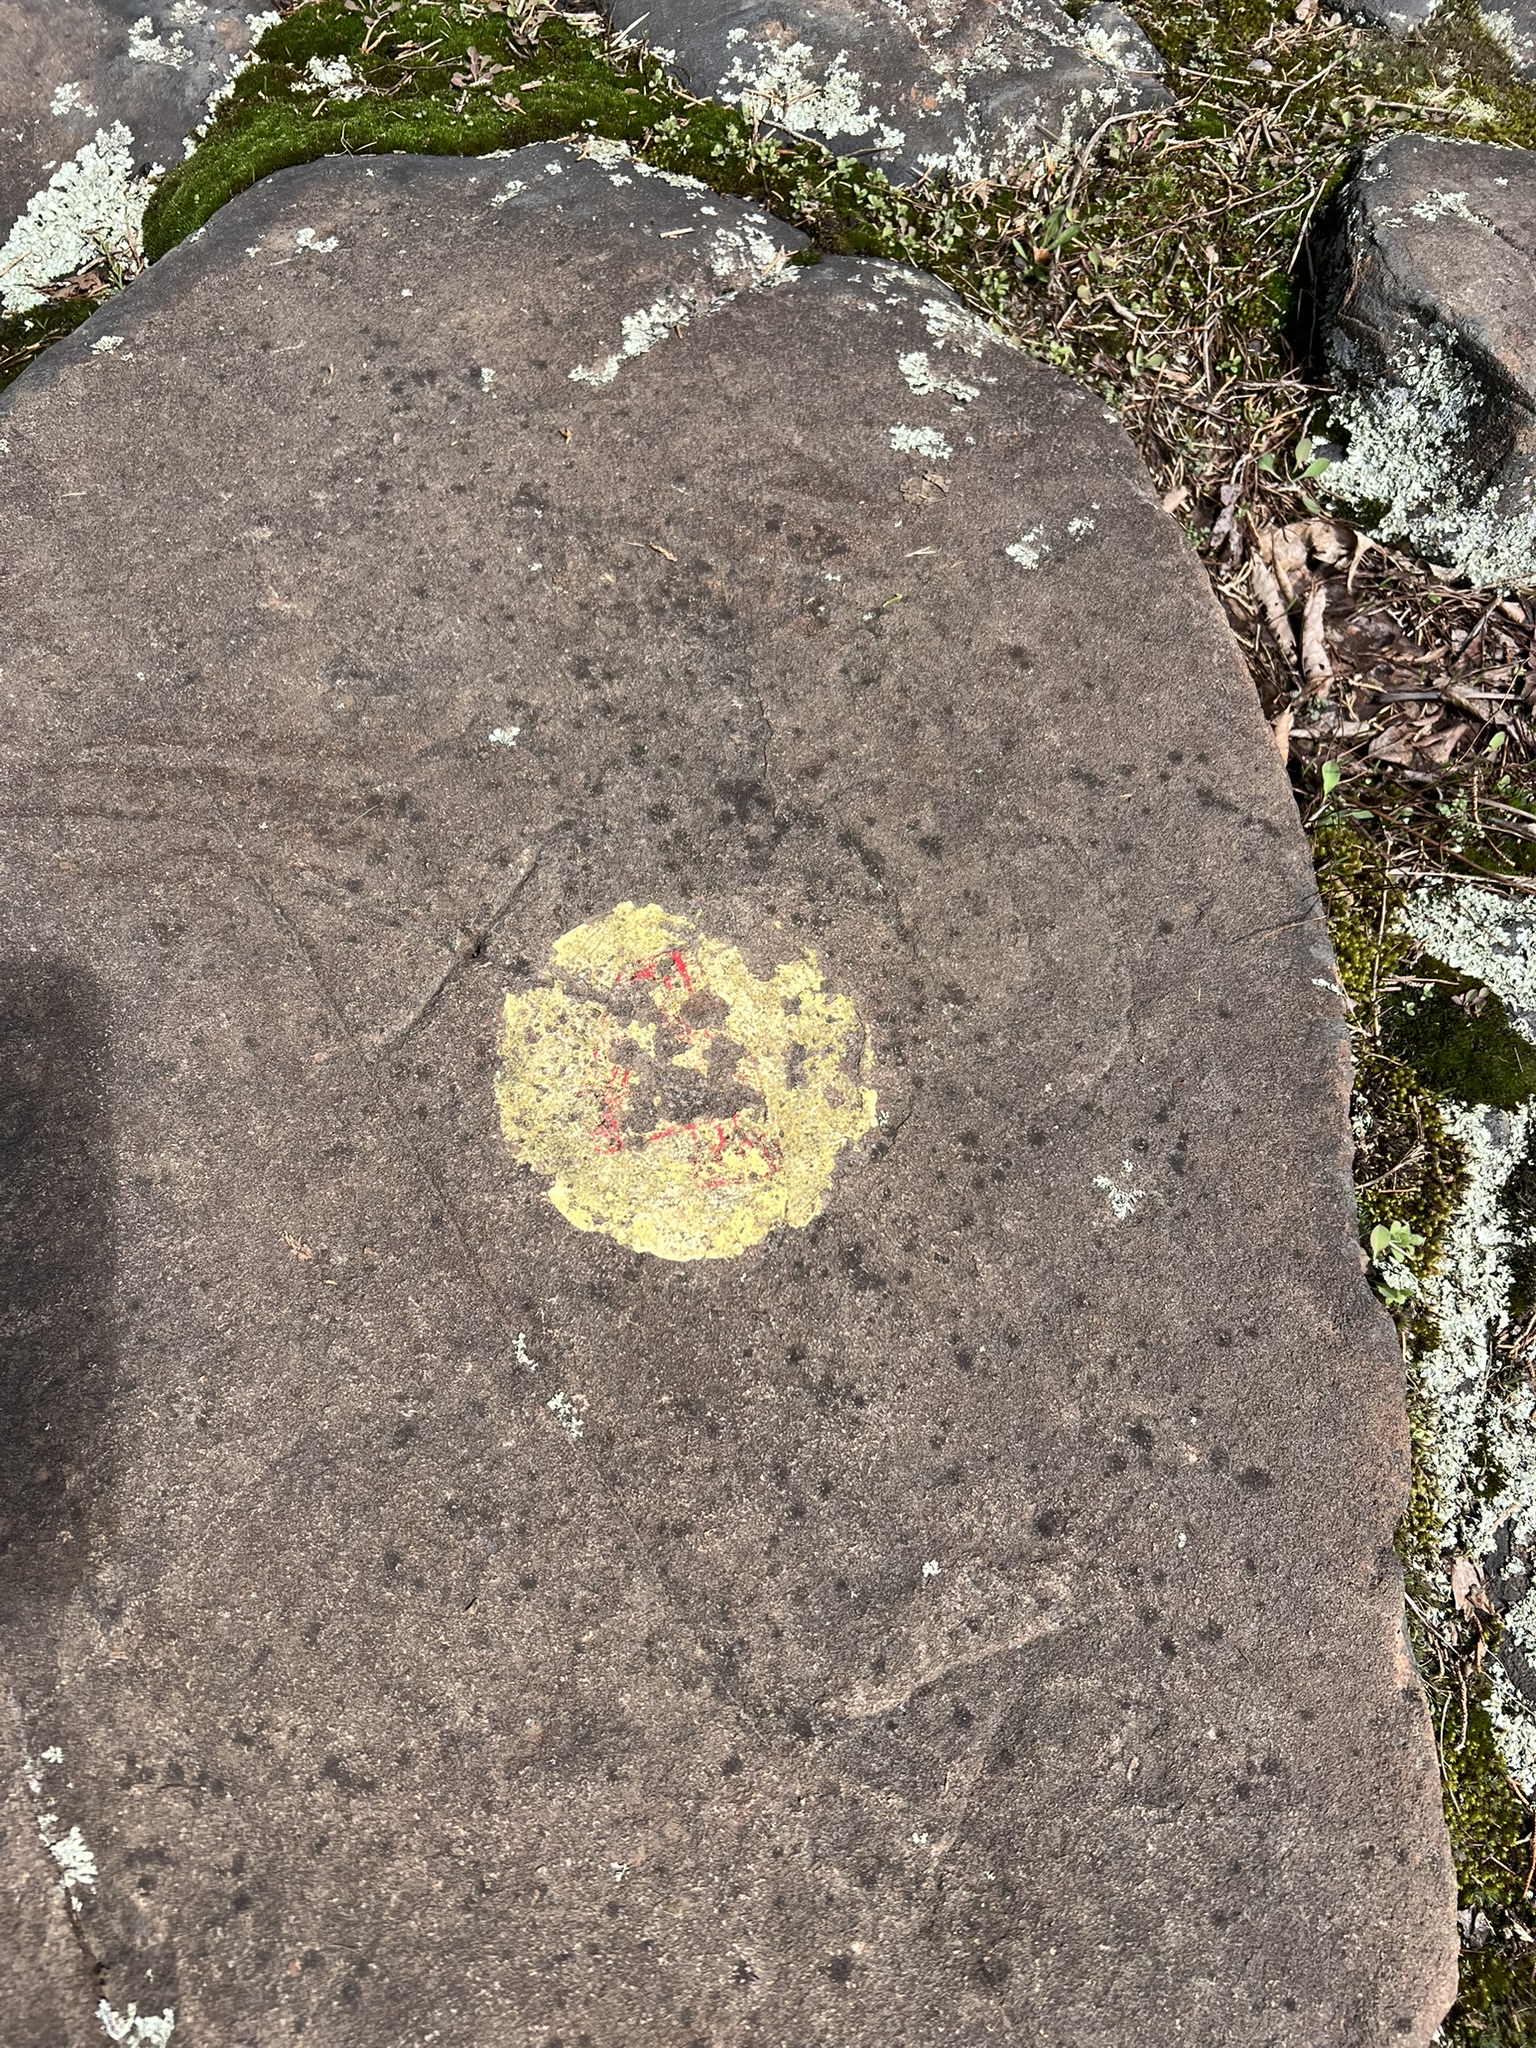
From left to right: Close-up of a sandstone outcrop; me, reading aloud from the Guide; the view from Y4 with Long Island Sound in the distance; the faded Y4 marker.
The Y3 marker is for a Contact Surface and Granitic Vein. I found this one of the most fascinating geologic features in the park. The crinkly surface “had been the actual roof of the magma chamber and was in direct contact with the overlying sandstone.” Y2 shows Trail Erosion and Quartzite. This station was easy to find, as it is next to a staircase built as an Eagle Scout Project to mitigate the erosion problem on the steep hillside. The guide explains that “quartzite is a metamorphic rock that forms when sandstone is subjected to tremendous pressure….[and] the quartz crystals making up the bulk of the sandstone are squeezed tightly against one another to form quartzite.”
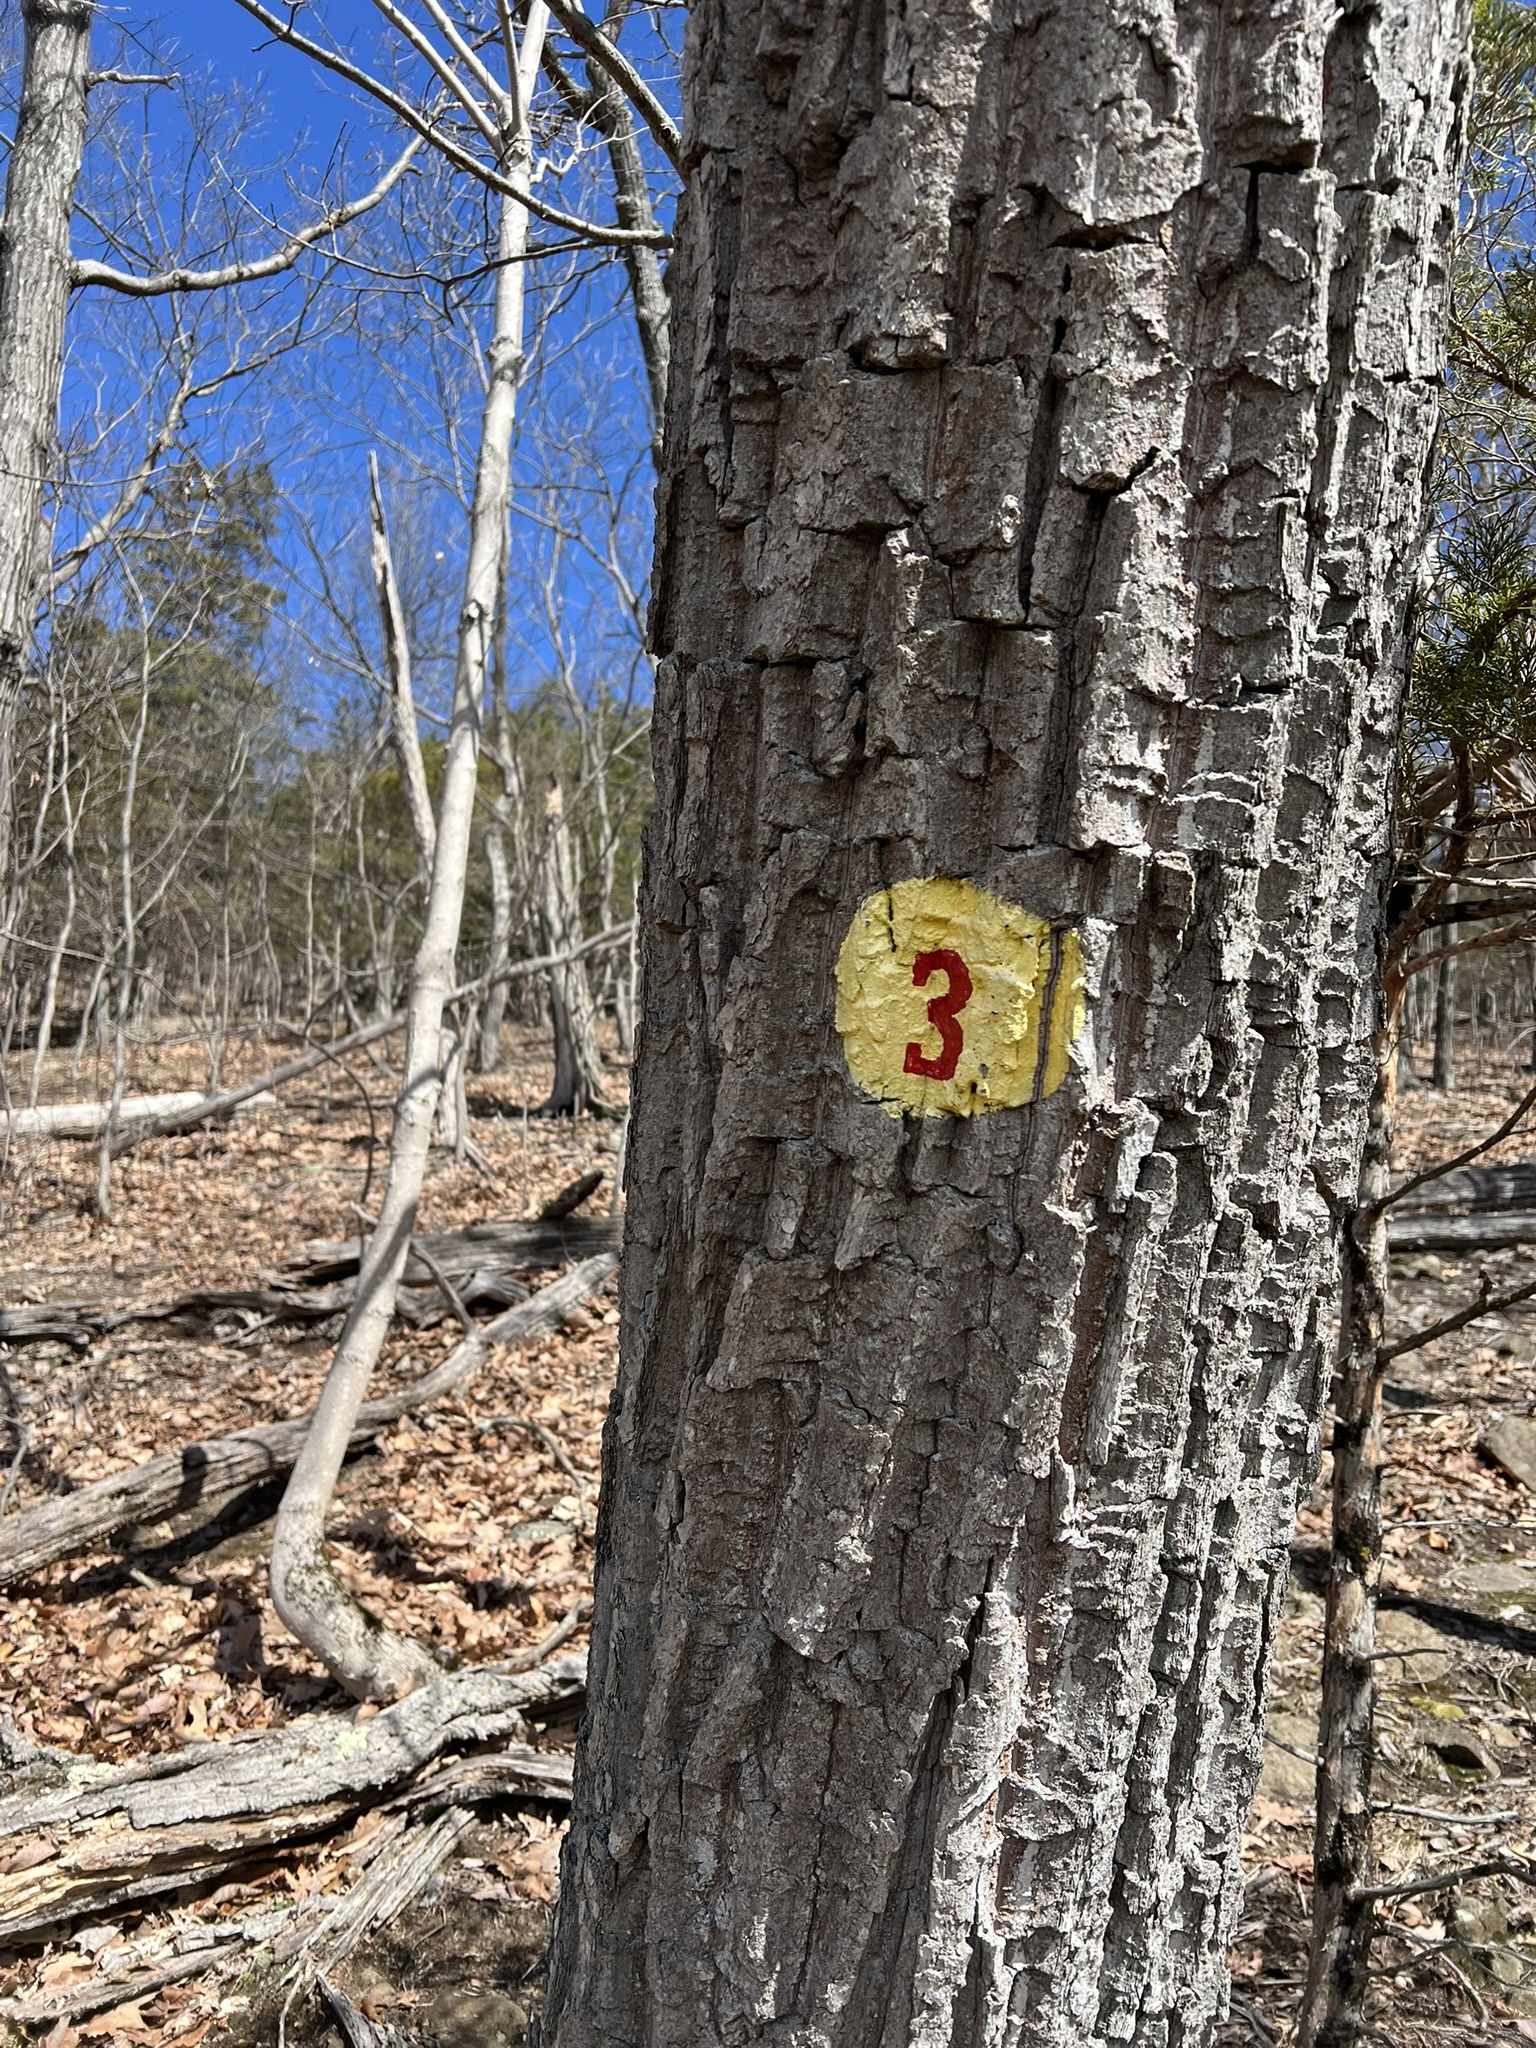
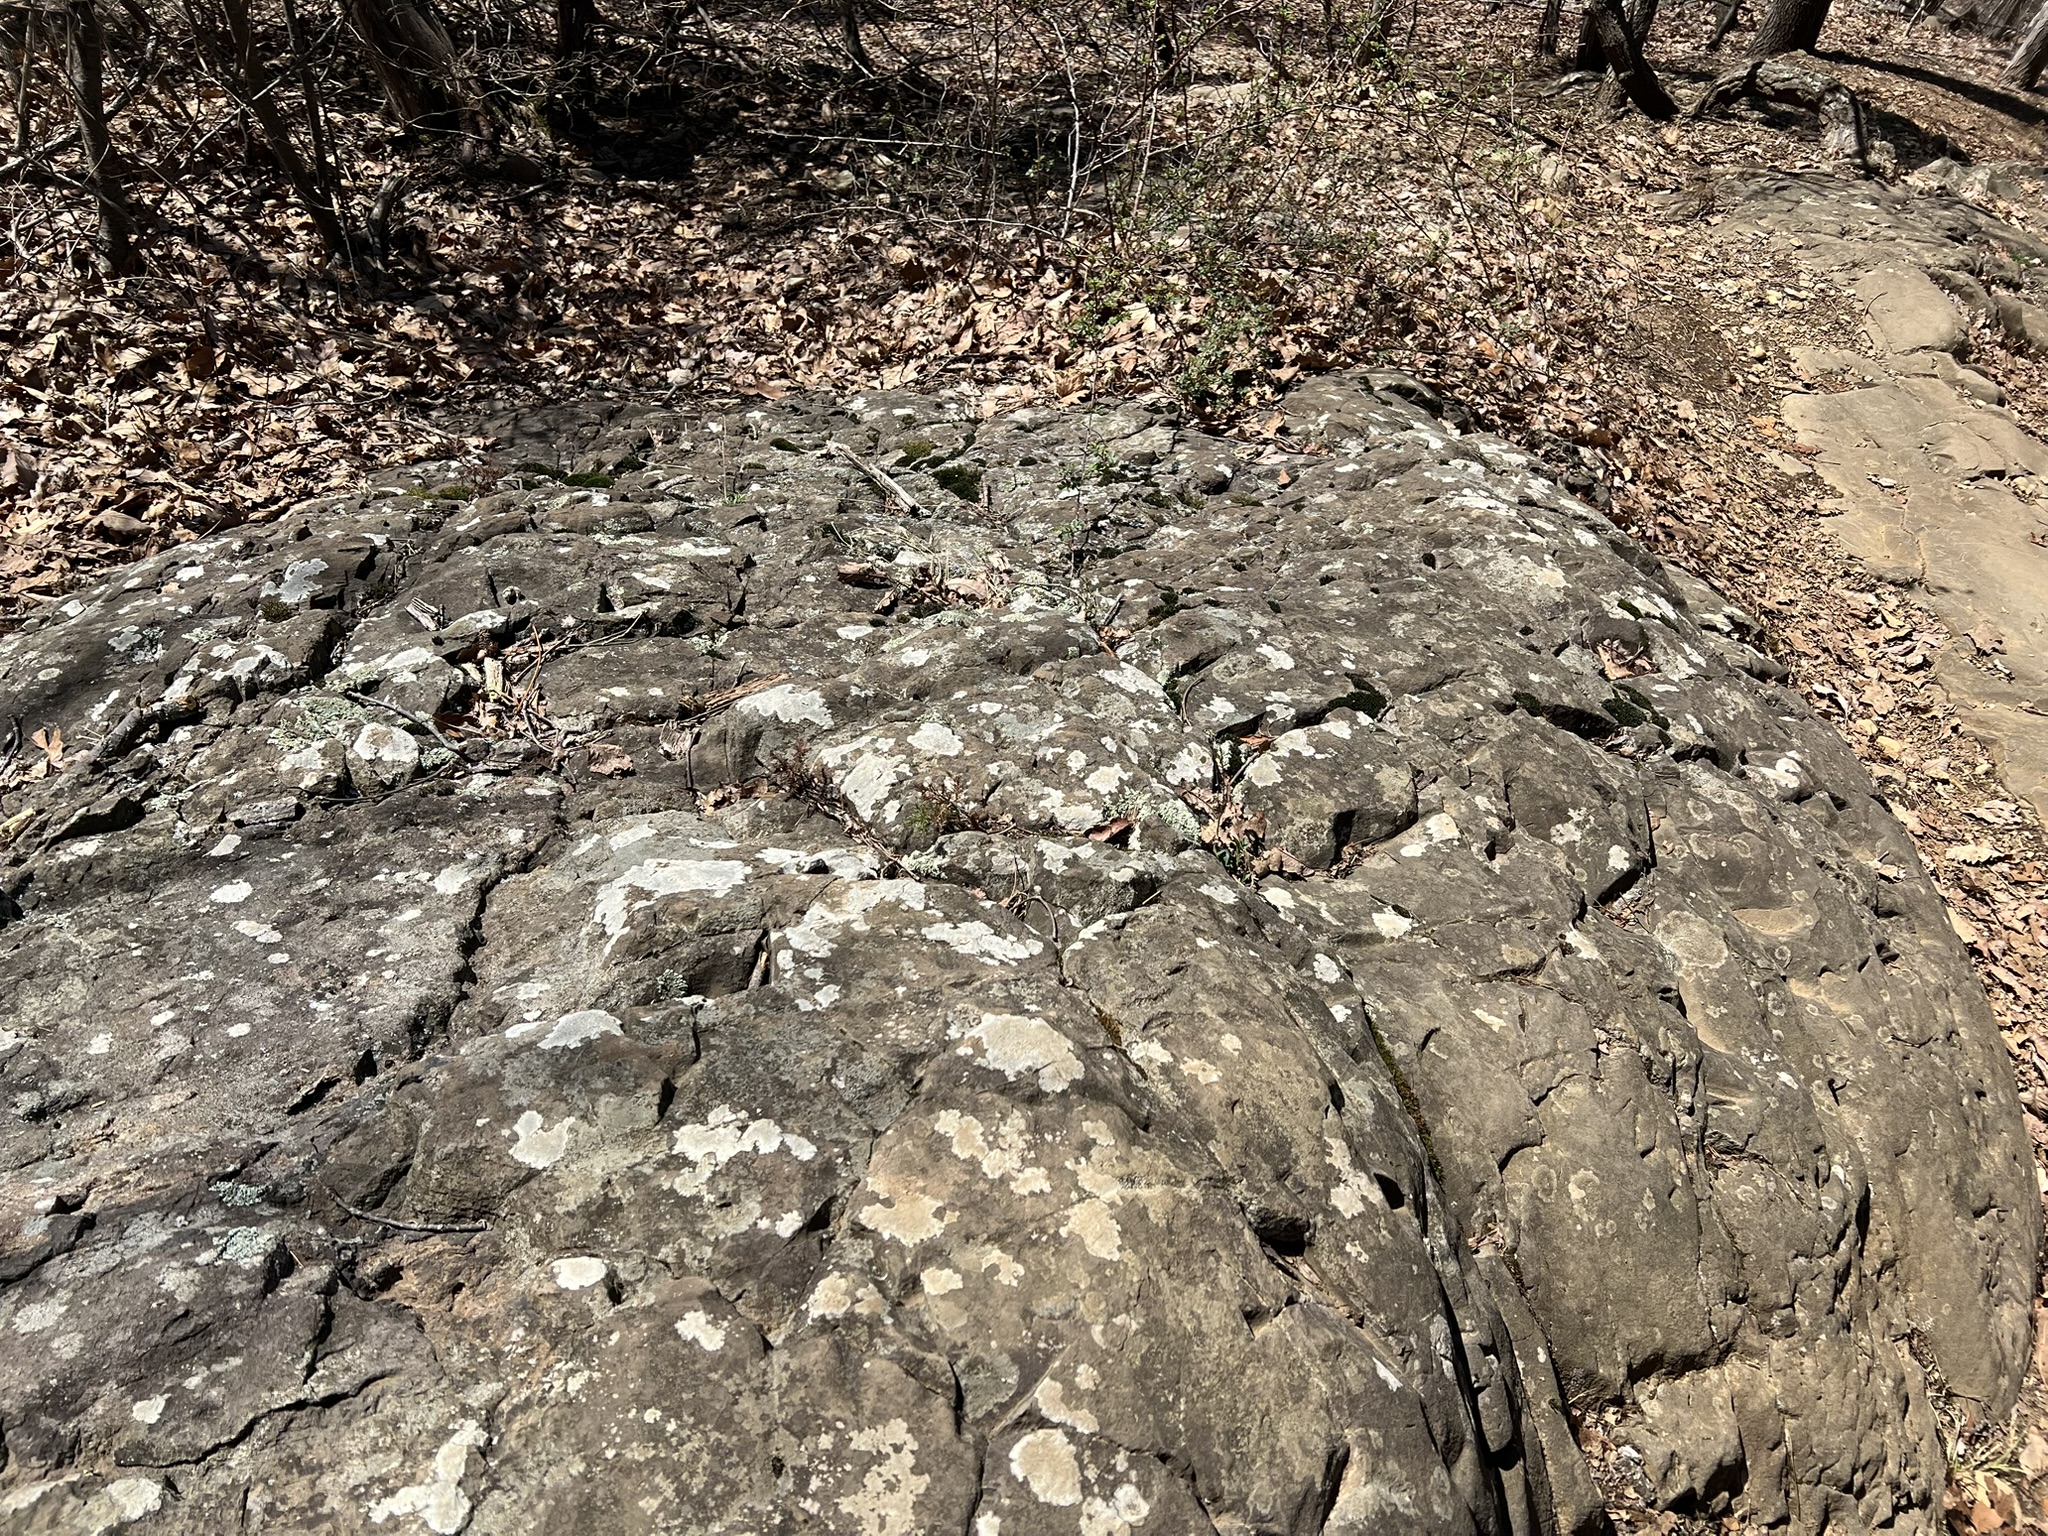
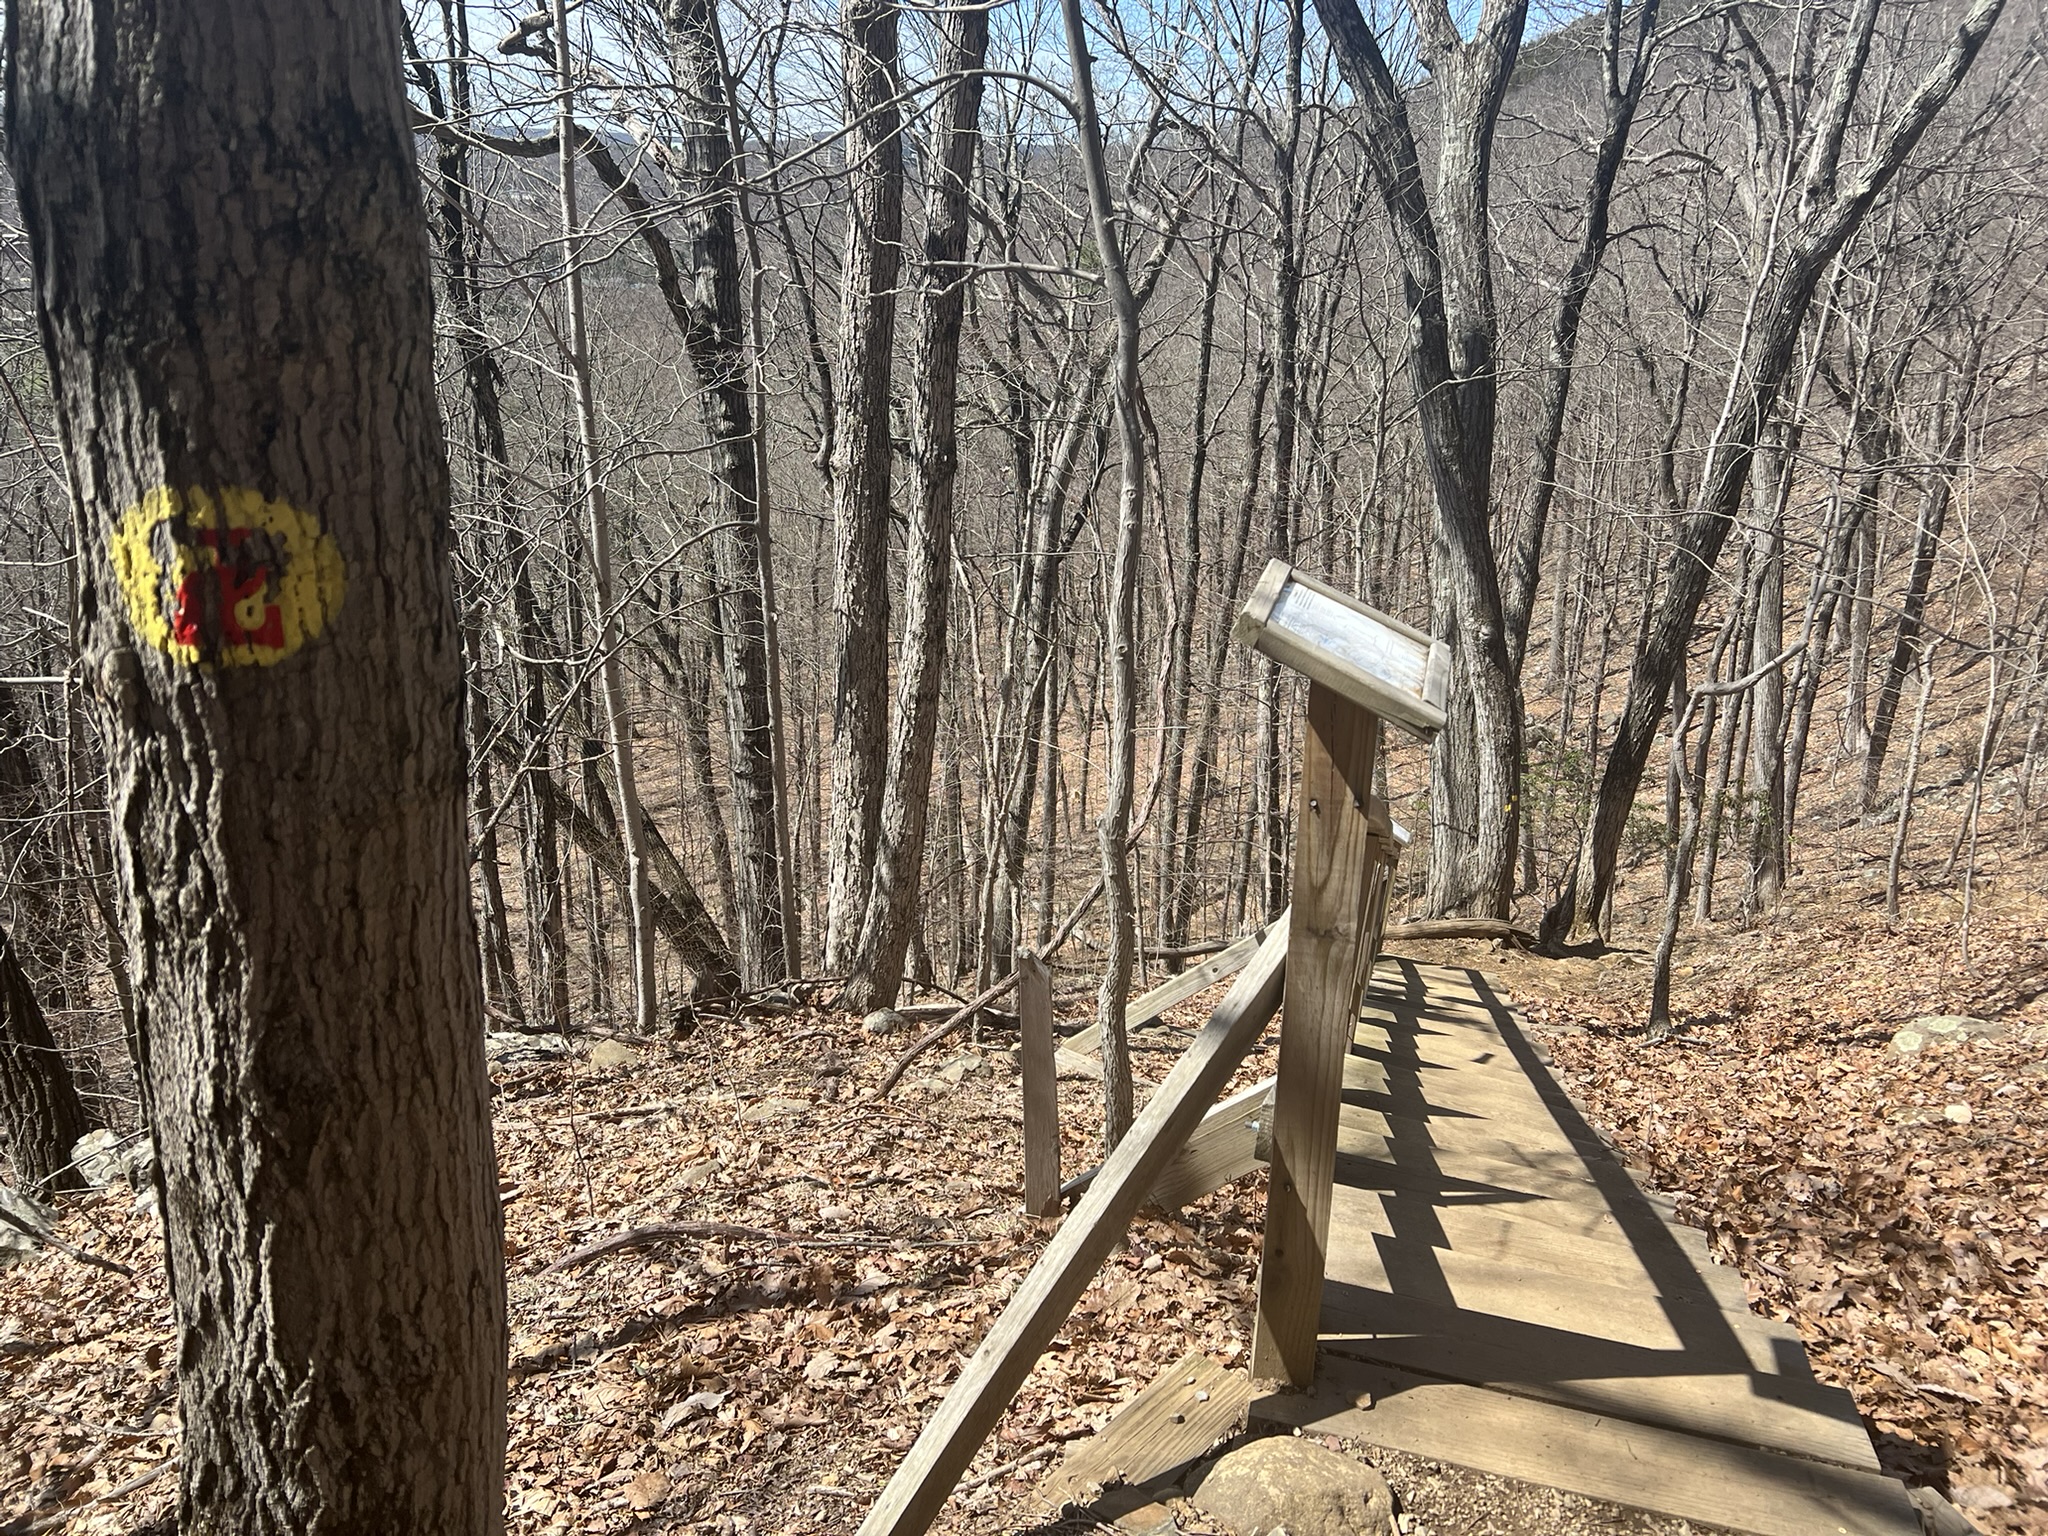
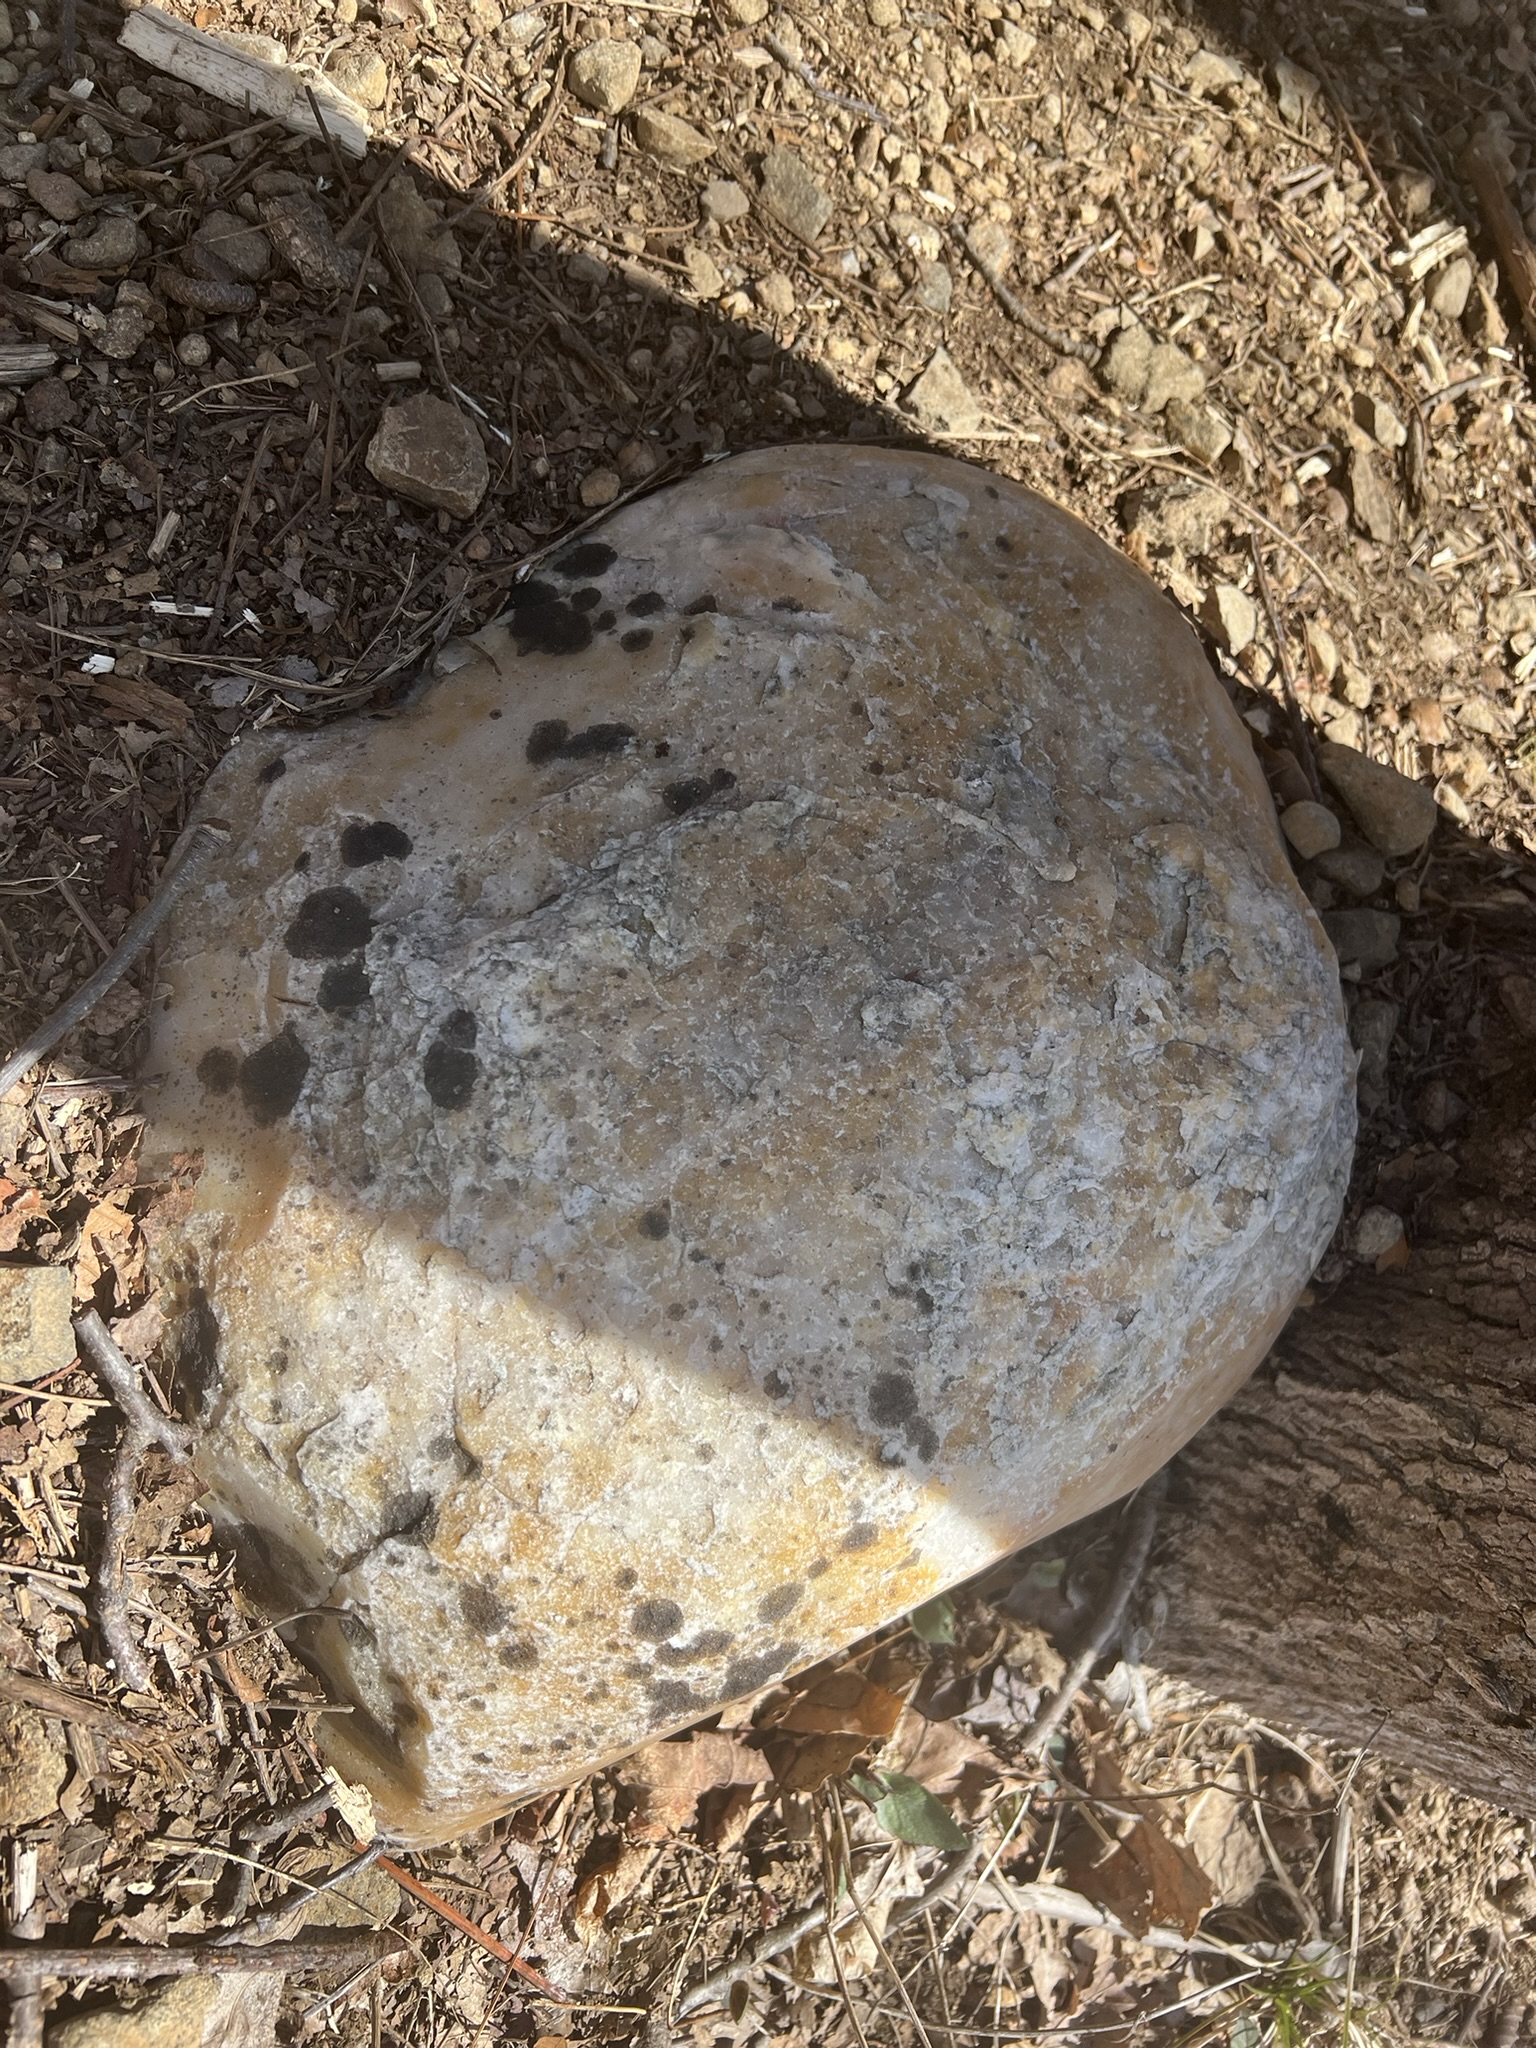
Clockwise from left: The Y3 marker is on a tree; the “crinkly” rock of the contact surface; a piece of quartzite; the Y2 marker by the Eagle Scout stairs
Unrelated to geology, but perhaps the most exciting moment of the hike, was seeing a big black bear running downhill in the distance. Since it was already running away from us when we saw it we experienced all the positive aspects of an adrenaline rush without the frozen fear component.
White/Violet loop hike. 7 miles with 1,747’ of ascent.
In early May, I joined an AMC hike led by Mary Anne Hardy. Mary Anne runs a Masters hiking series at Sleeping Giant and is on the board of the SGPA. She is also currently working on an updated edition of the 50 Hikes in Connecticut book, due out in 2028. You can find her on Instagram @50hikesct. We did a counterclockwise loop of white to violet. The white trail in particular had several difficult sections with challenging scrambles, but the violet trail also had its share. I had pre-printed the sections of the guide for these trails in advance, as I hoped to do some sleuthing for this Trail Talk without unduly holding up the group. Fortunately, the group expressed interest in learning about the geology. One hiker in particular relished the search and went so far as to record the track and marker locations with her Ride with GPS app. She was a dedicated scavenger hunt companion, and later shared the results with me to help with this post. We found most of the White Trail markers, although we missed a few. W10 is another example of exfoliation. W11 has two features. First, the rock with the double-headed arrow painted white is highlighting glacial striation – where debris pushed along by the slow-moving glacier scraped lines into the rock. The high resolution photo in the guide shows this more clearly. My photo appears to highlight the cracks in the rock instead. The second feature is the granitic vein that runs through the rock below the painted marker.
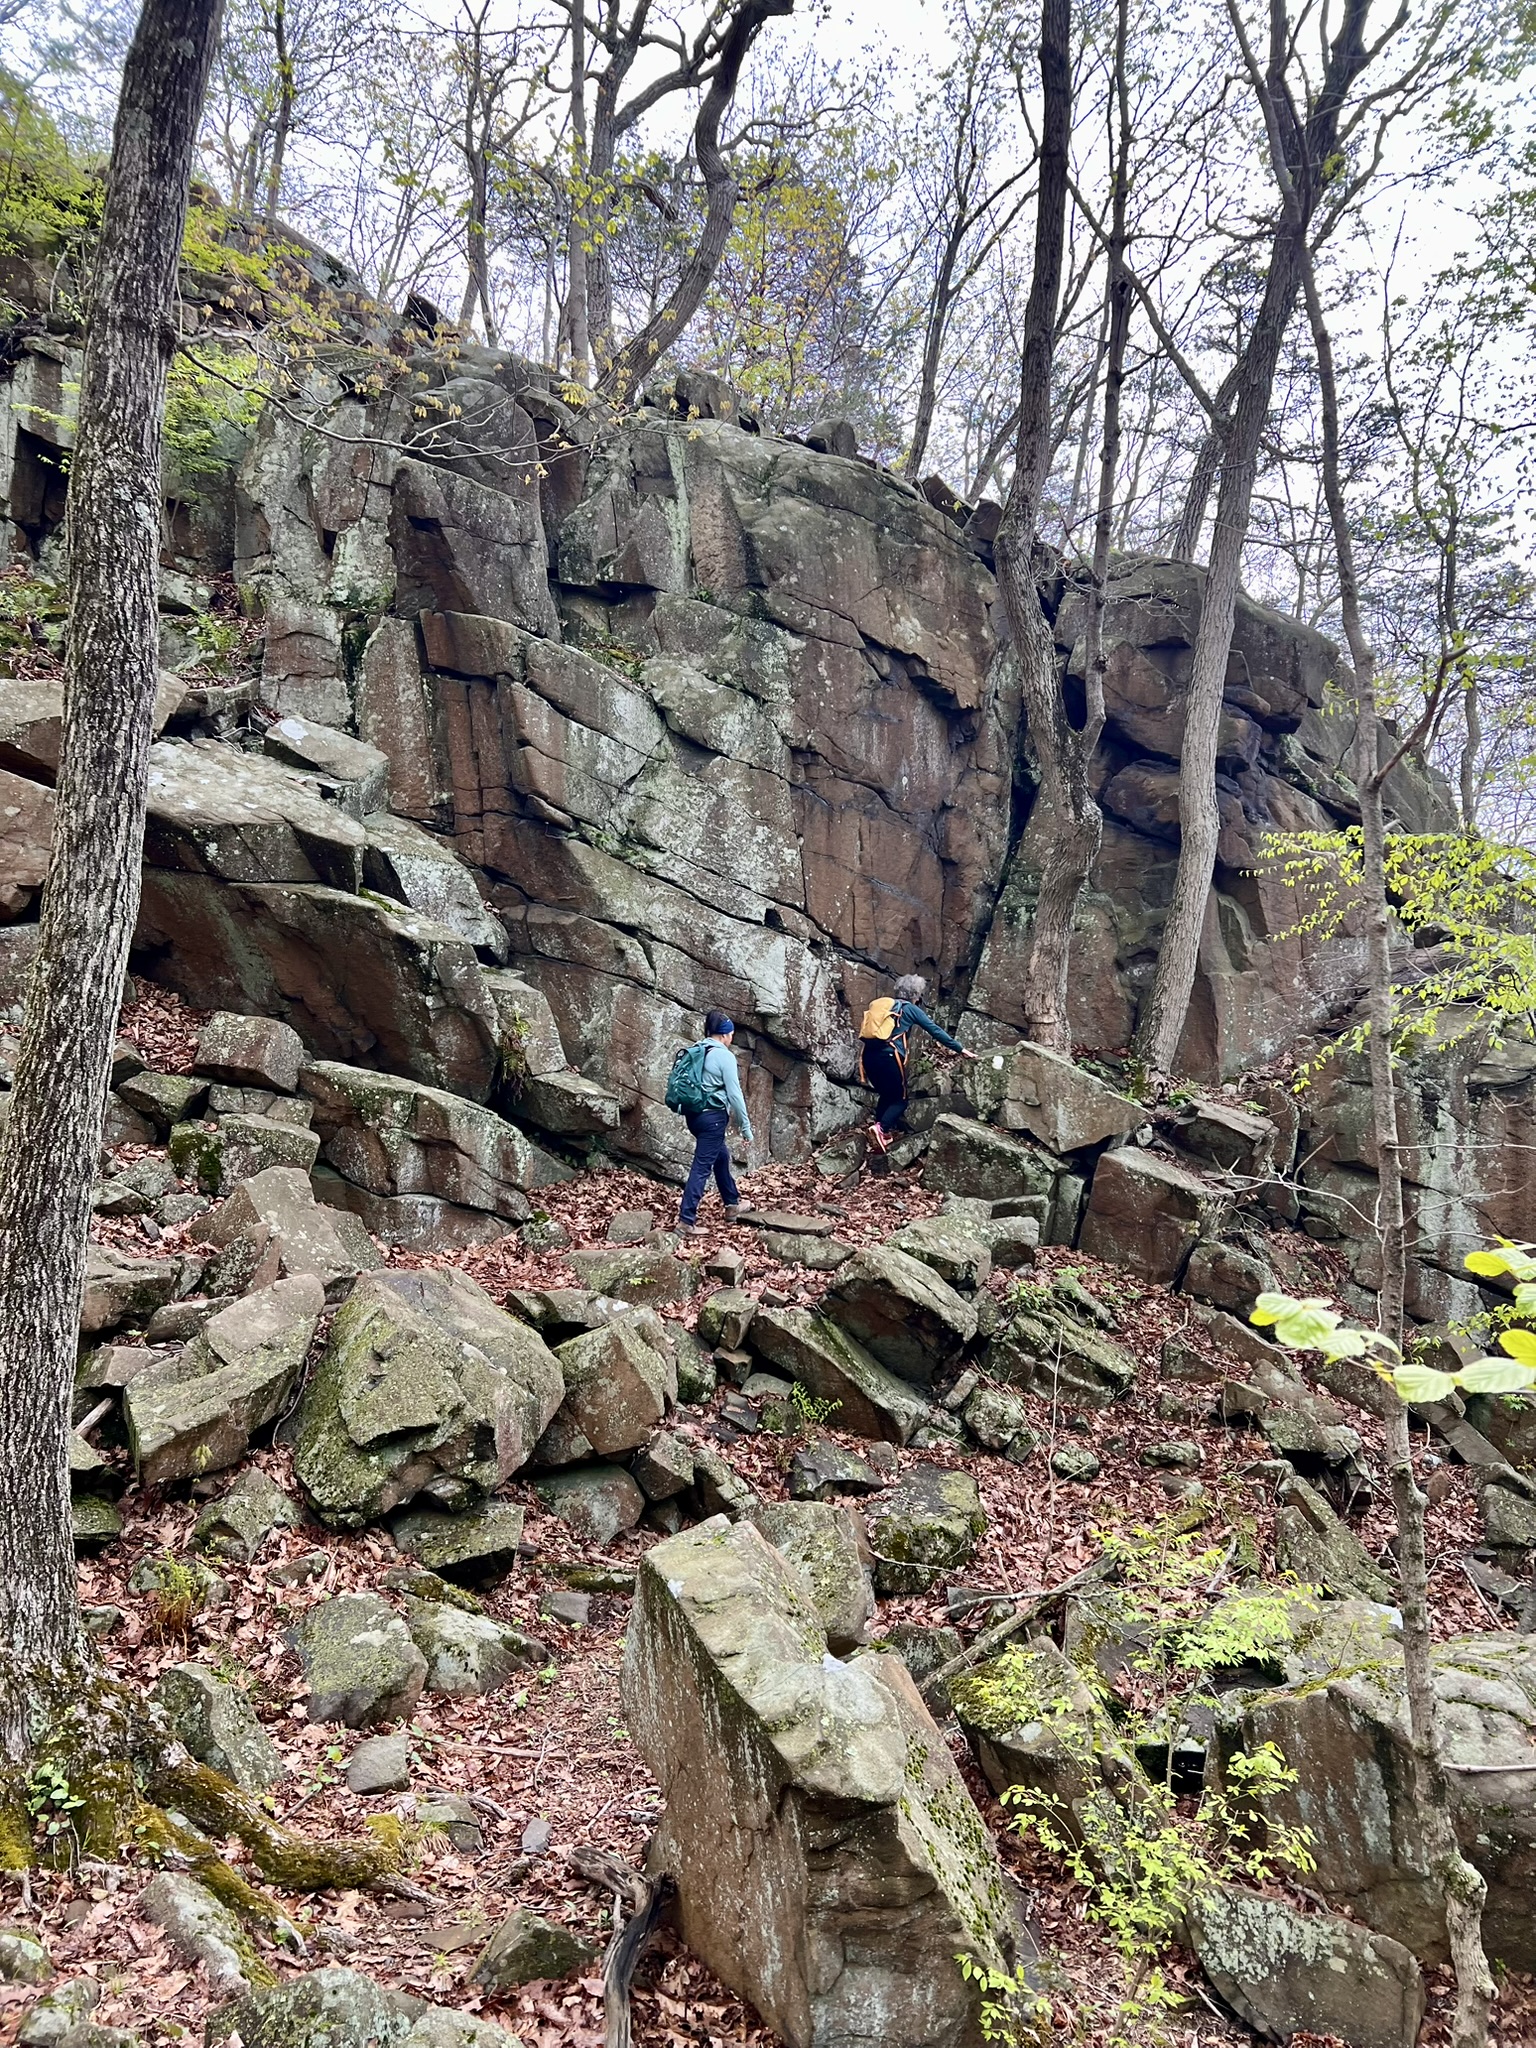
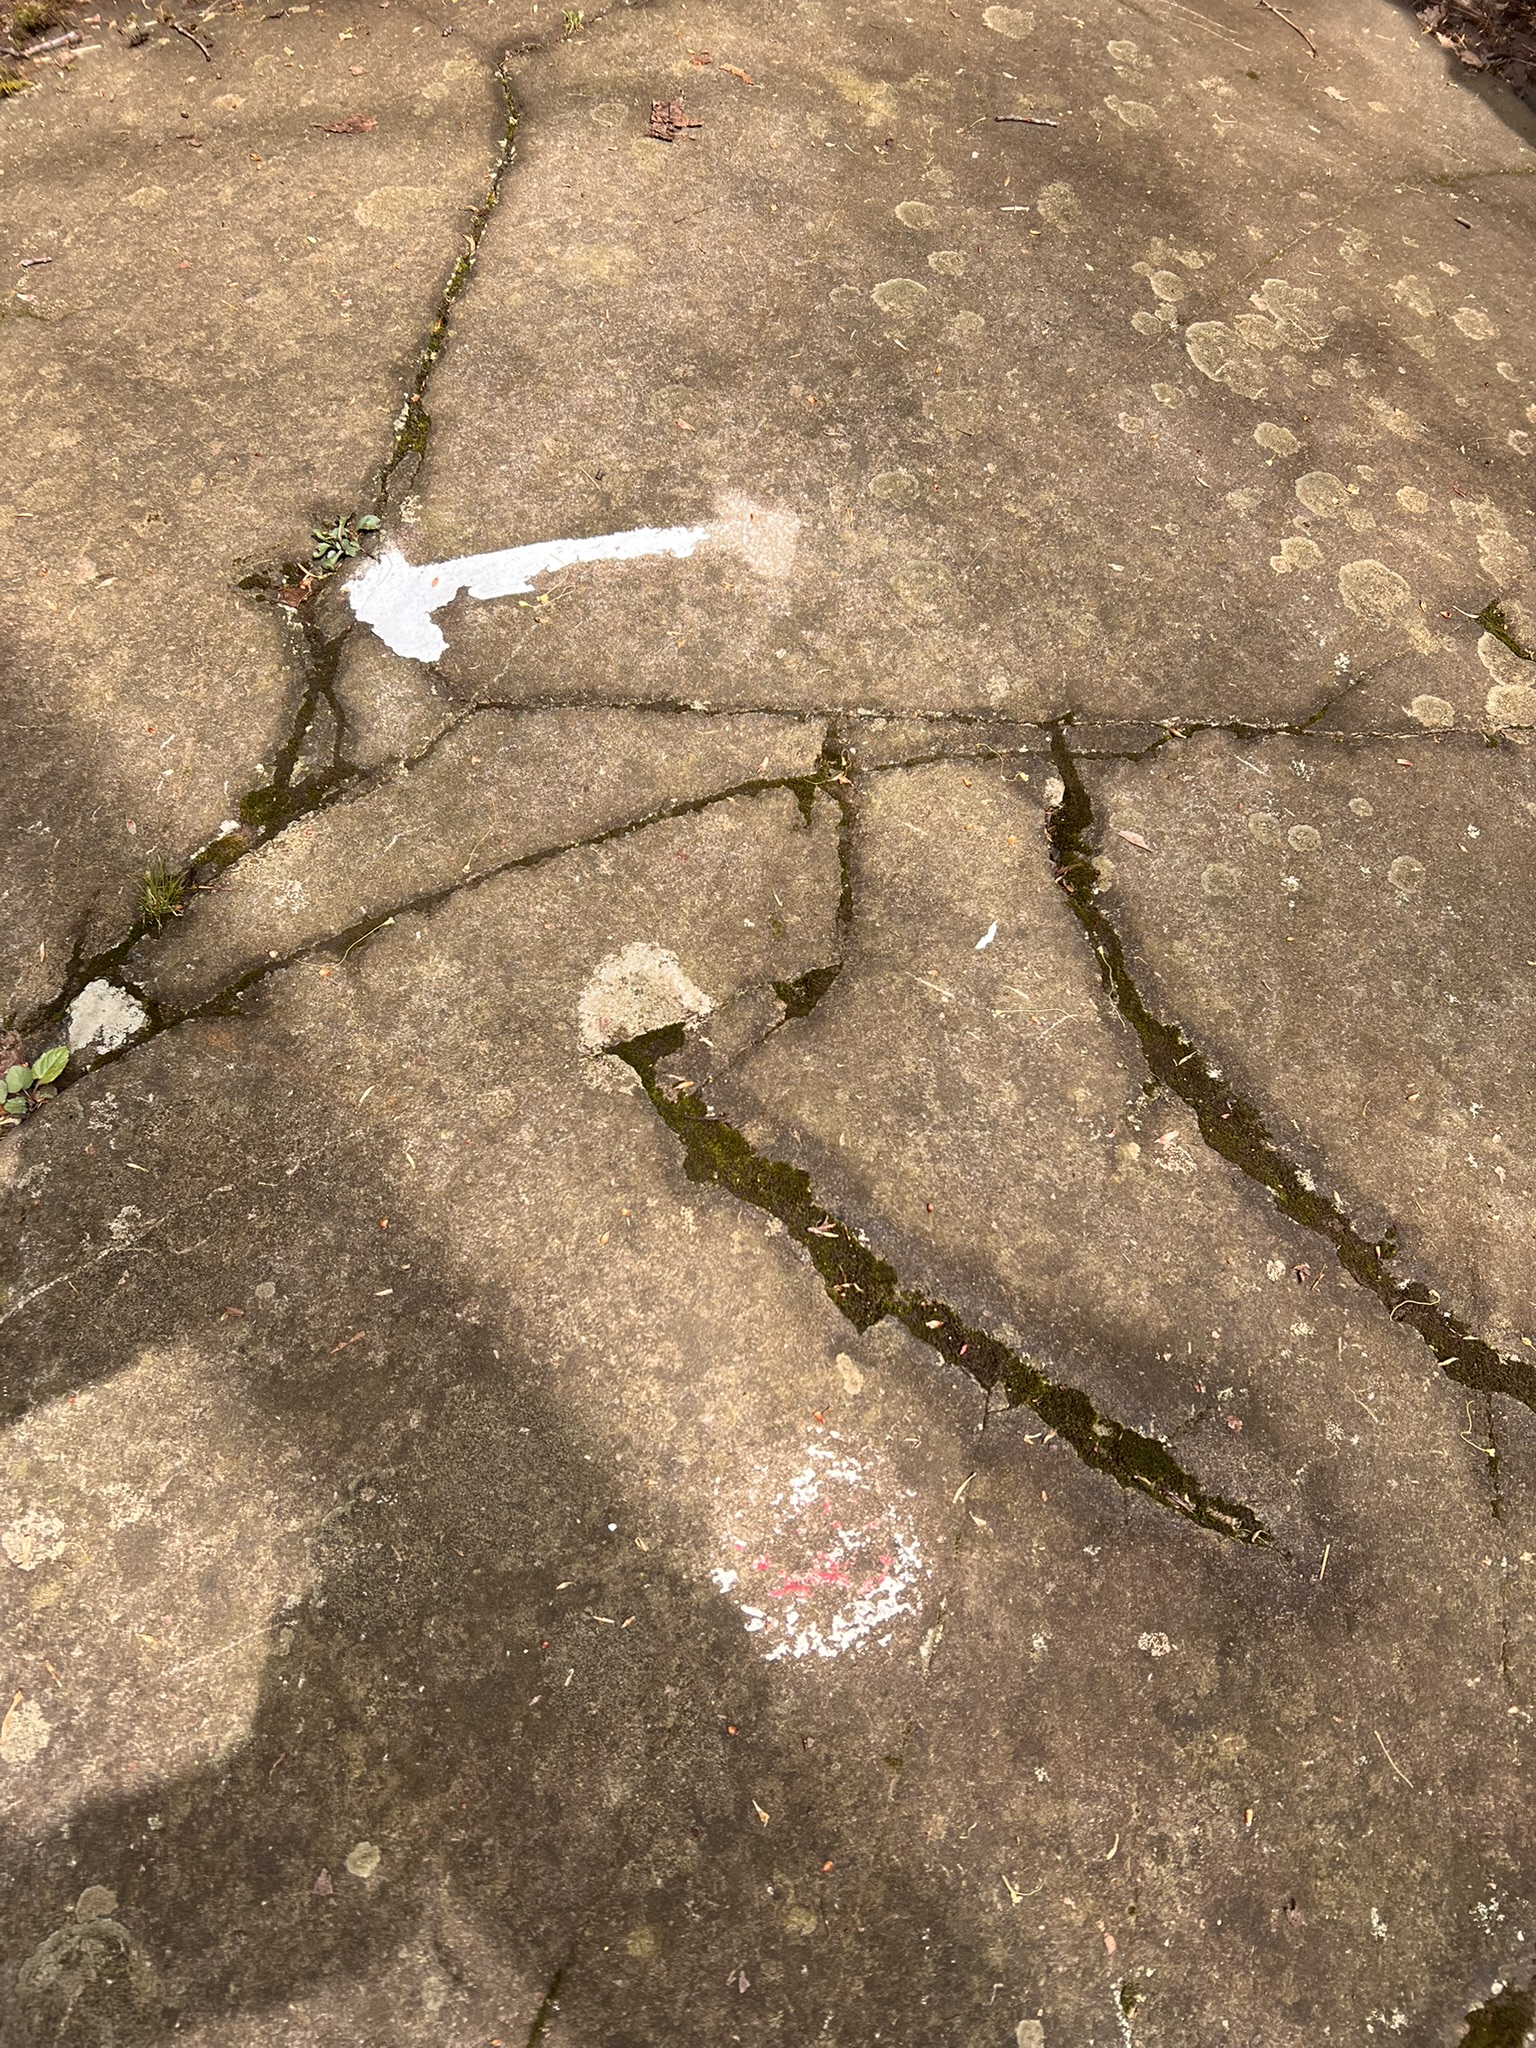
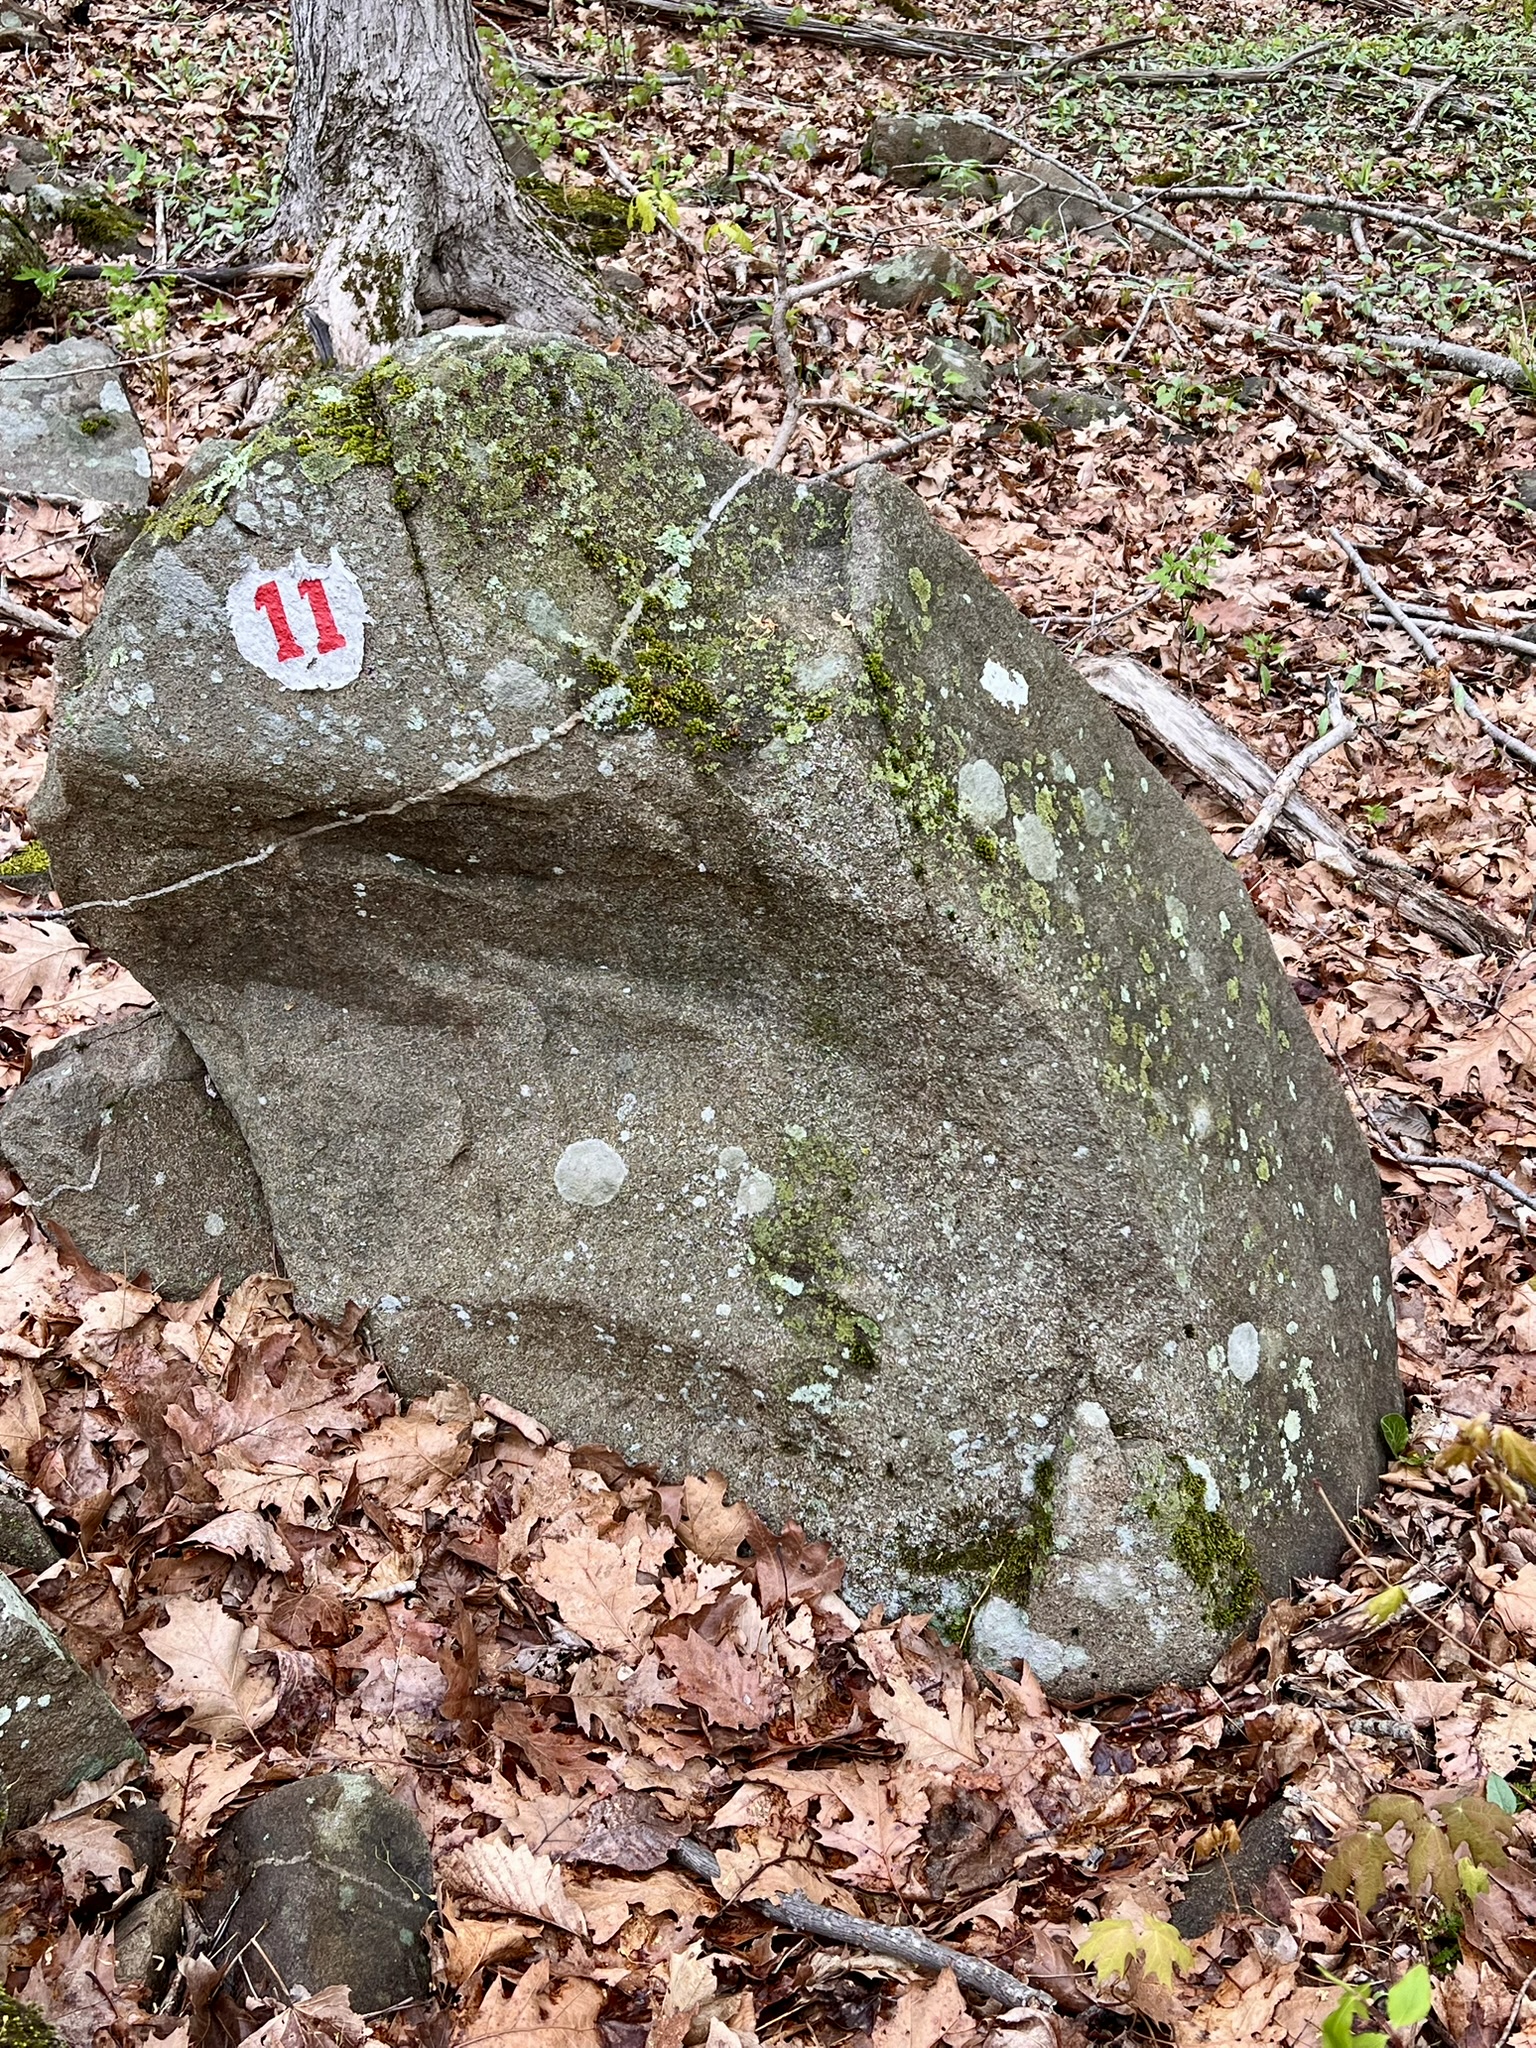
From left to right: one of the more challenging section of trail; W10 as another example of exfoliation; W11 with arrows showing the glacial striation; the granitic vein wrapping the rock below the W11 marker
W12 is an explanation of the diabase cliffs and talus slopes. Talus refers to the small boulders or scree that has broken away from the main cliff. And YES, the trail goes right up the middle of that jumble. W13 shows Coarse-Grained Red Soil. The guide explains that some areas within the park took longer to cool which affected the mineral composition of the rock. “[T]he coarse-grained rocks at this location are referred to as pegmatite. The accumulation of large amounts of iron—as much as 20%, compared to only 11% in other areas of the Park—and its subsequent oxidation on exposure to air are responsible for the rust color of both the soil and many of the nearby rocks.”
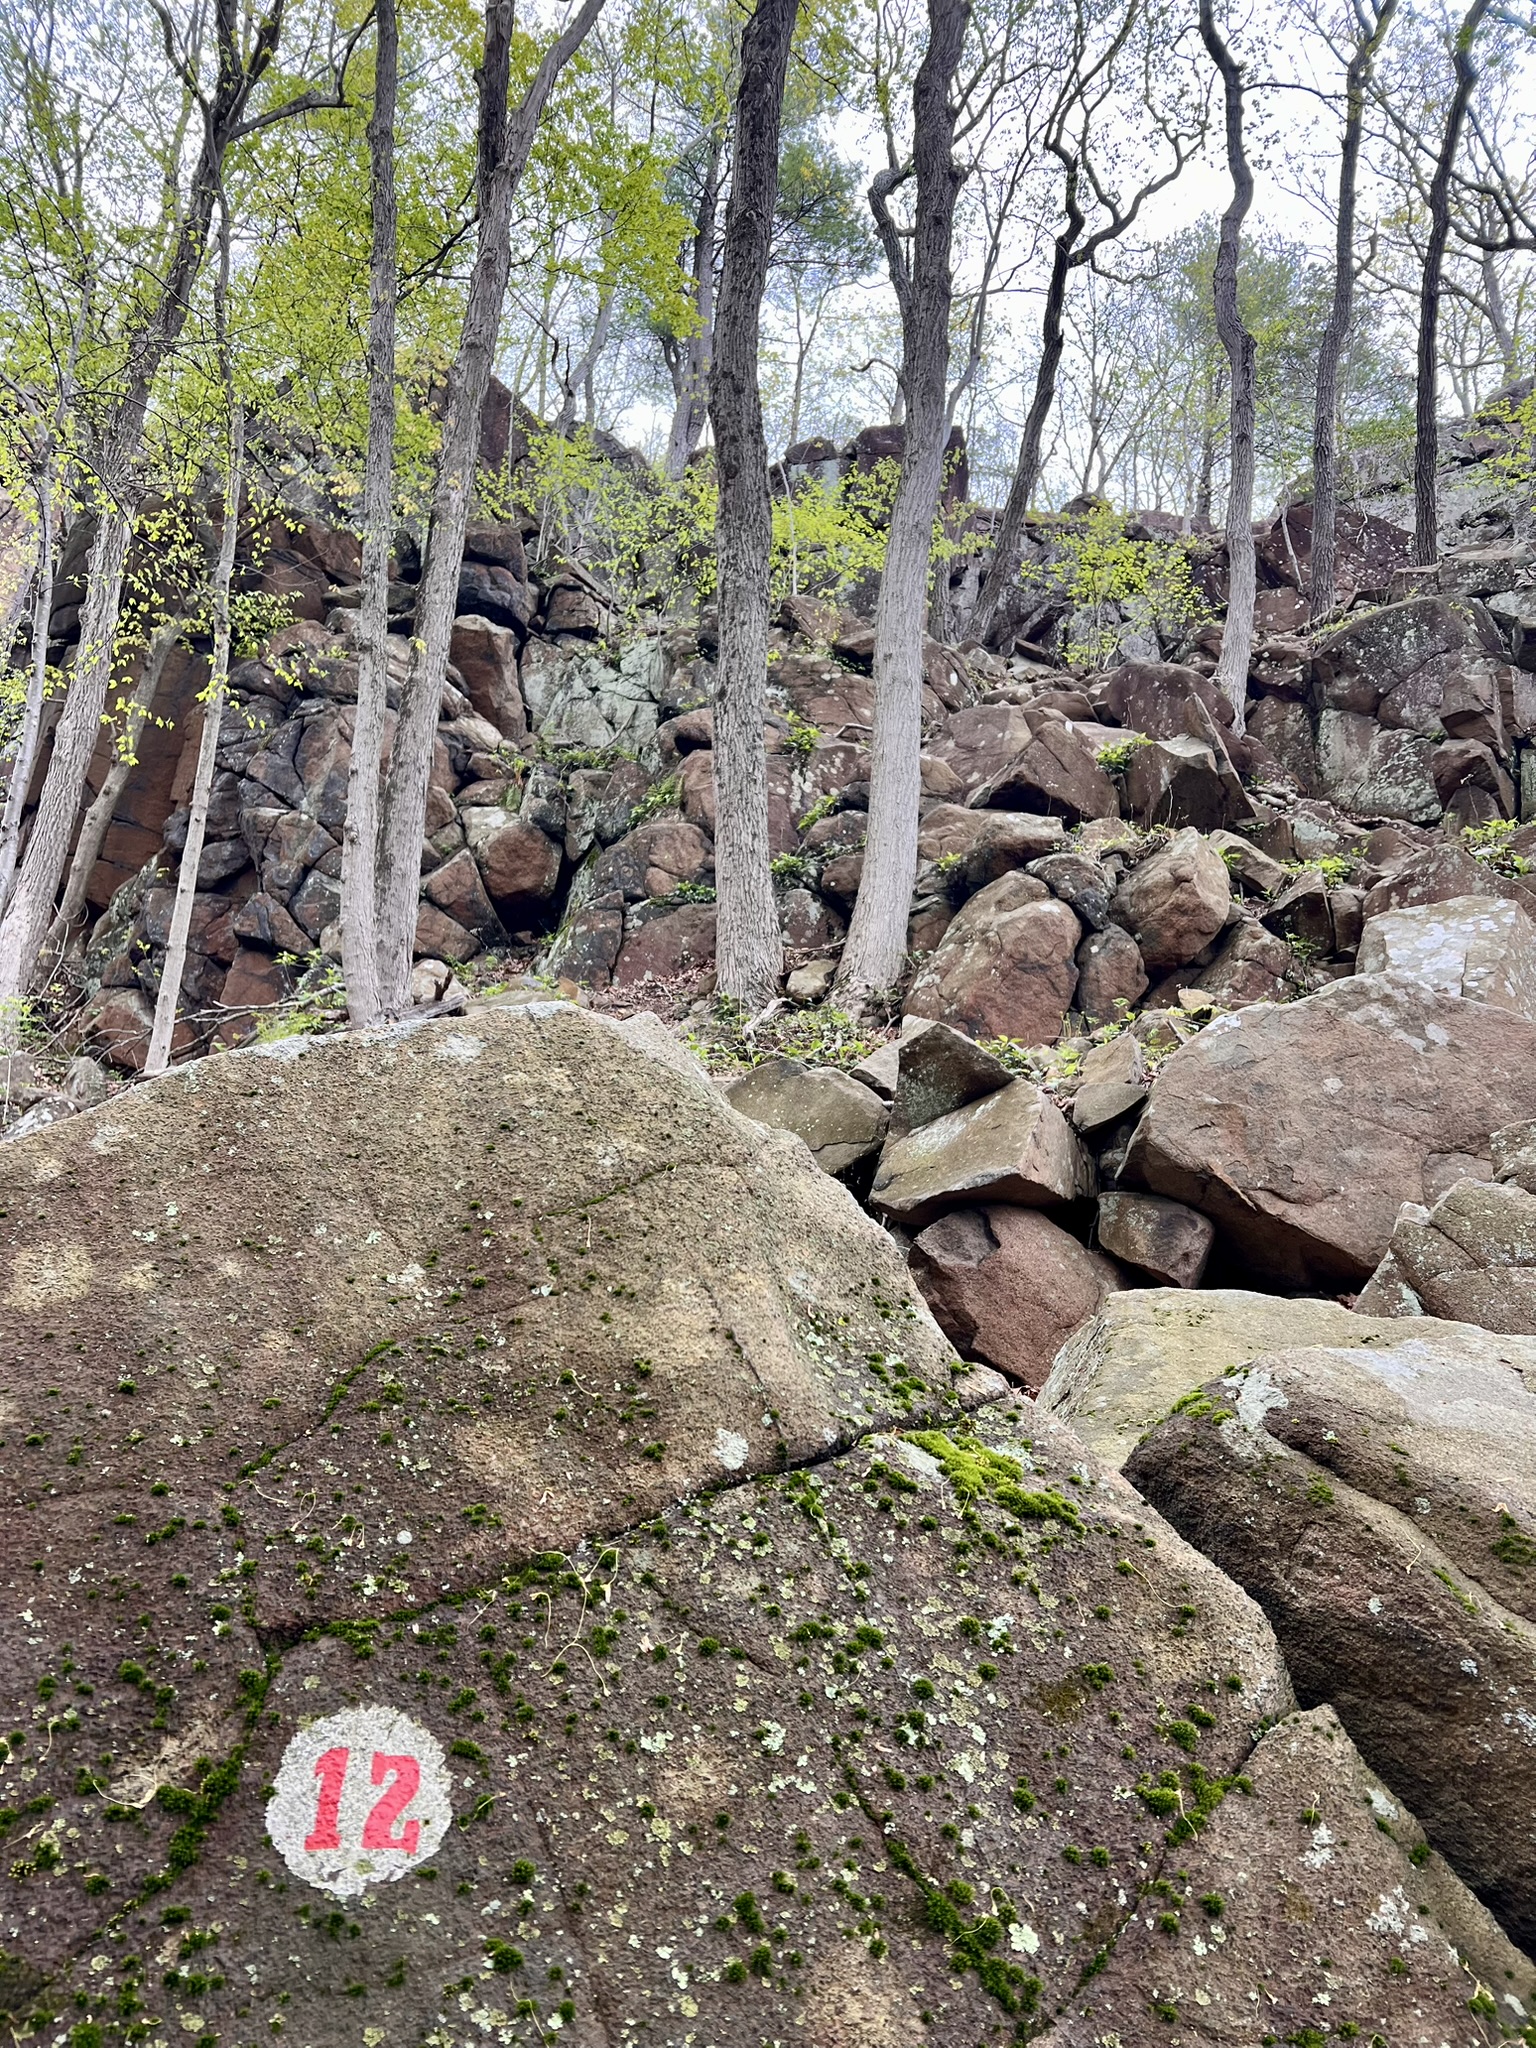
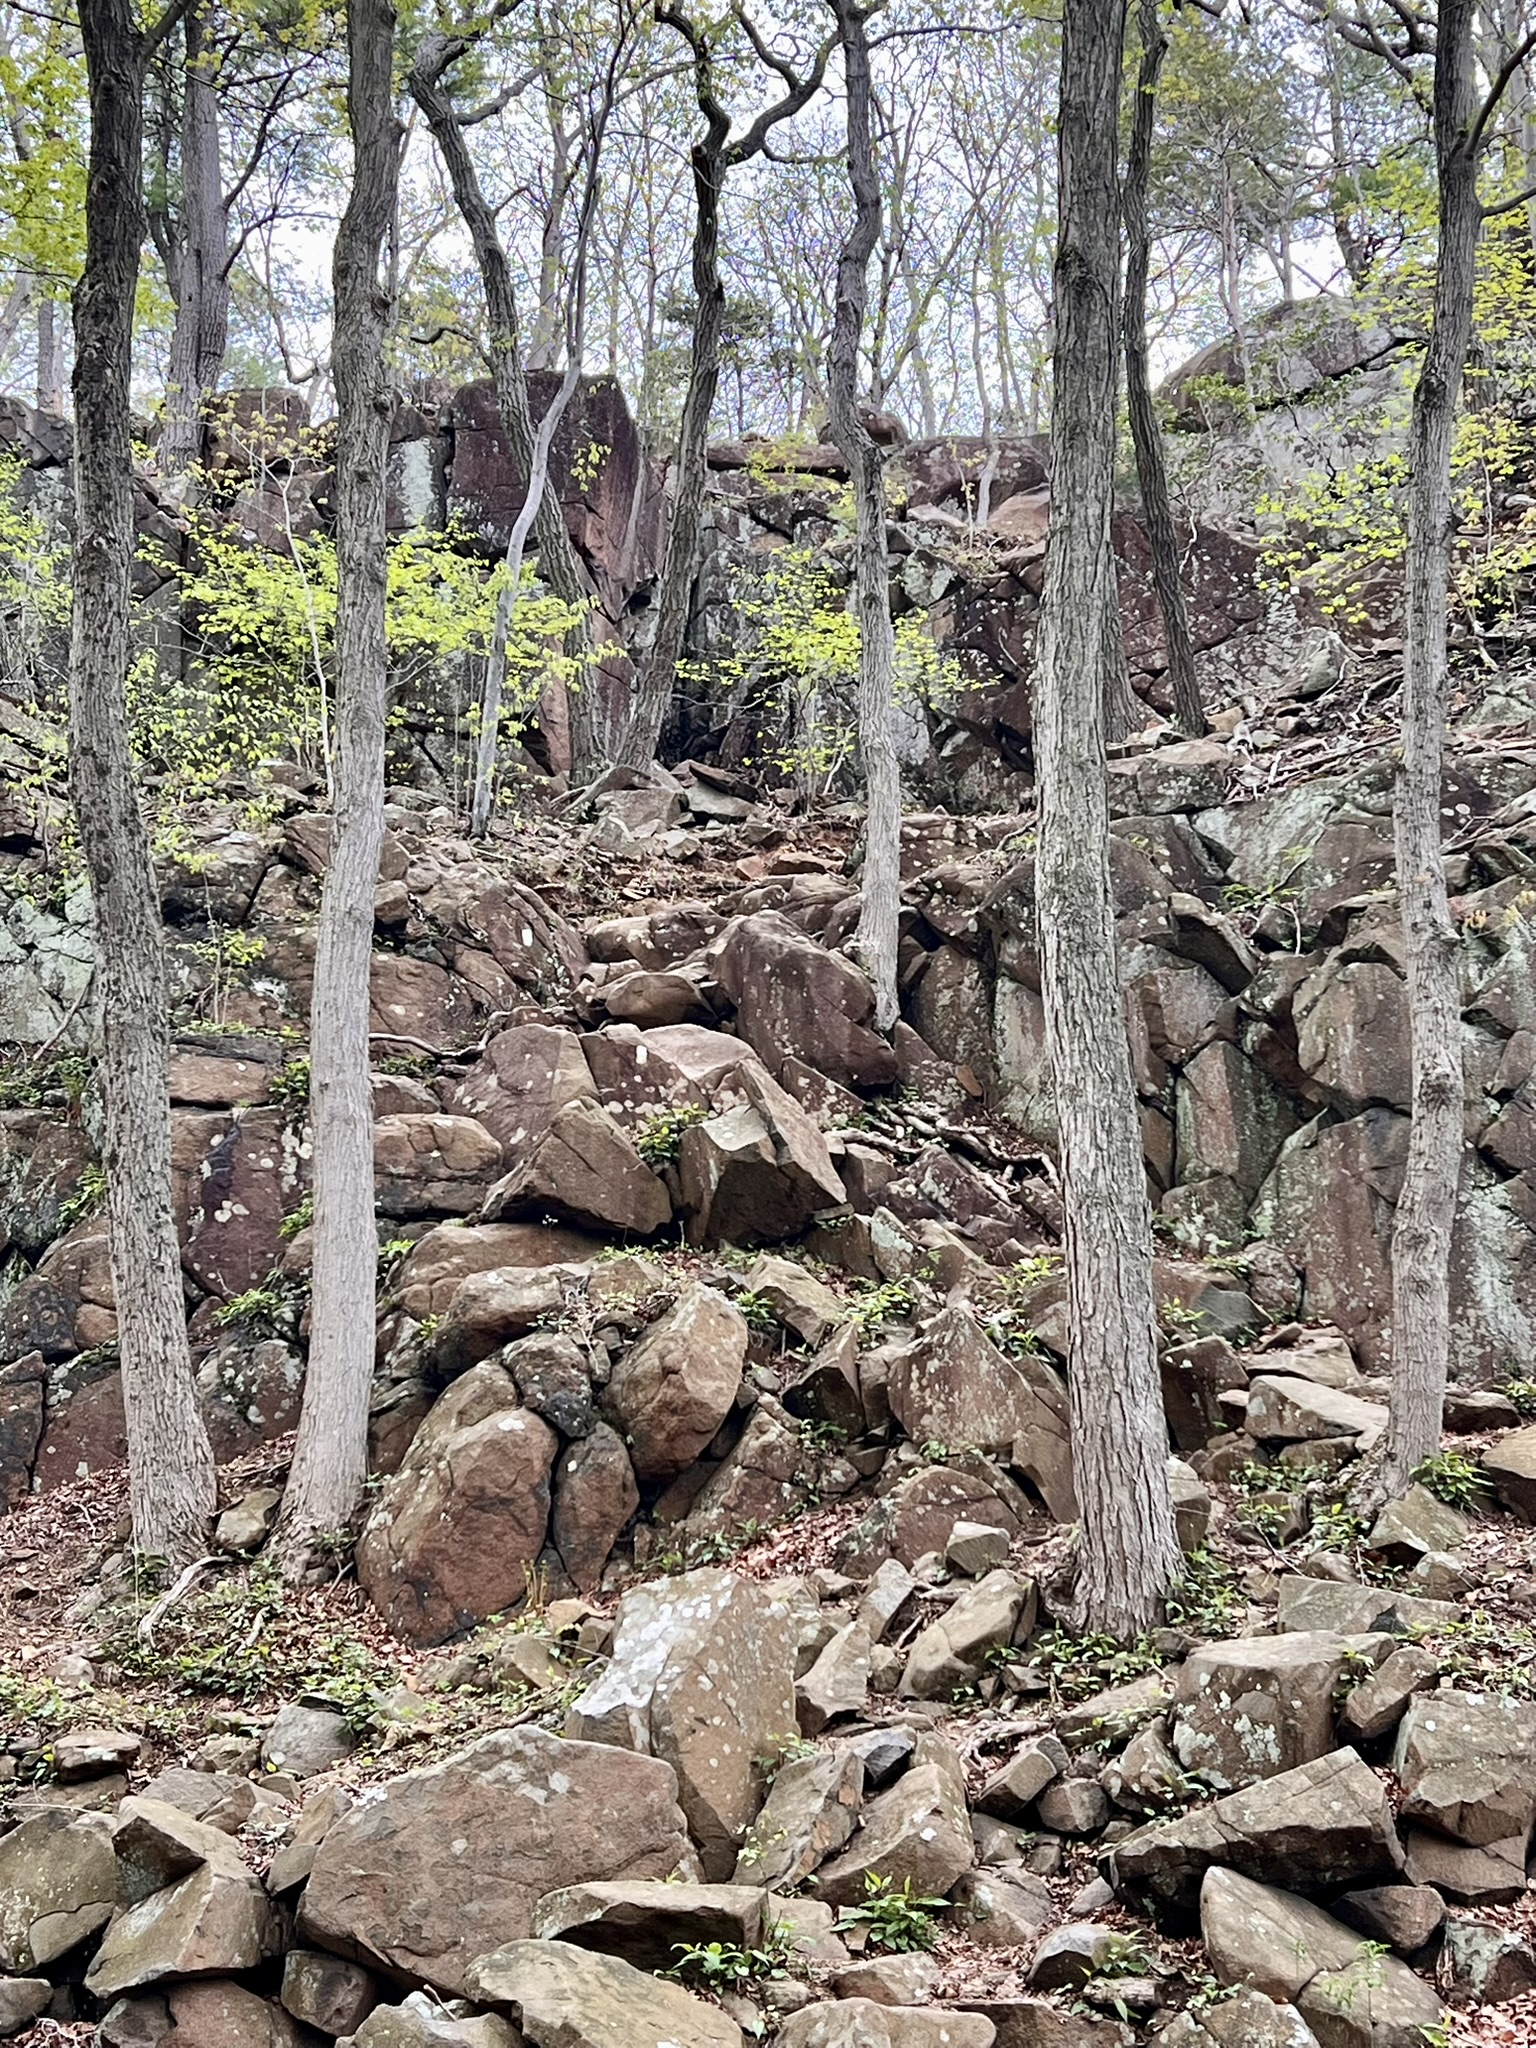
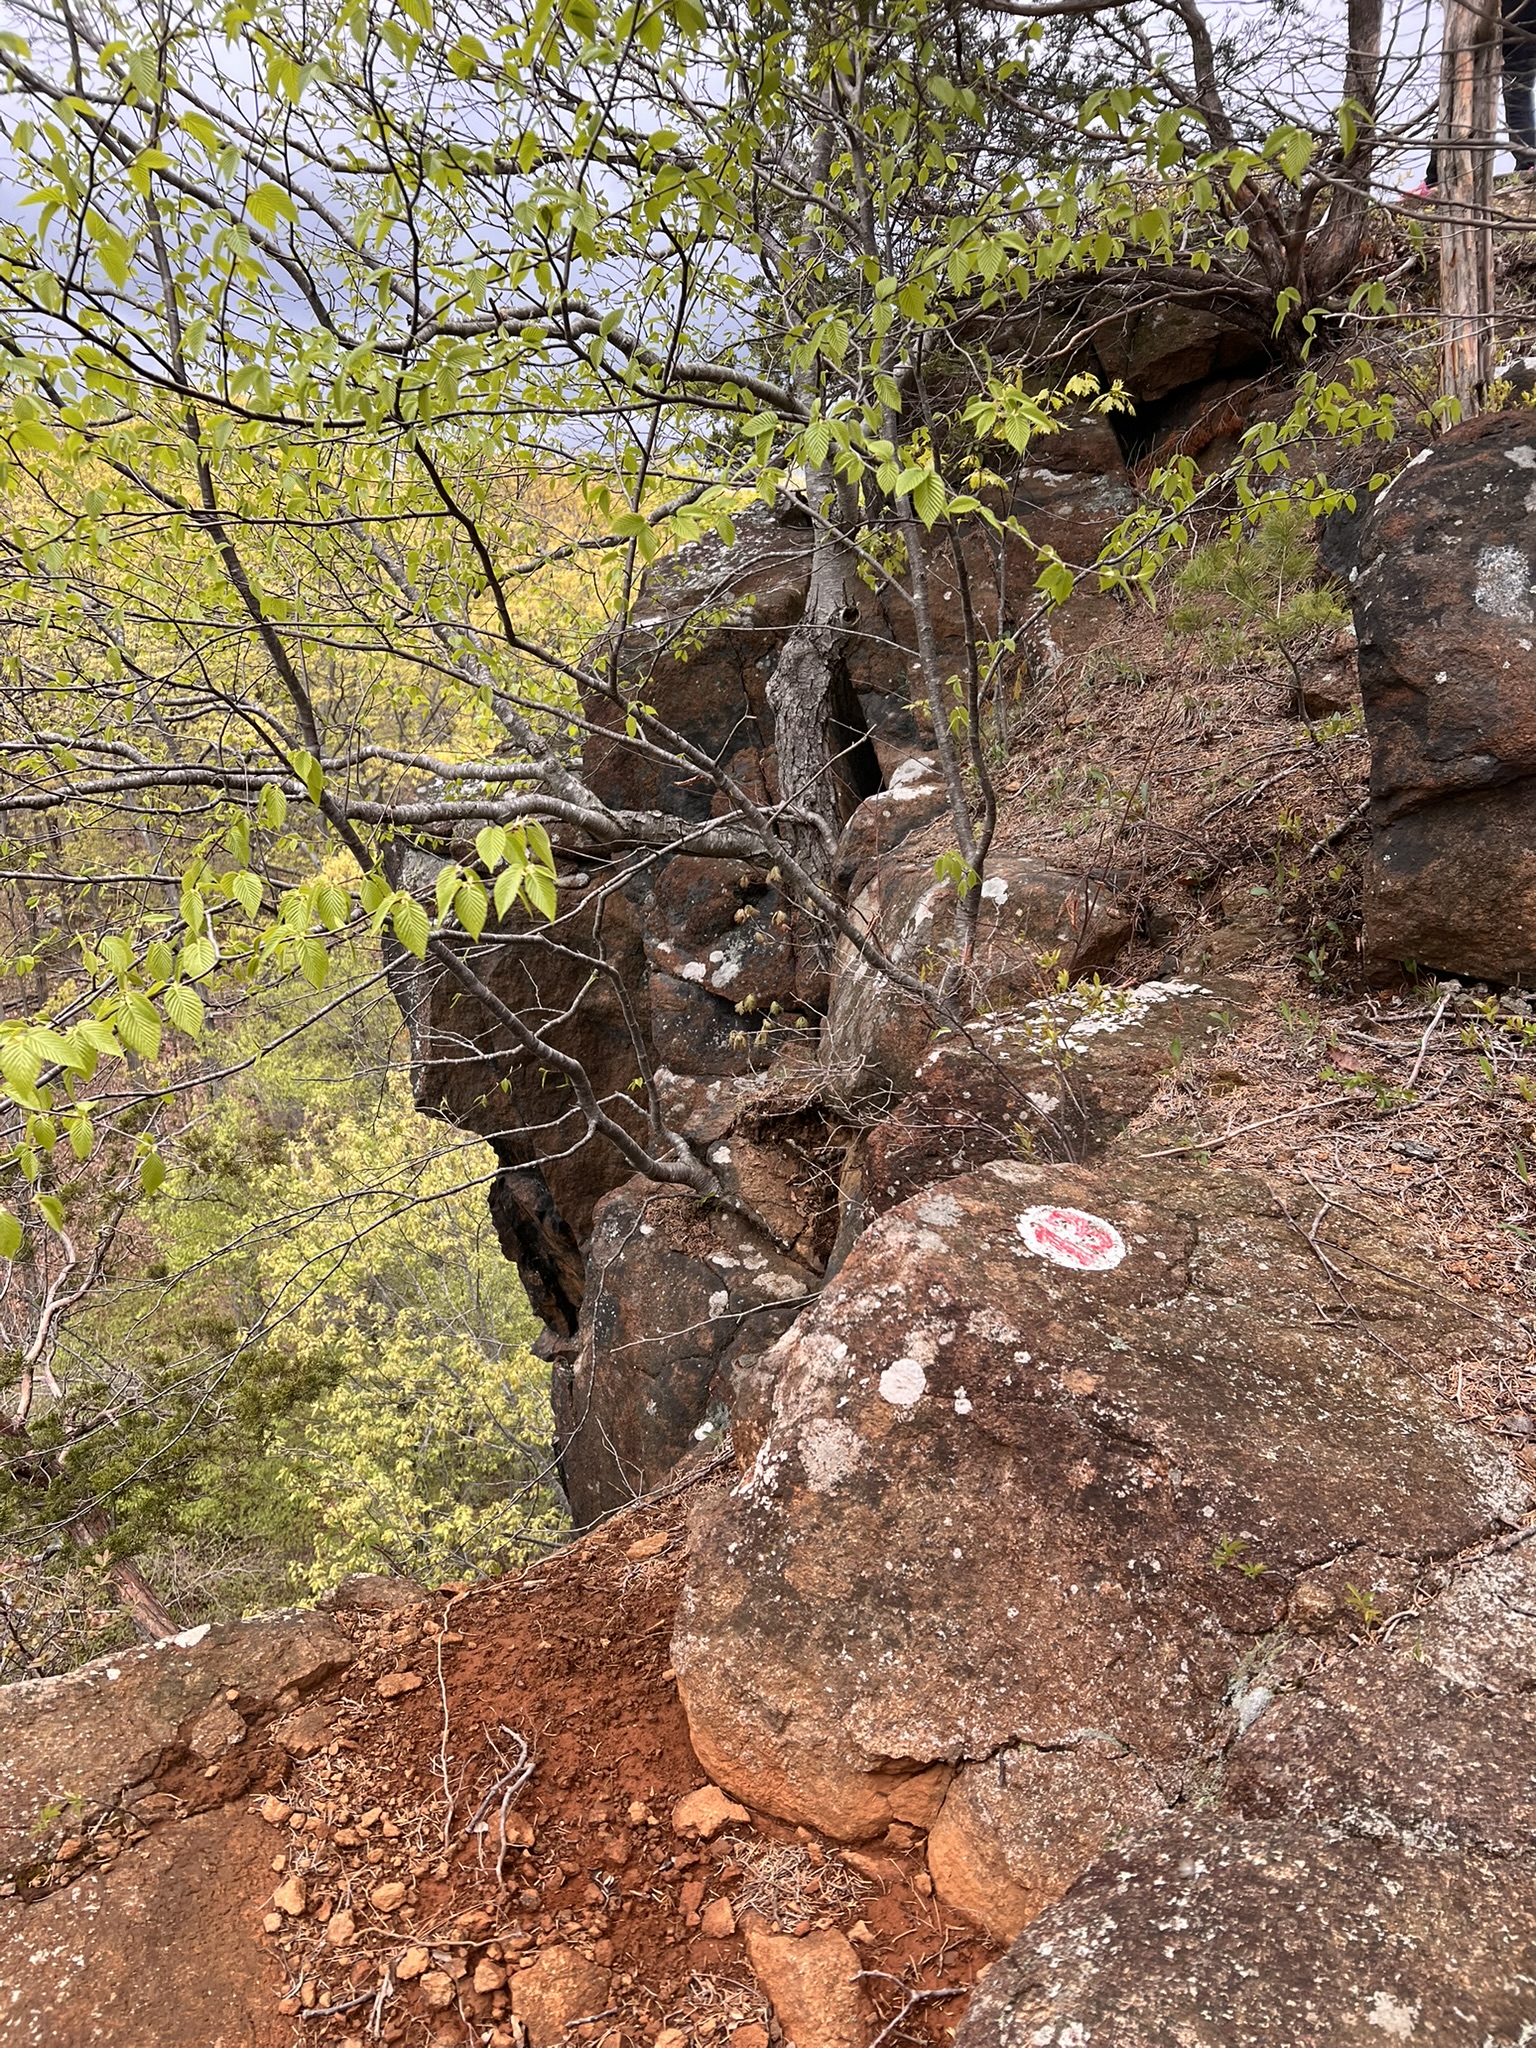
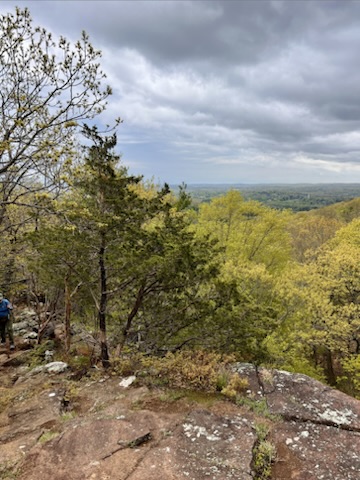
From left to right: The cliffs and talus slopes described in W12; the coarse-grained red soil of W13; a view to the north side of the trail
W14 is an example of ice wedging, where water seeped into cracks in the rock and froze, causing a split in the rock. W15 is an example of pegmatite pockets. The guide explains that “[t]he striking colors are due to both the wide variety of elements and minerals that have been concentrated within the solidifying matrix as well as to the subsequent effects of oxidation following exposure to air.” W16 is an example of spheroidal weathering, where boulders of pegmatite have eroded over time into round shapes. W20 is another example of a contact surface.
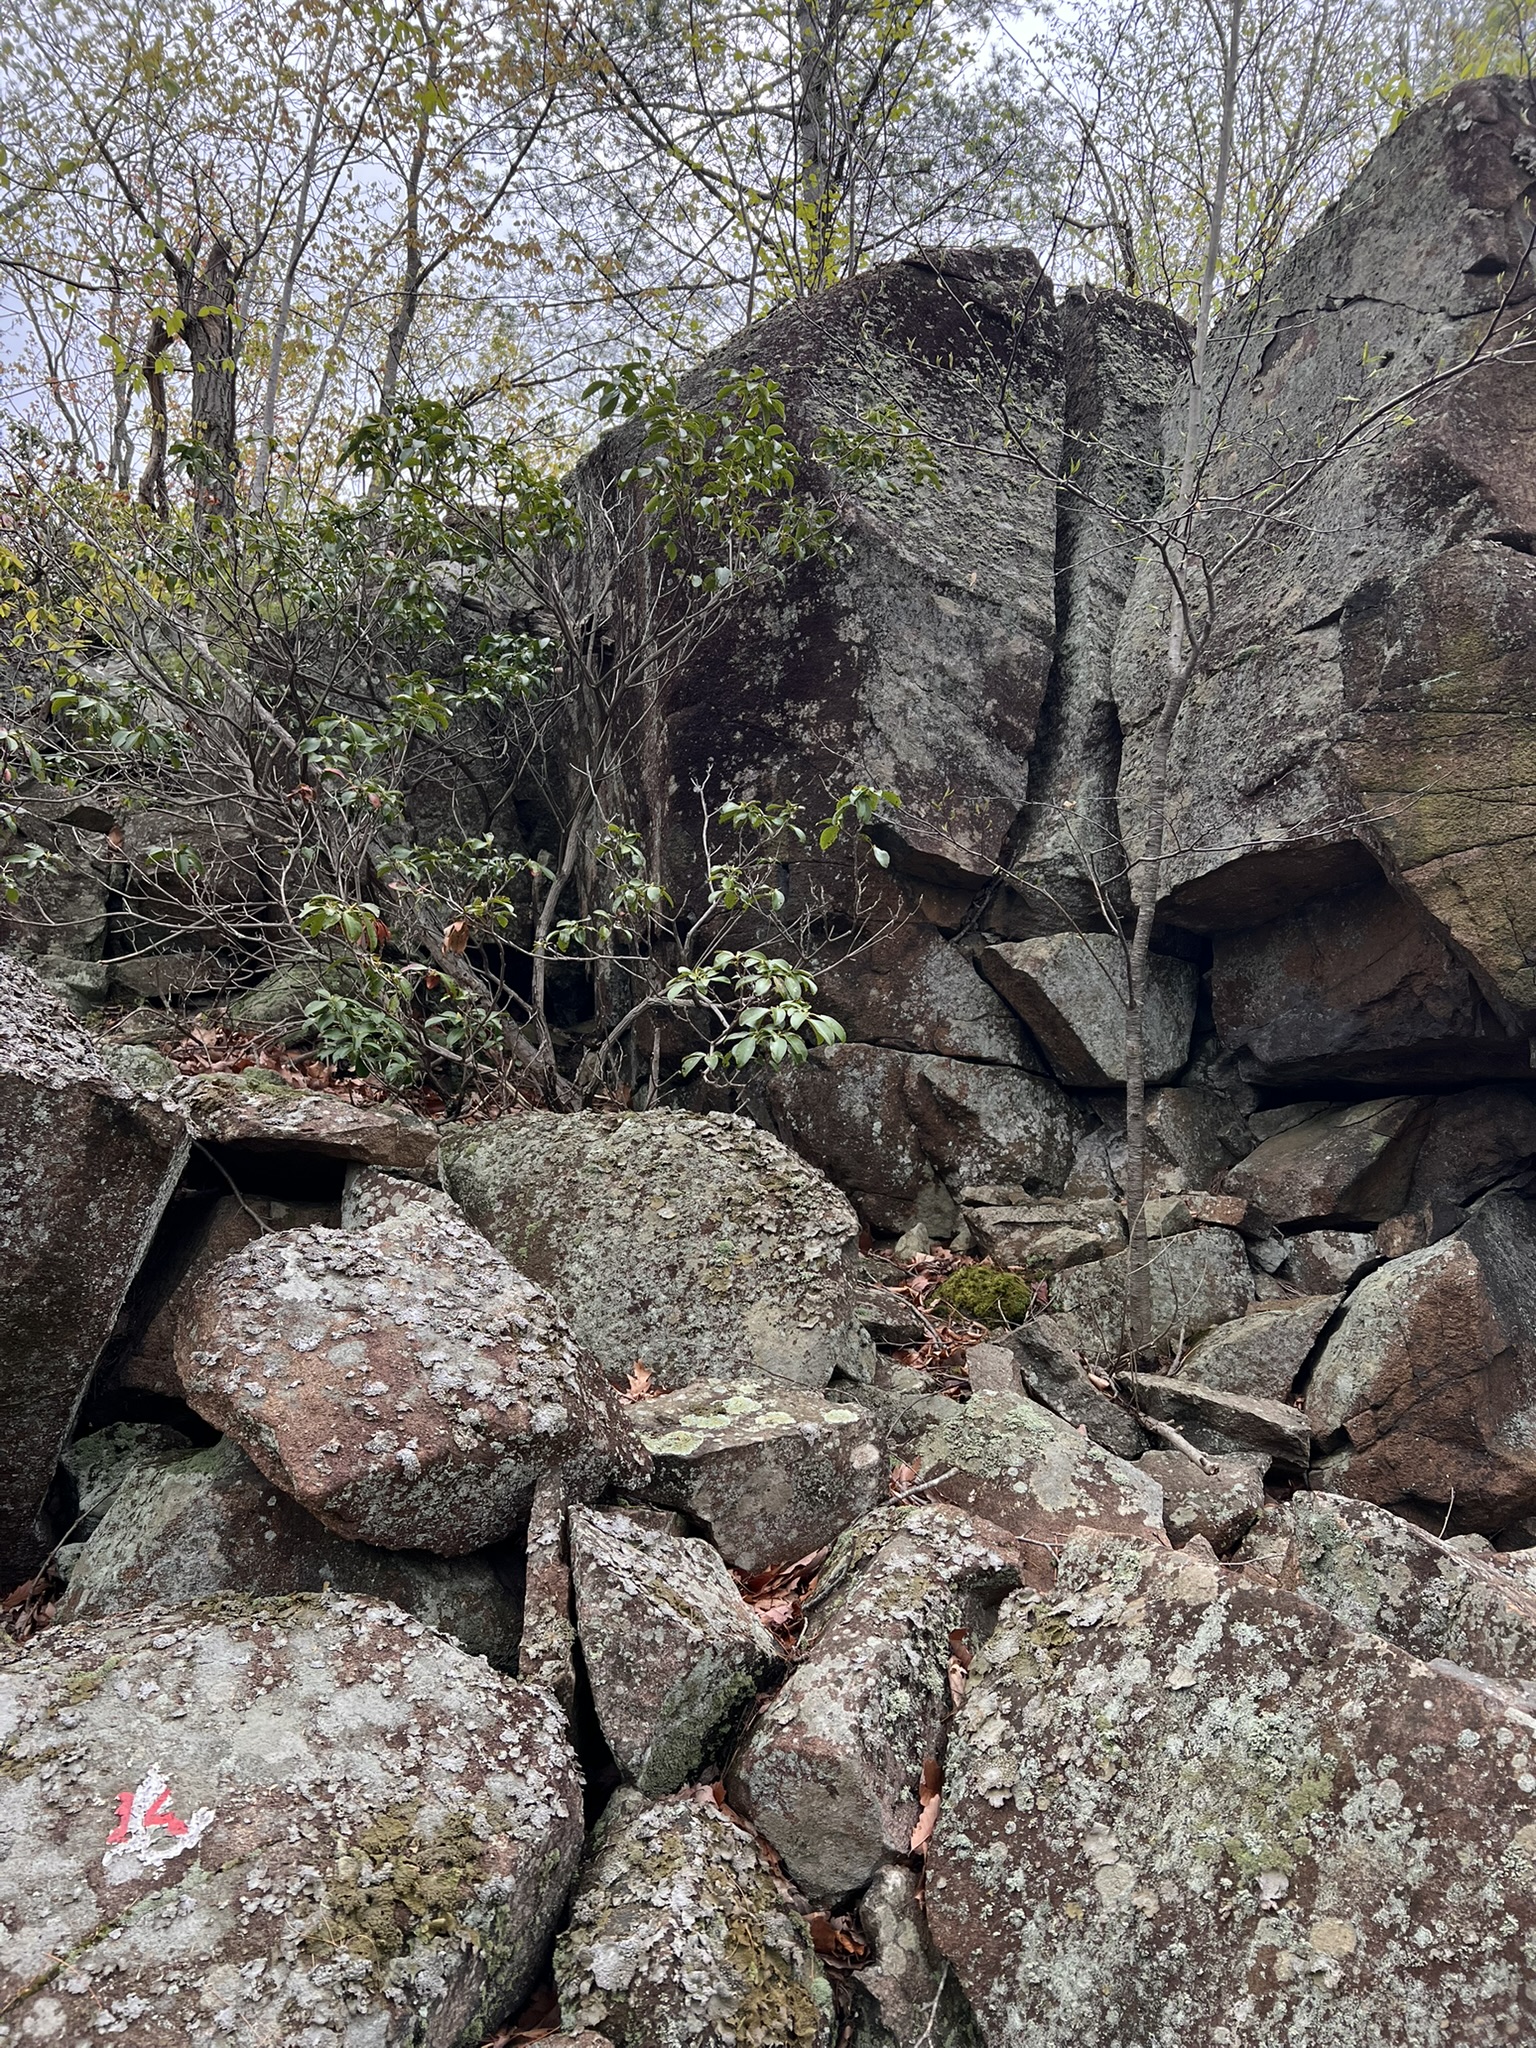
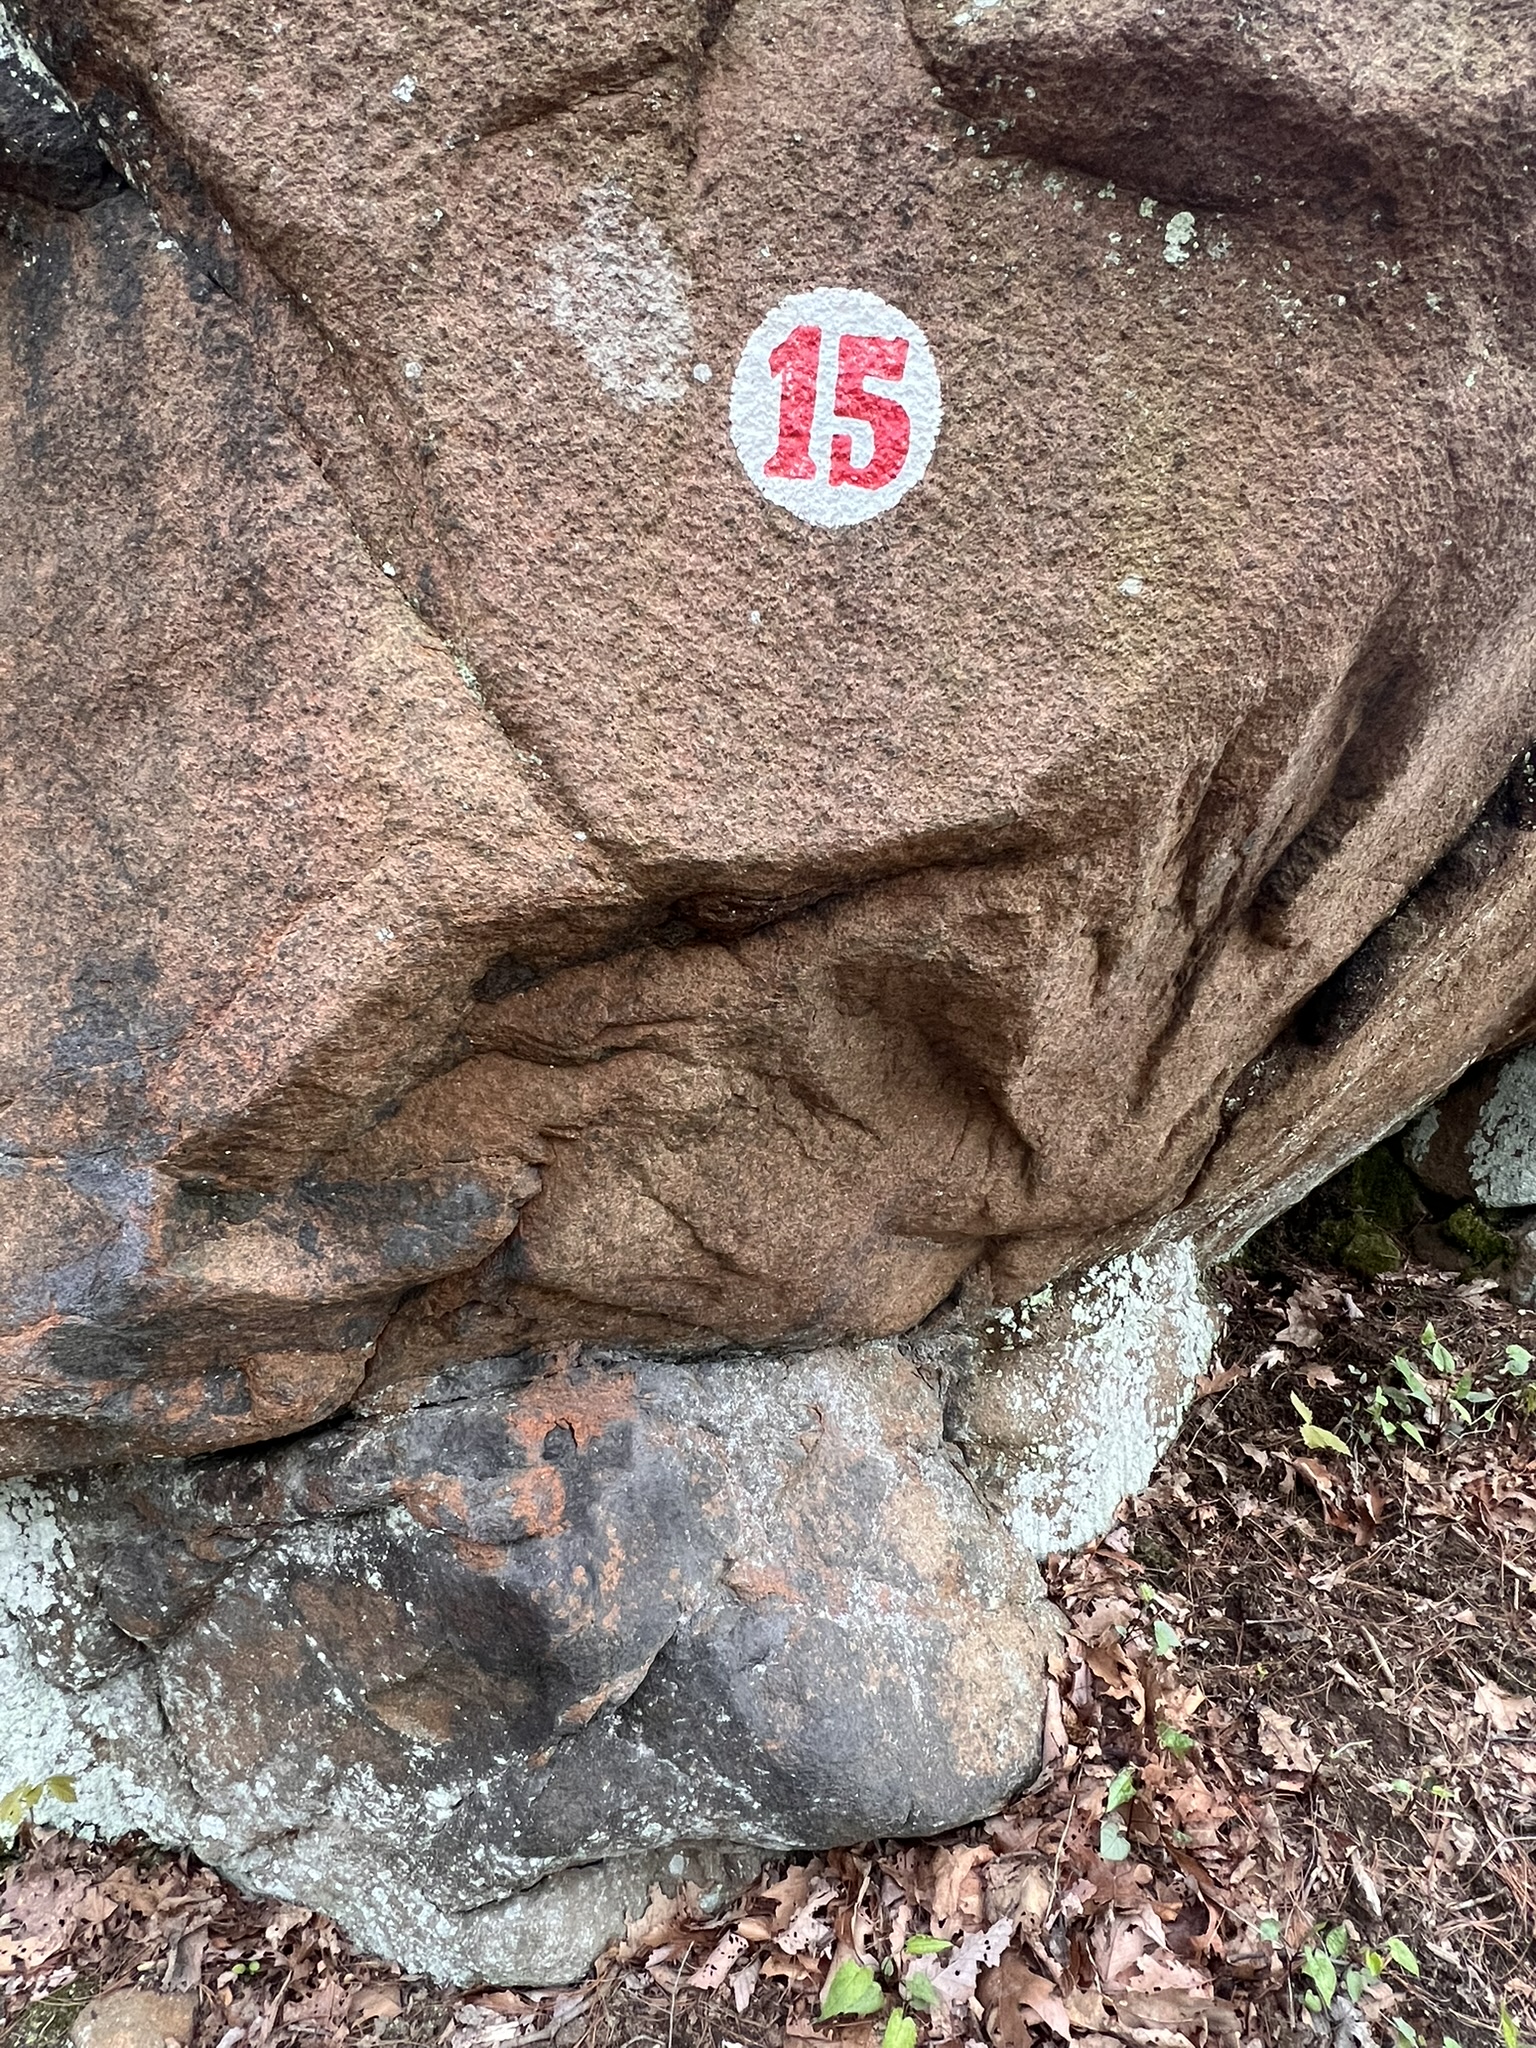
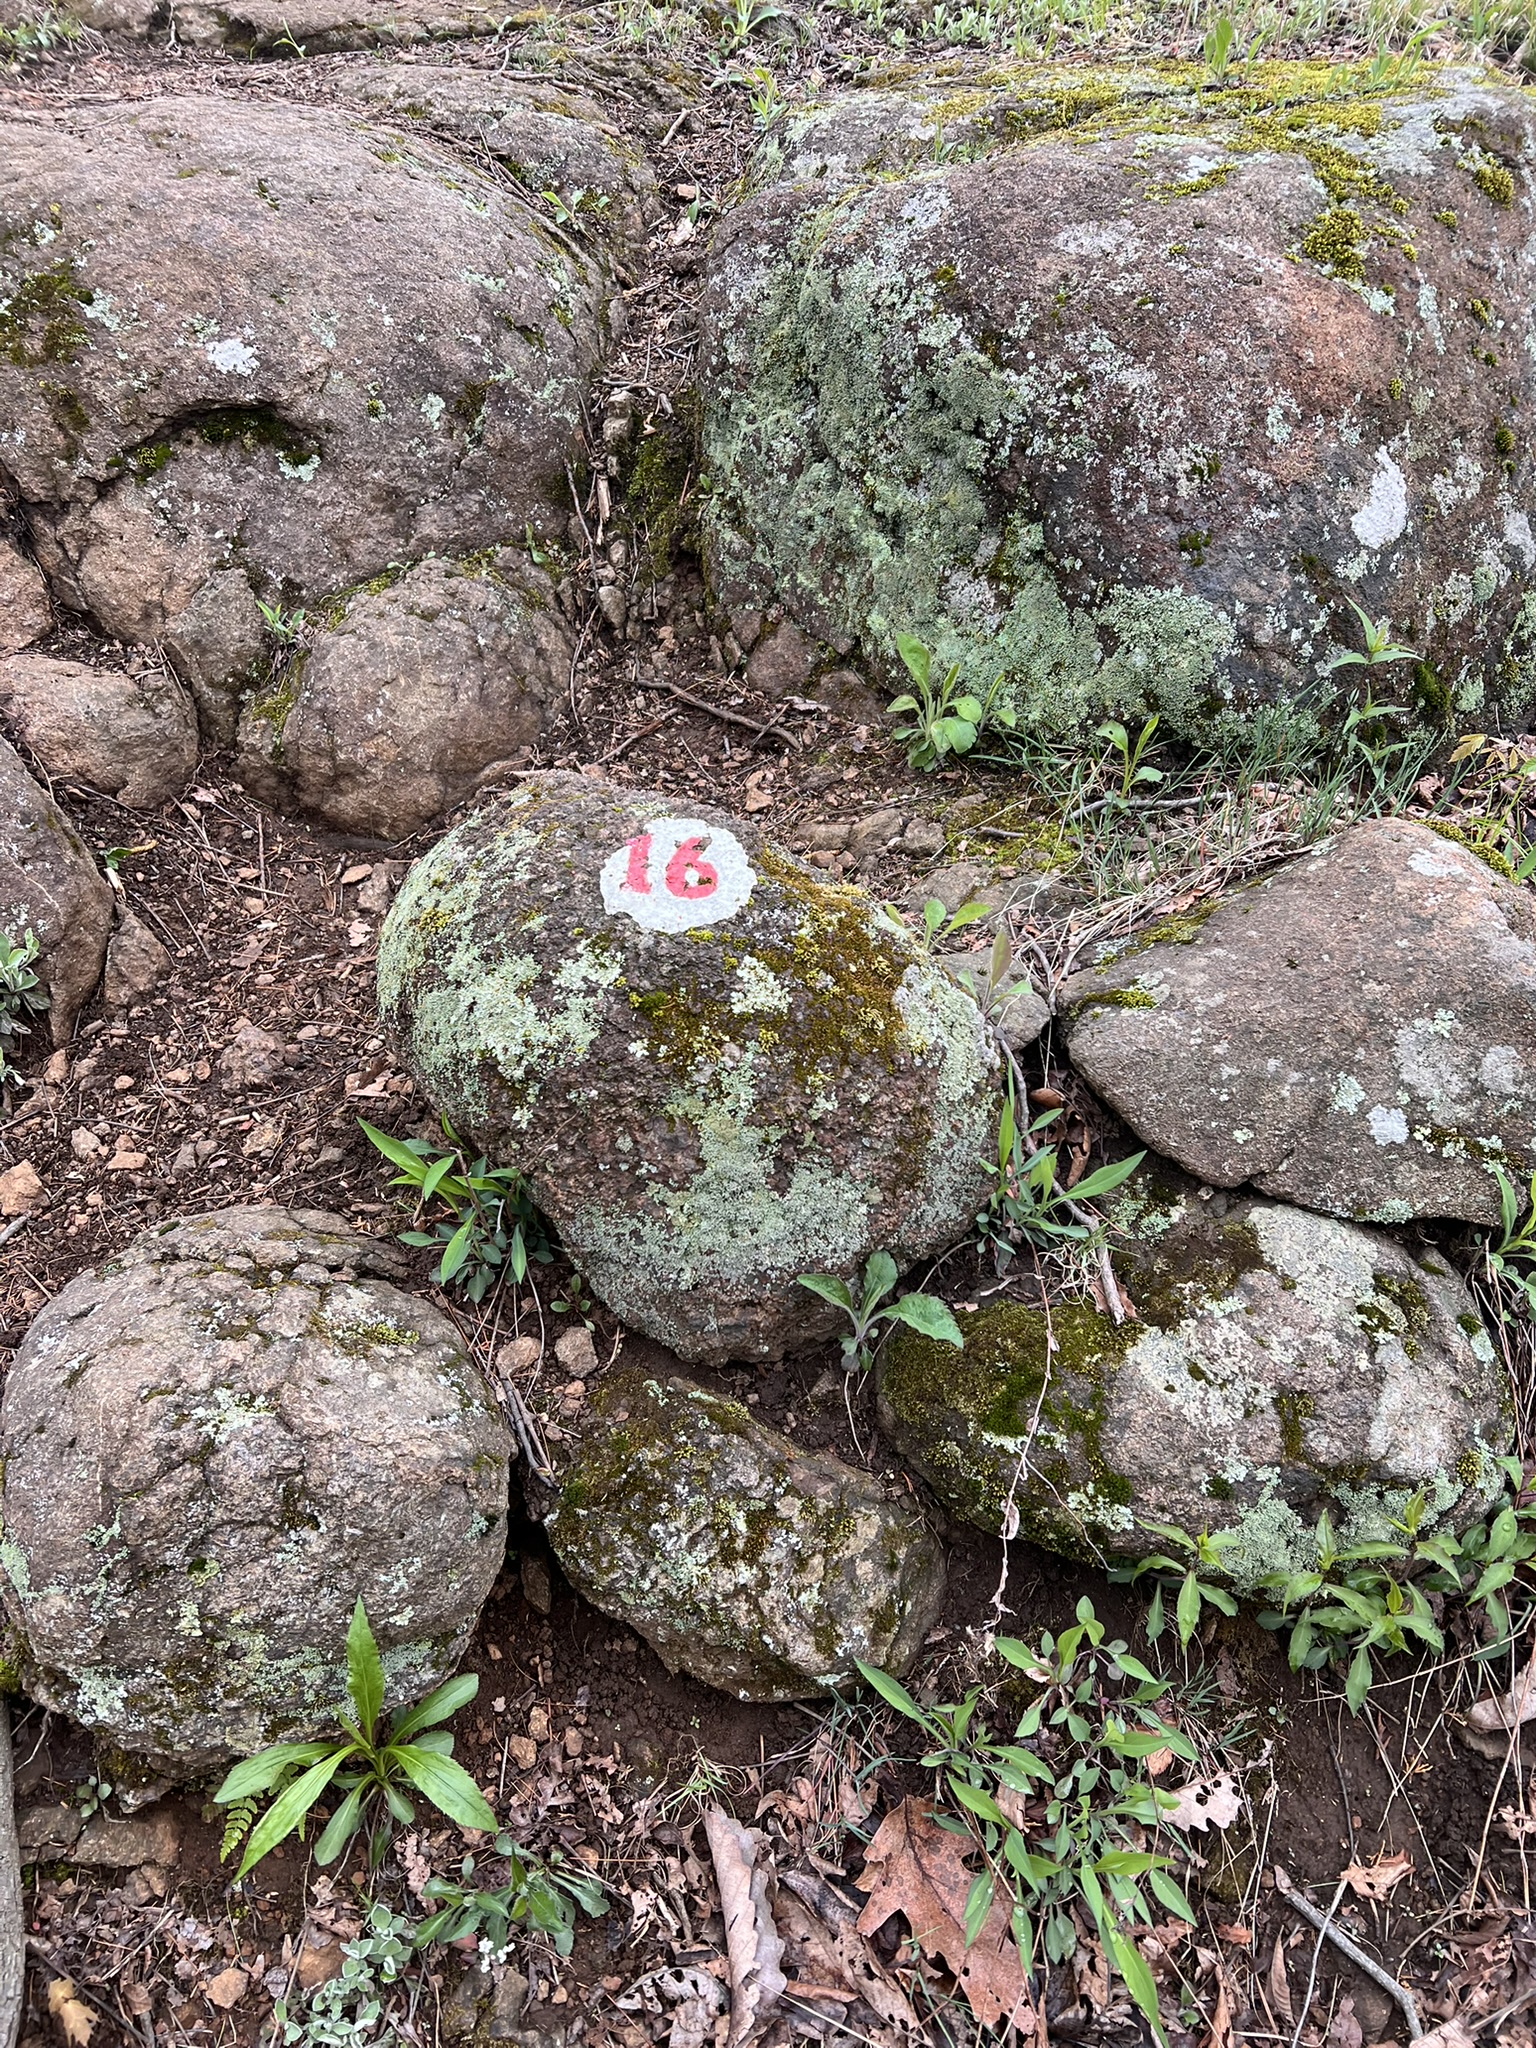
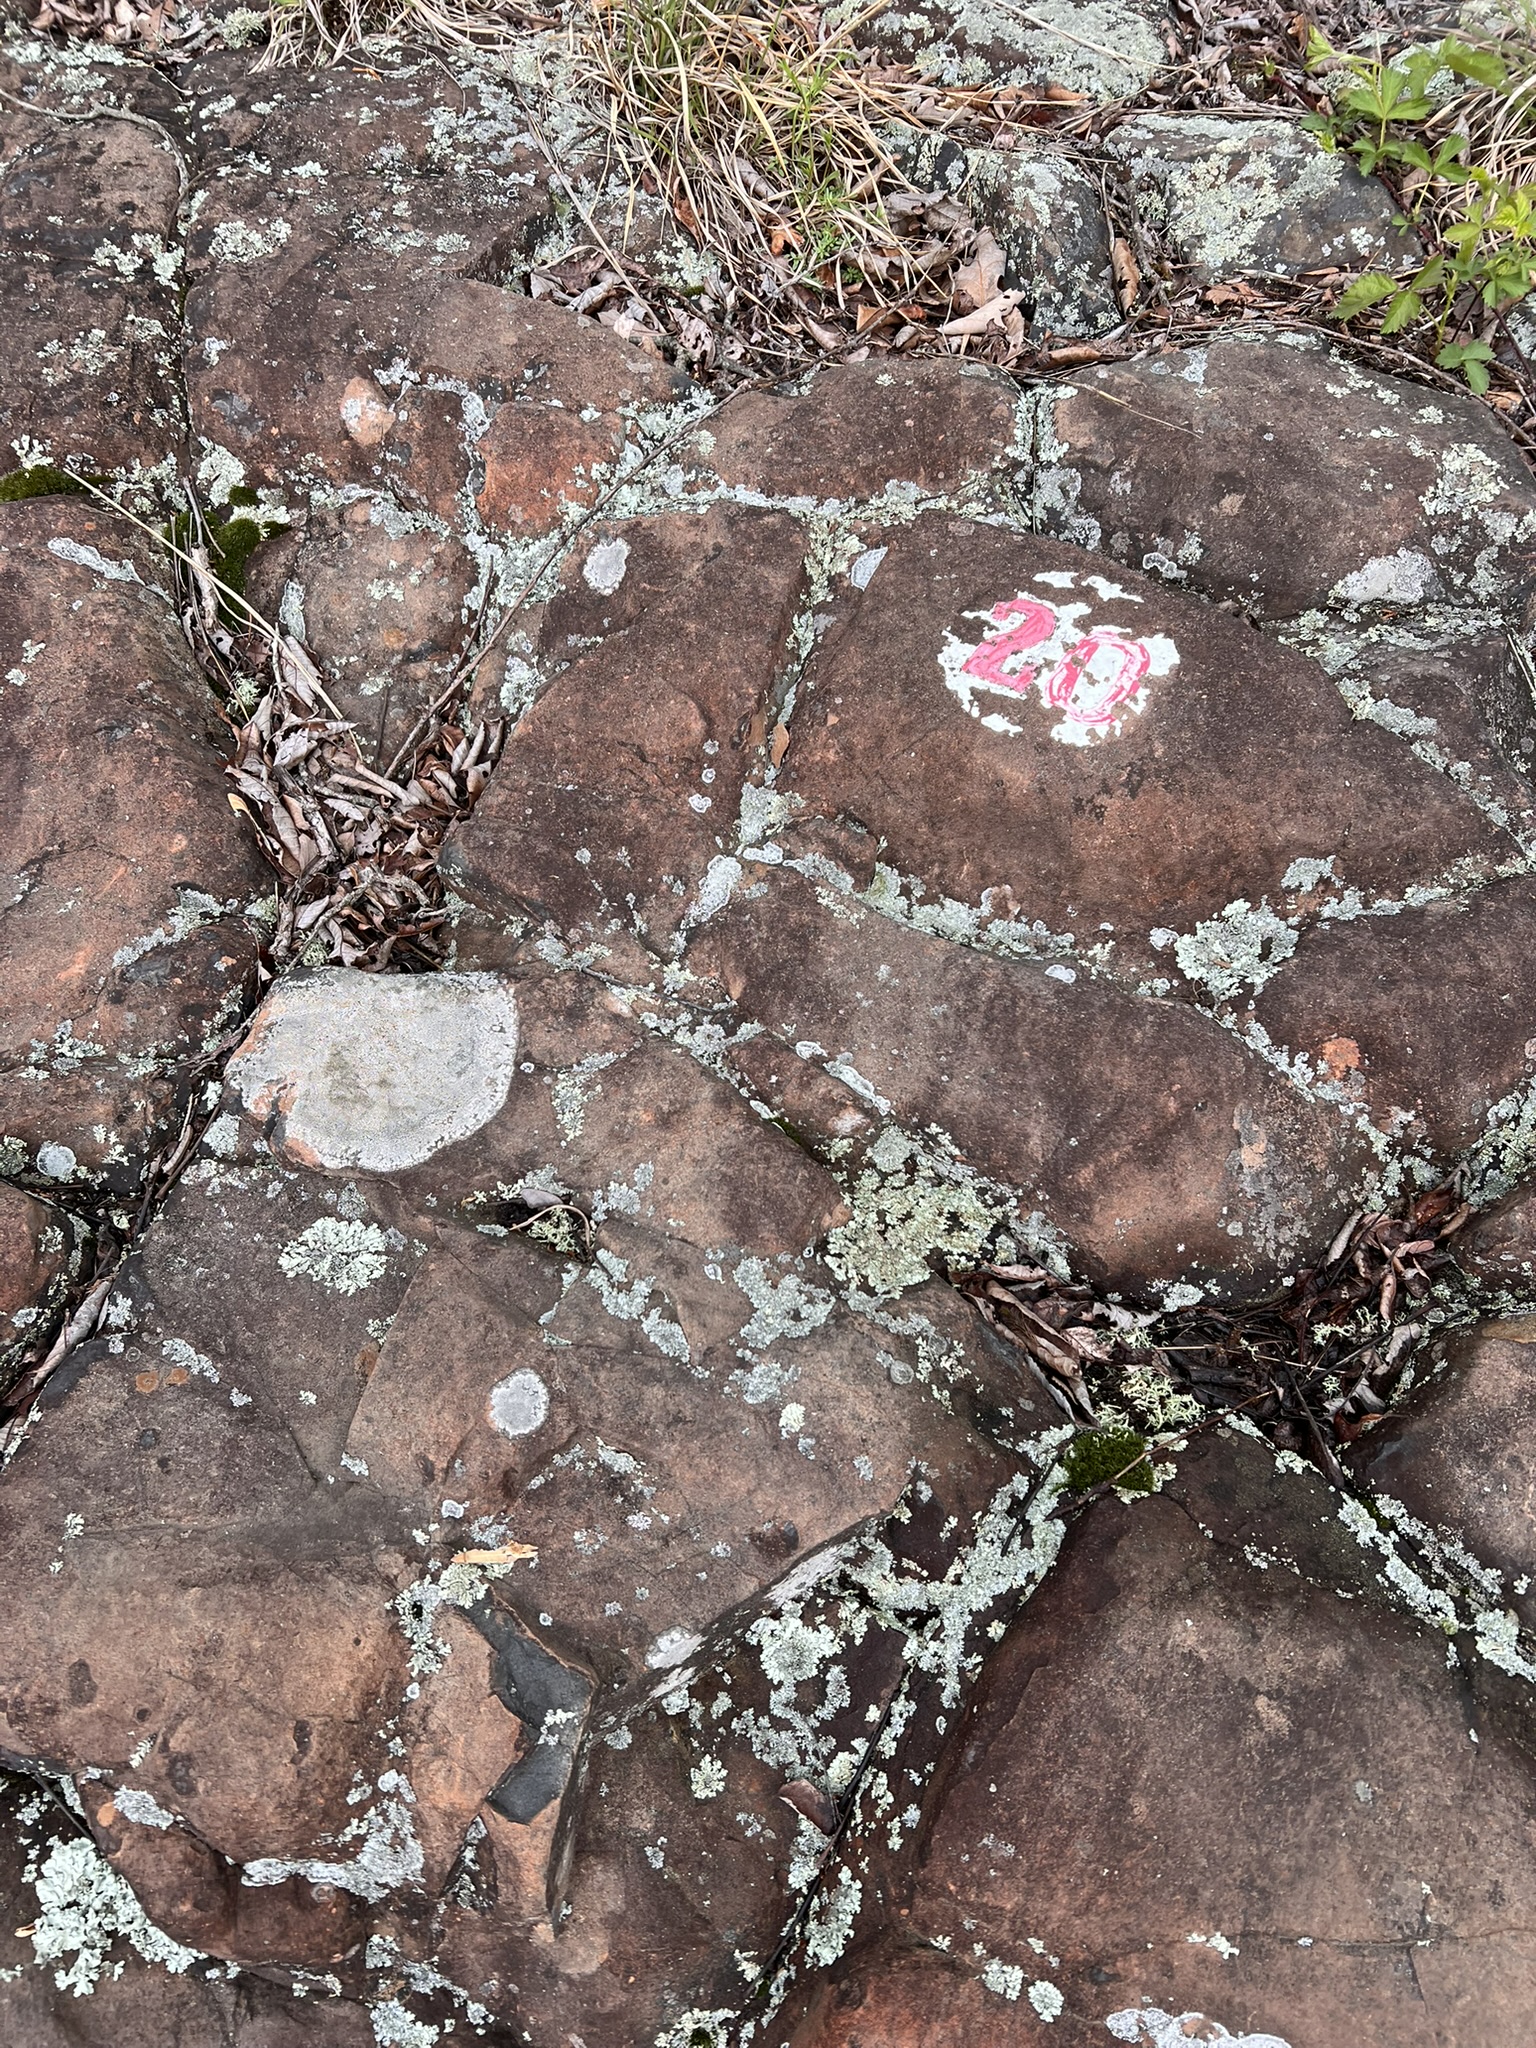
From left to right: W14 shows an example of ice-wedging (the vertical crack in the large boulder); W15 shows pegmatite pockets; W16 shows shperoidal weathering; W20 is another contact surface
After a snack break at the trail junction we set off on the violet trail. Since we were starting at the eastern end, the markers went in reverse order. Of the 17 markers we only found 8, and many of the ones we found were faded and hard to read. V13 was our first find – a Vein of Quartz Within a Quartzite Boulder. The marker is on a tree and the boulder is nearby. V11 is Baked Sandstone. The marker is on a nearby, mossy boulder. The feature is a dark colored section of rock that has been transformed by its contact with the hot magma.
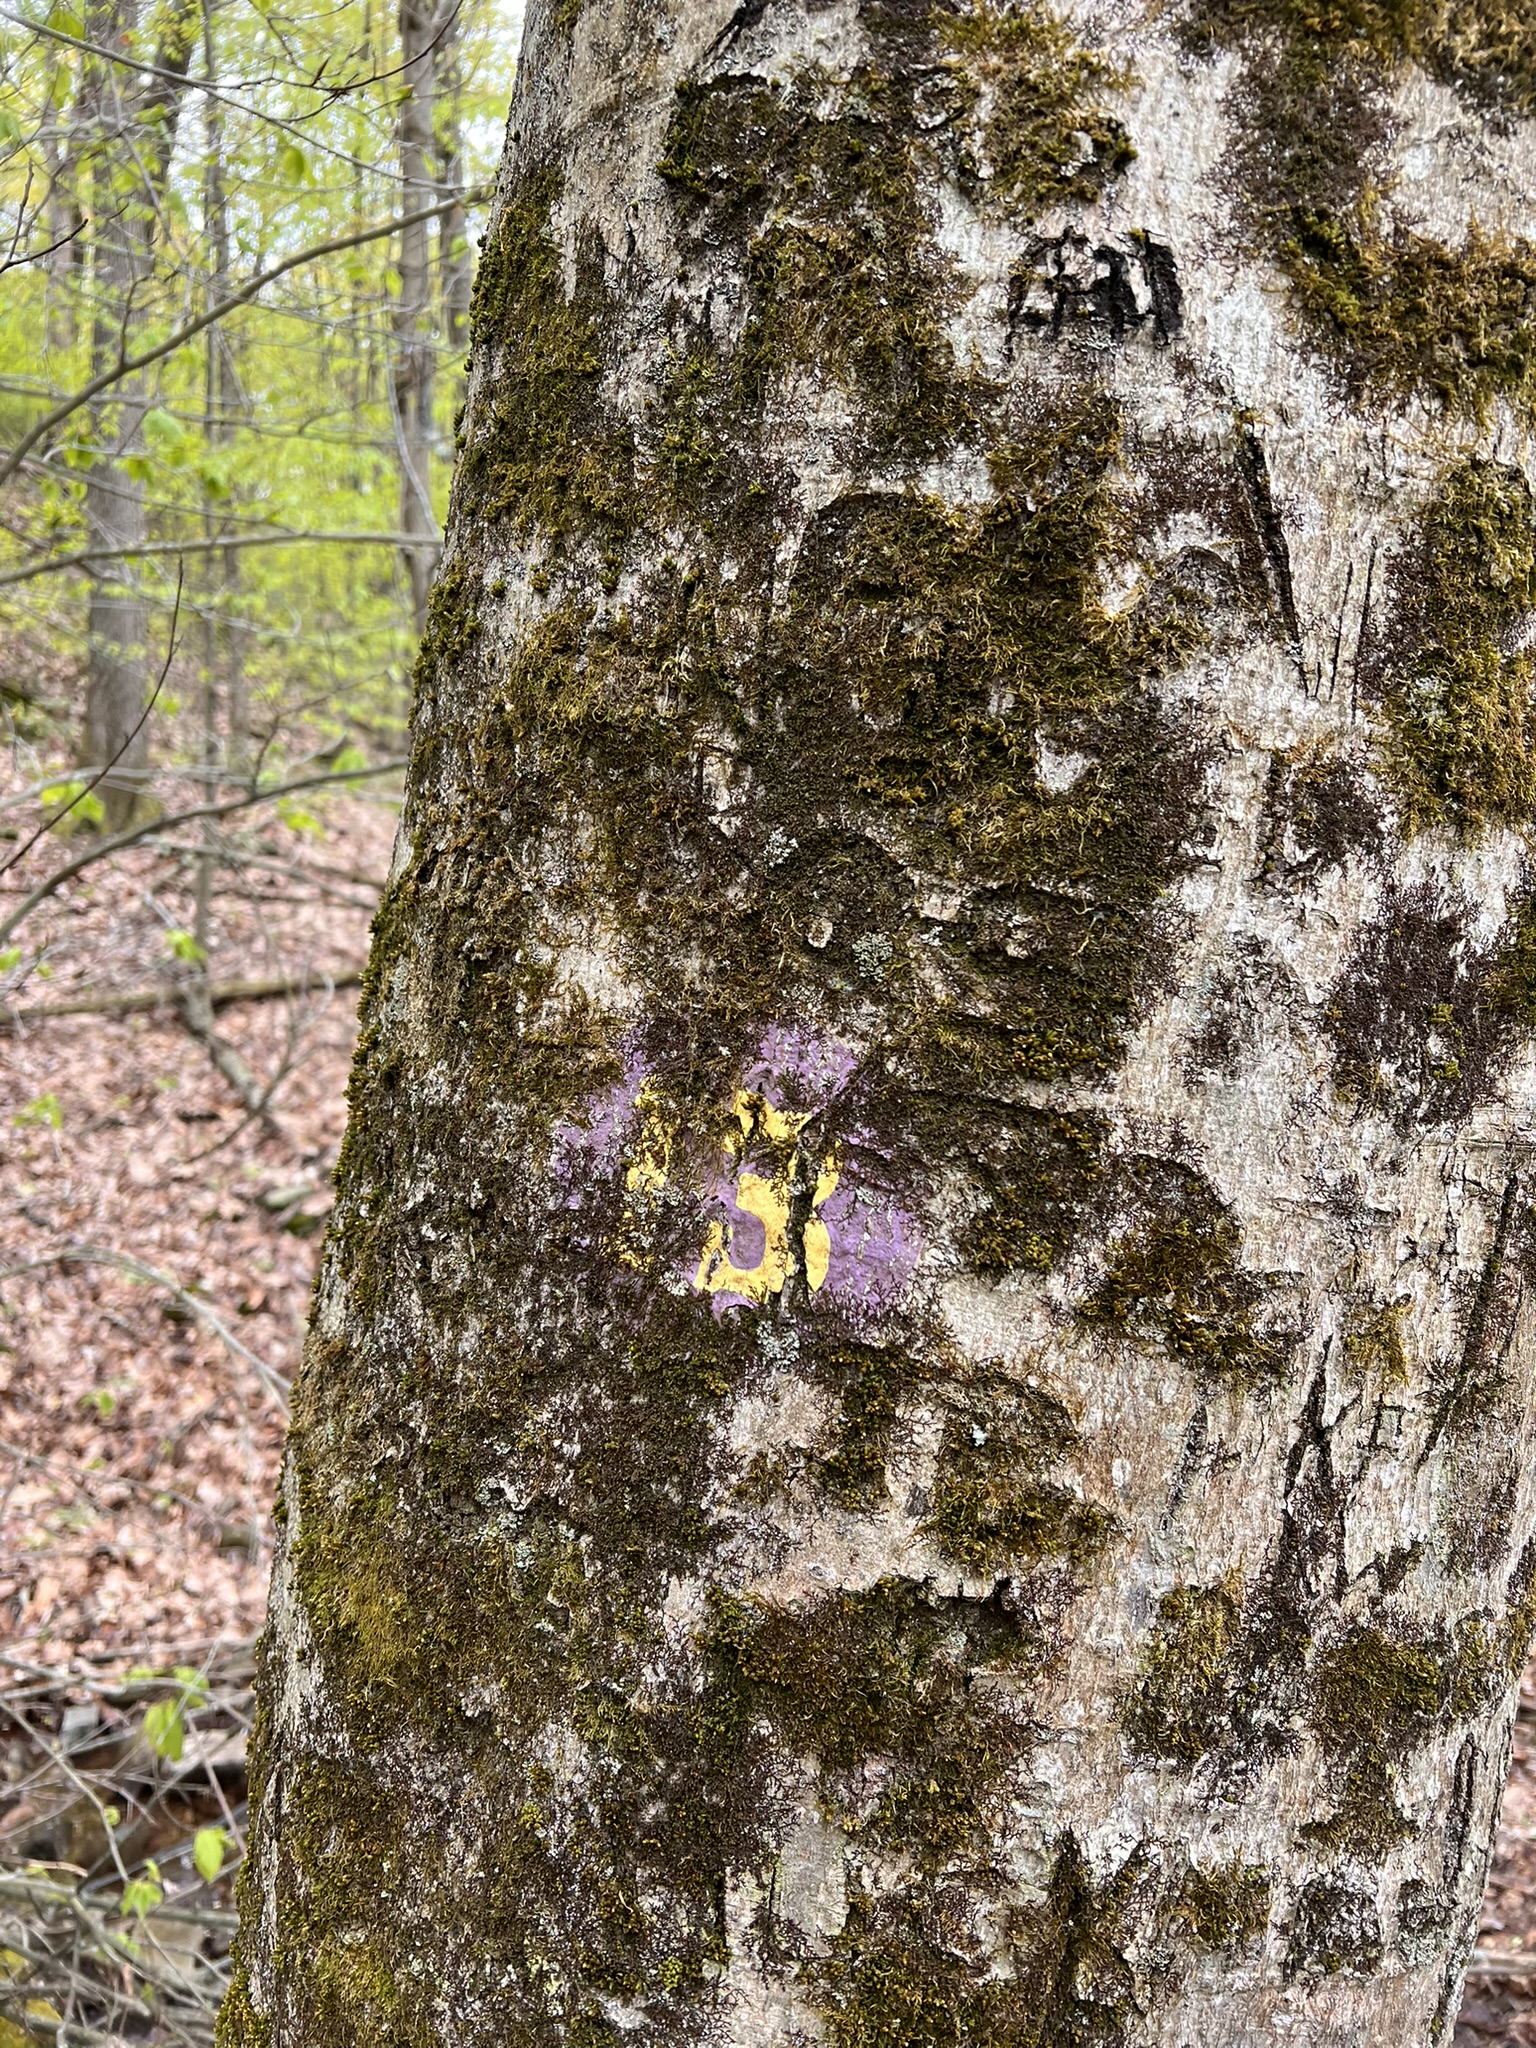
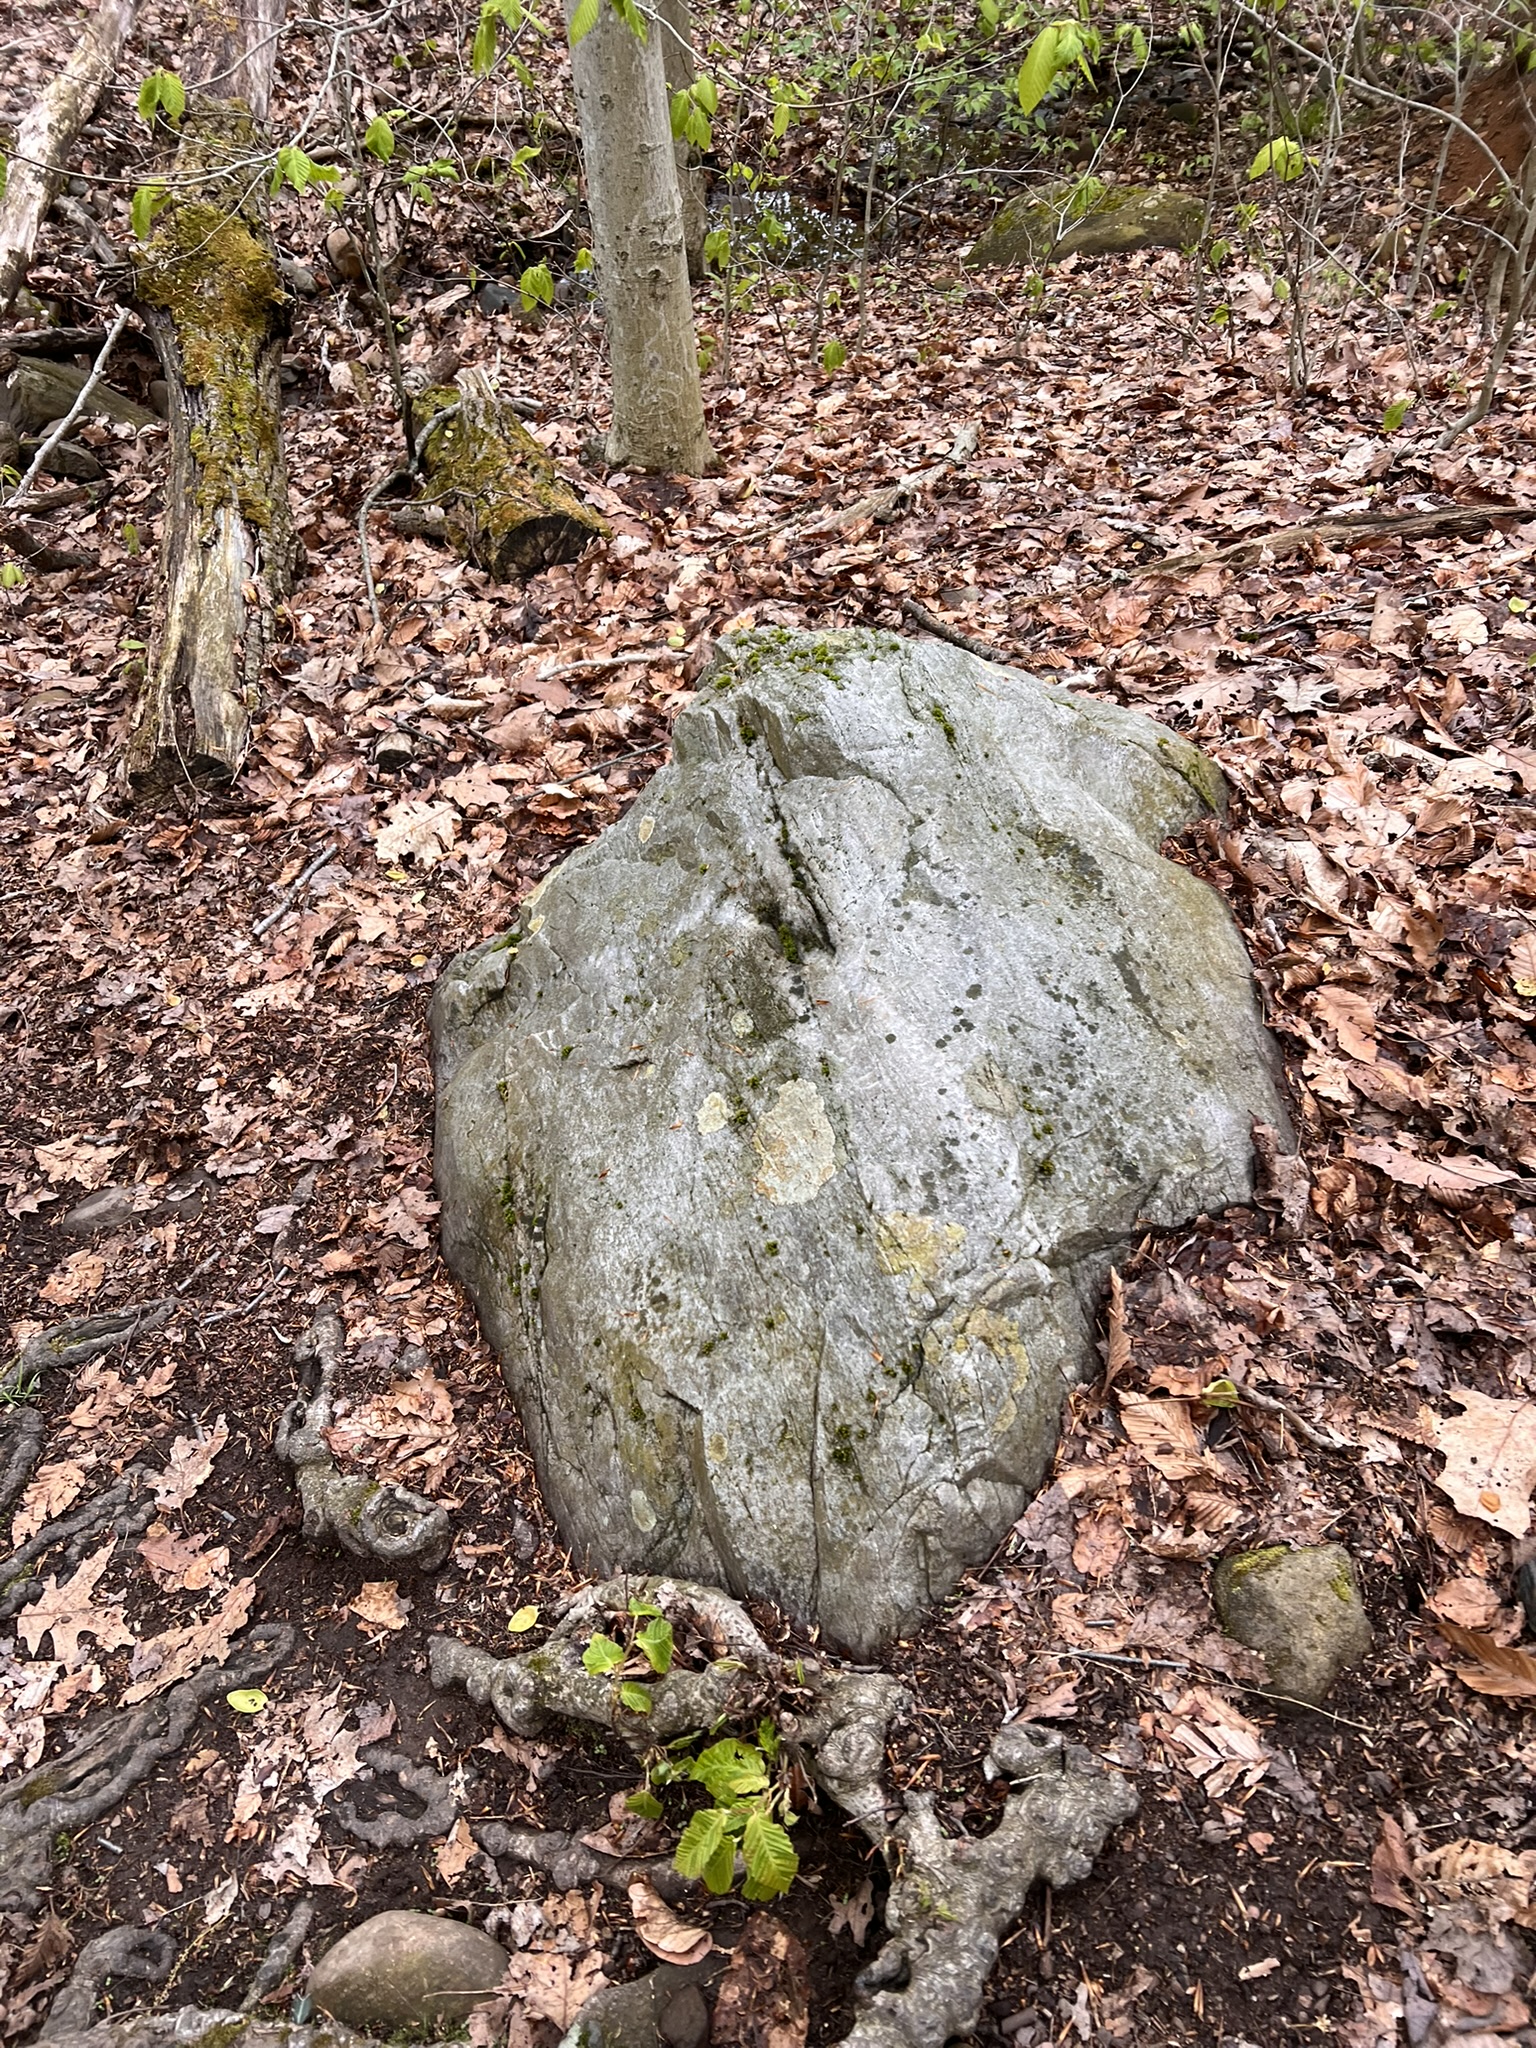
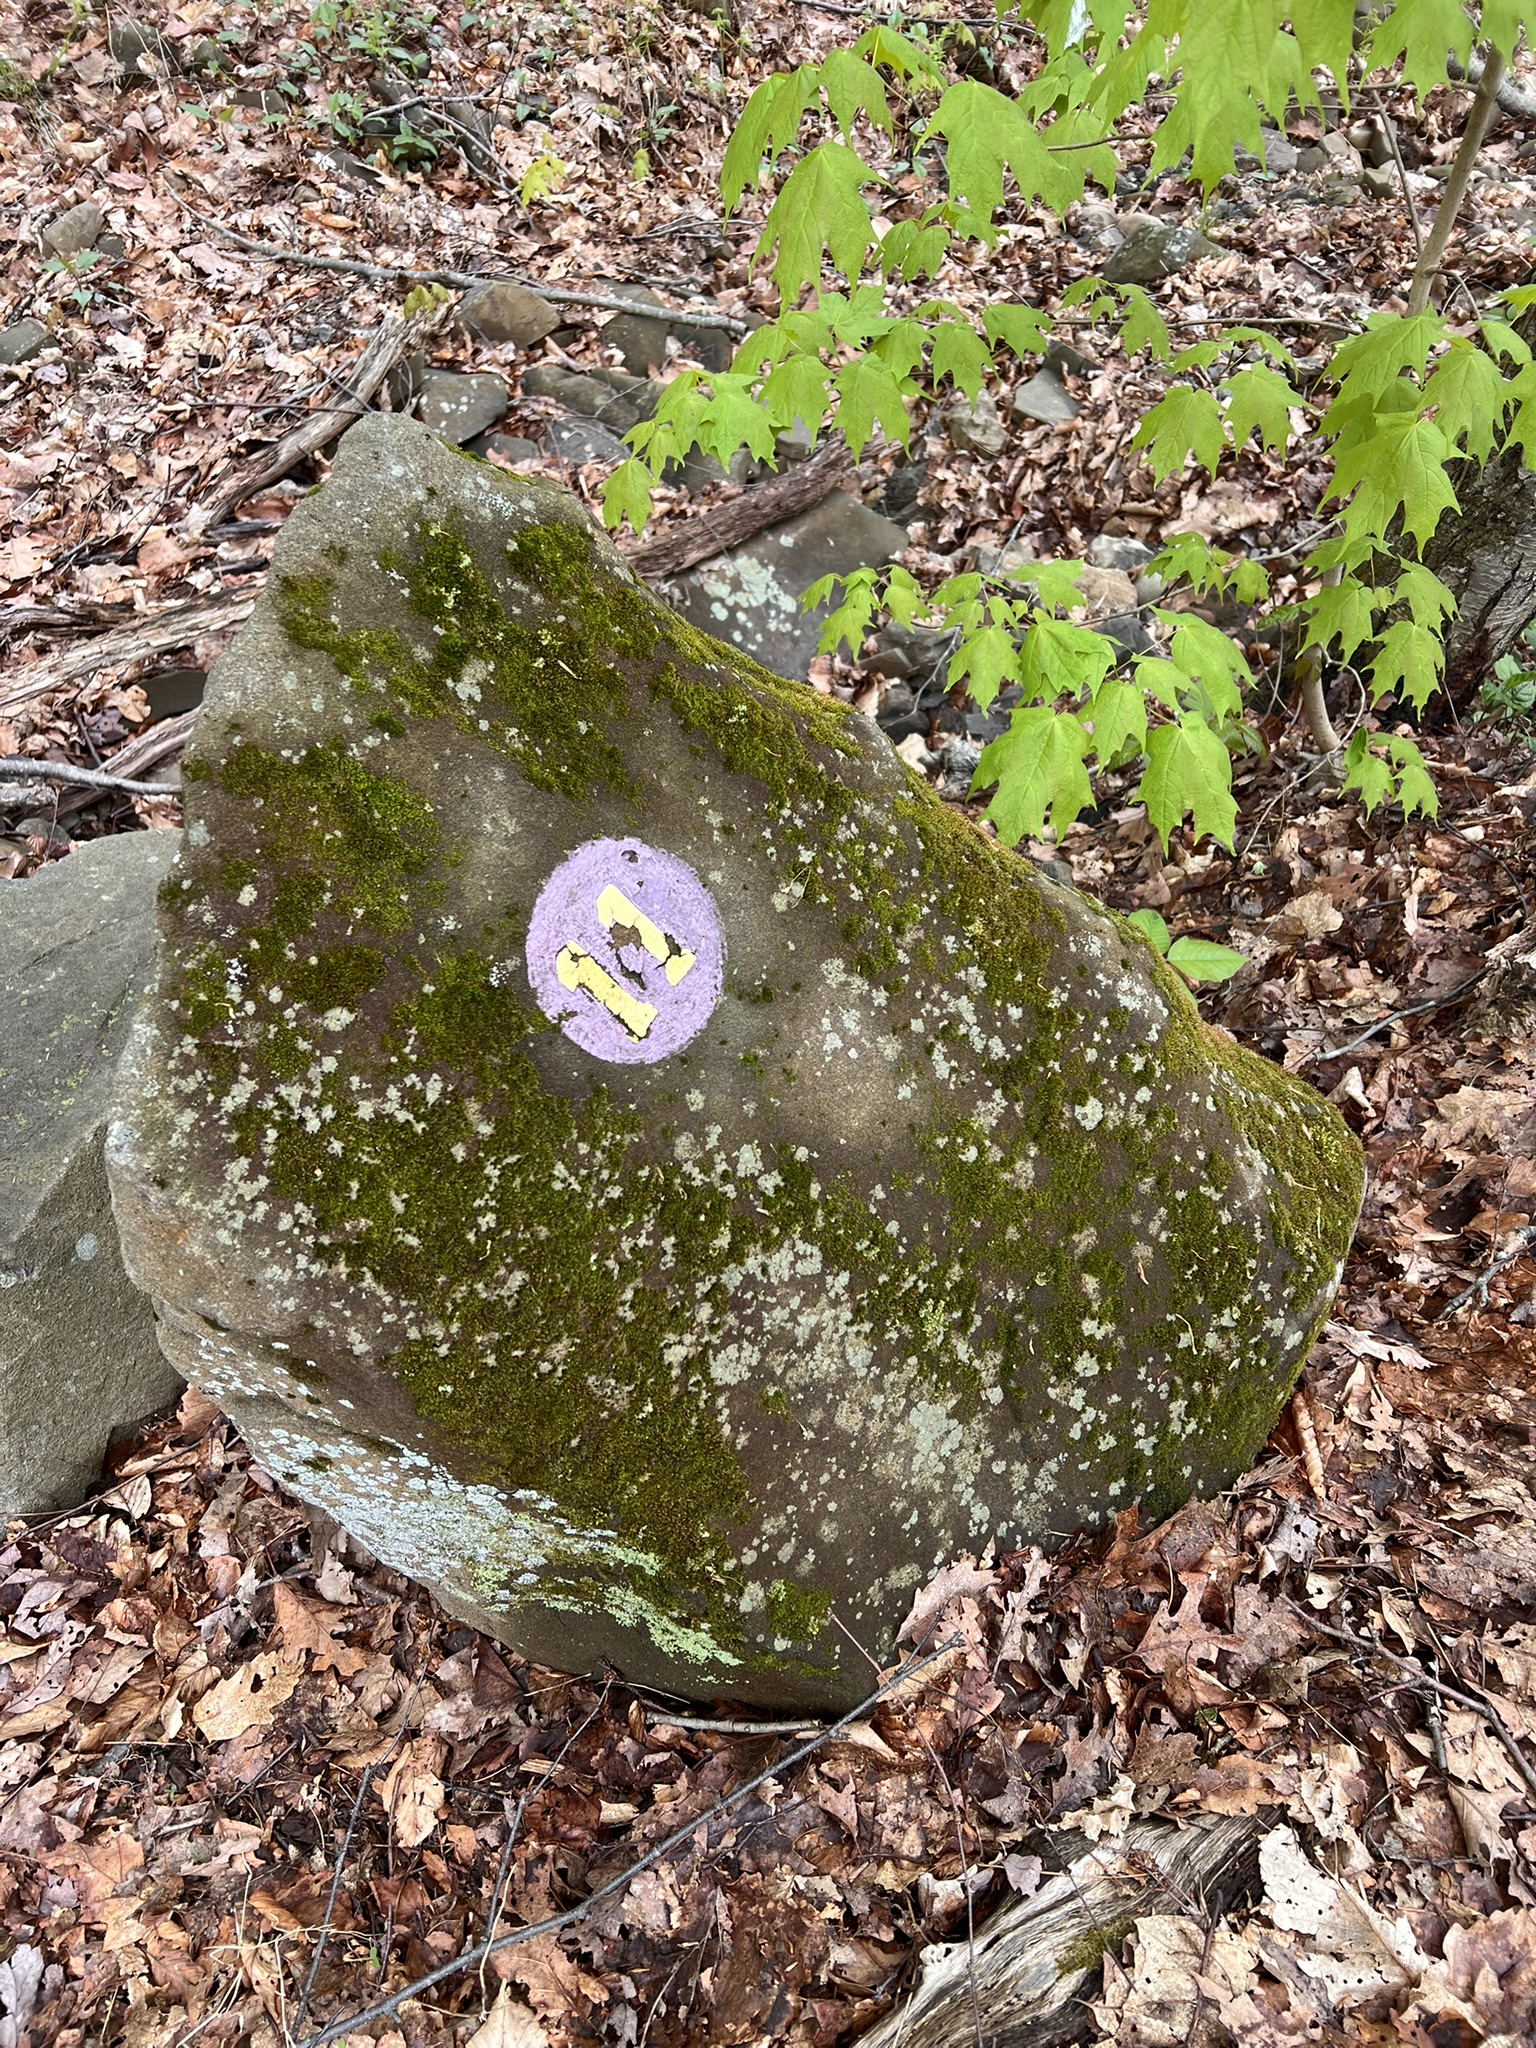
From left to right: the faded V13 marker, the quartzite boulder with the vein of quartz; the V11 marker and the nearby baked sandstone
V8 is a blocky diabase cliff. The guide describes how this structure differs from the other cliffs that are made up of vertical columns. This is near the quarrying operation ruins. V7 is an example of a polyhedron boulder, described as a “three-dimensional structure having multiple faces.” V5 is described as Hydrothermal Precipitate. While we found the marker, I wasn’t quite sure what we were looking at.
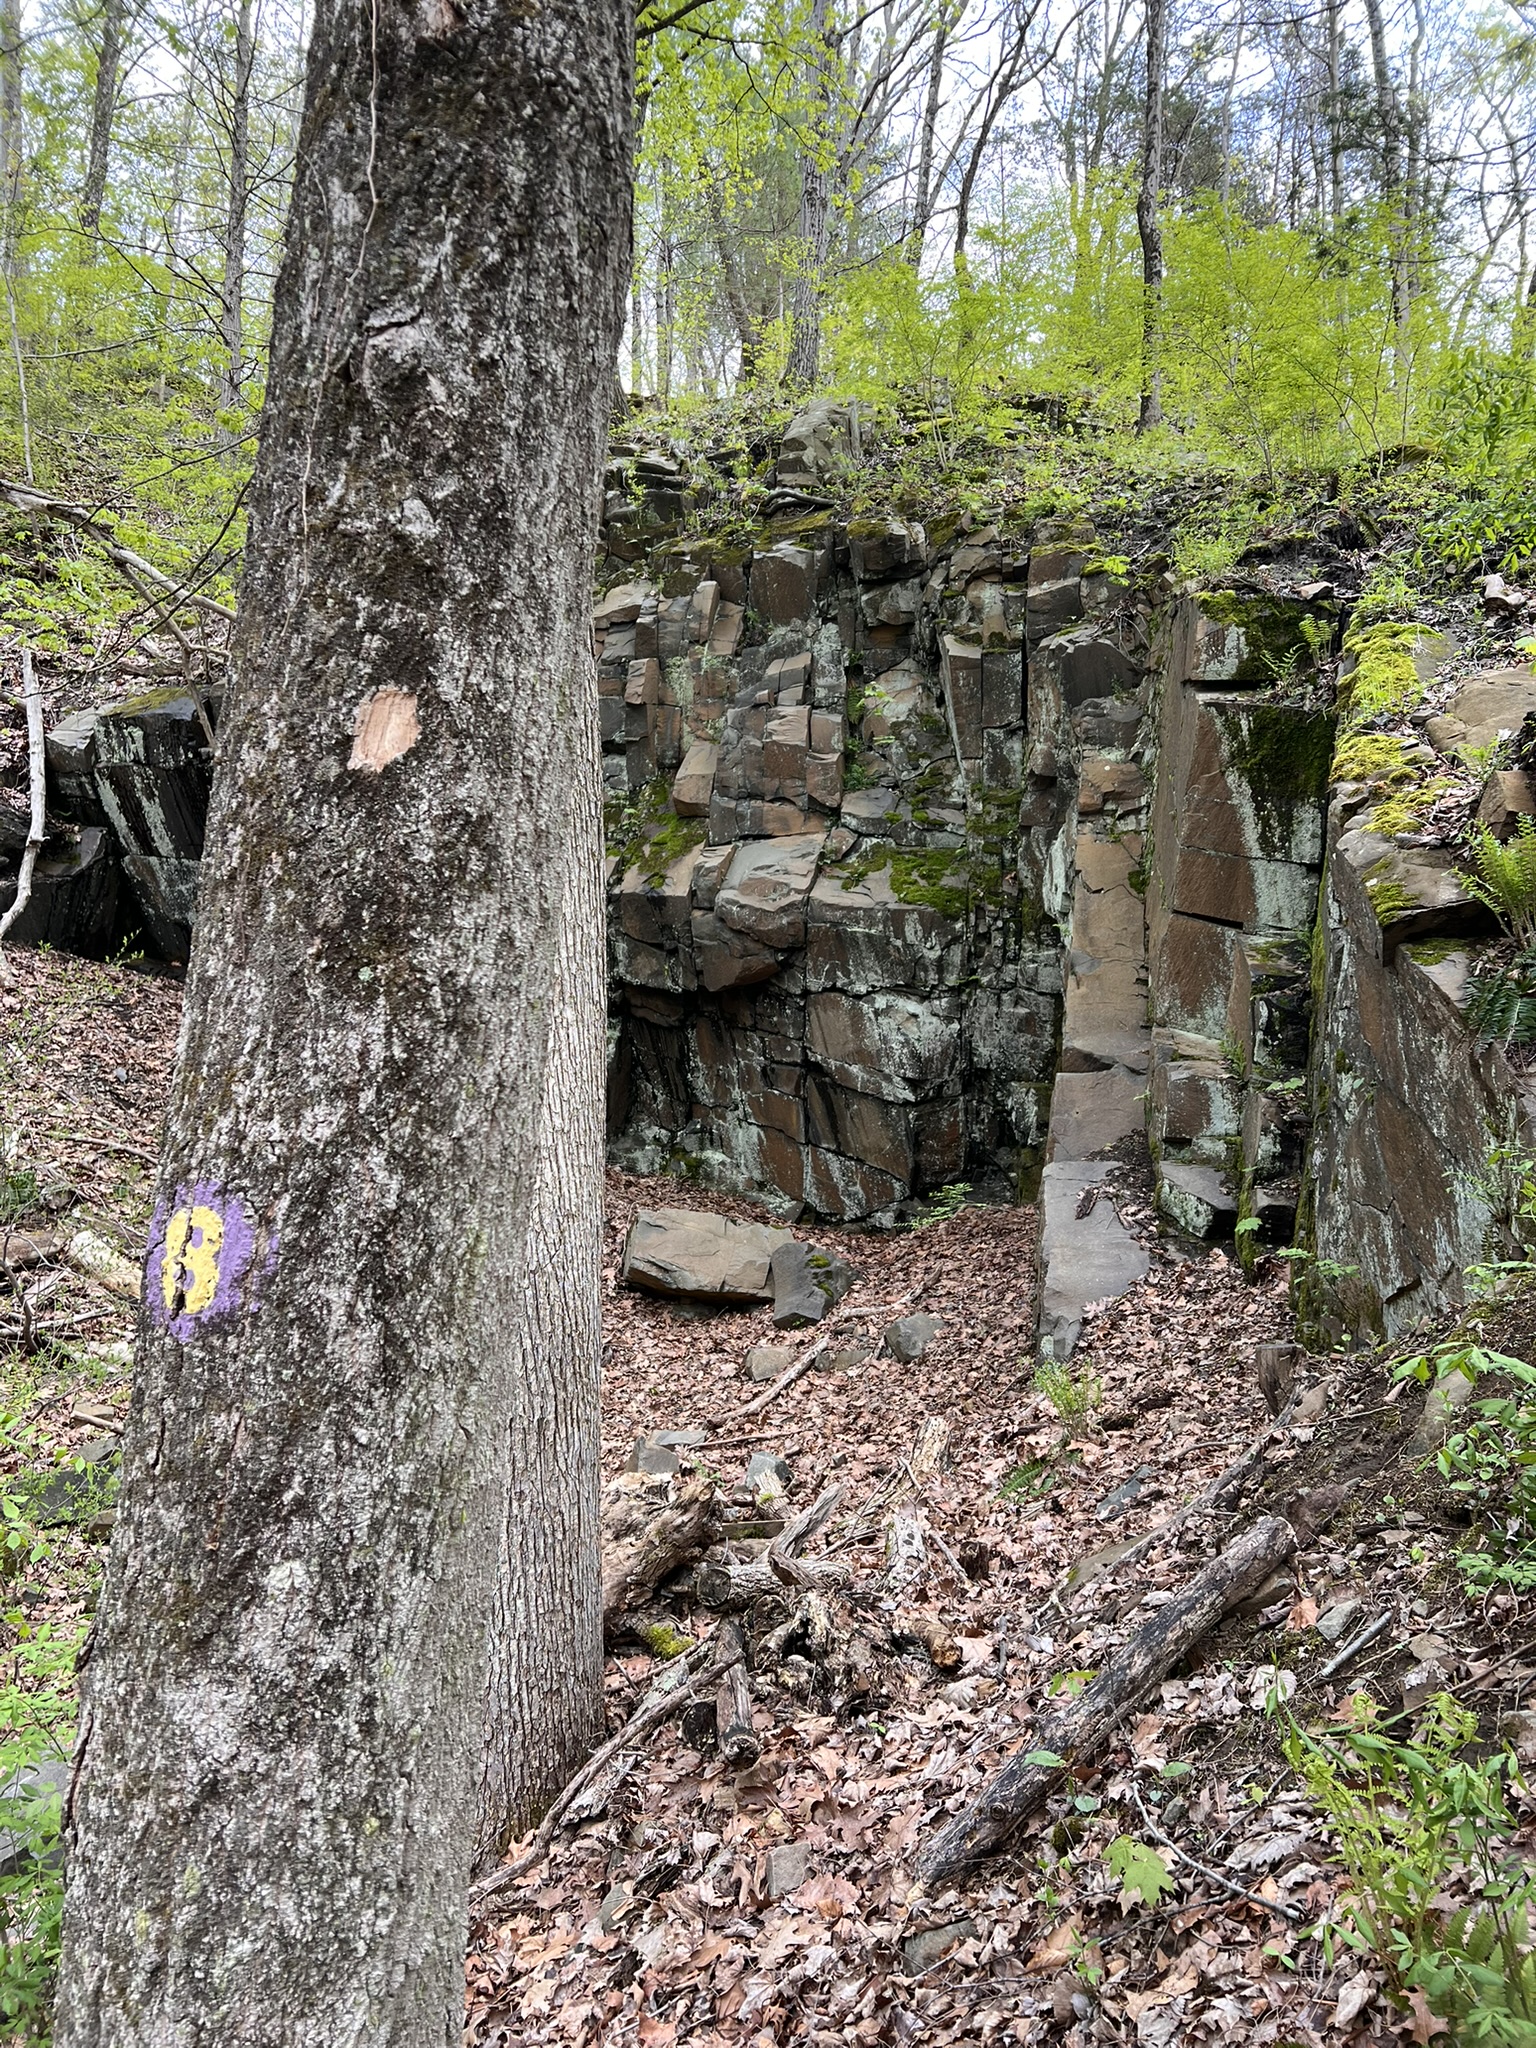
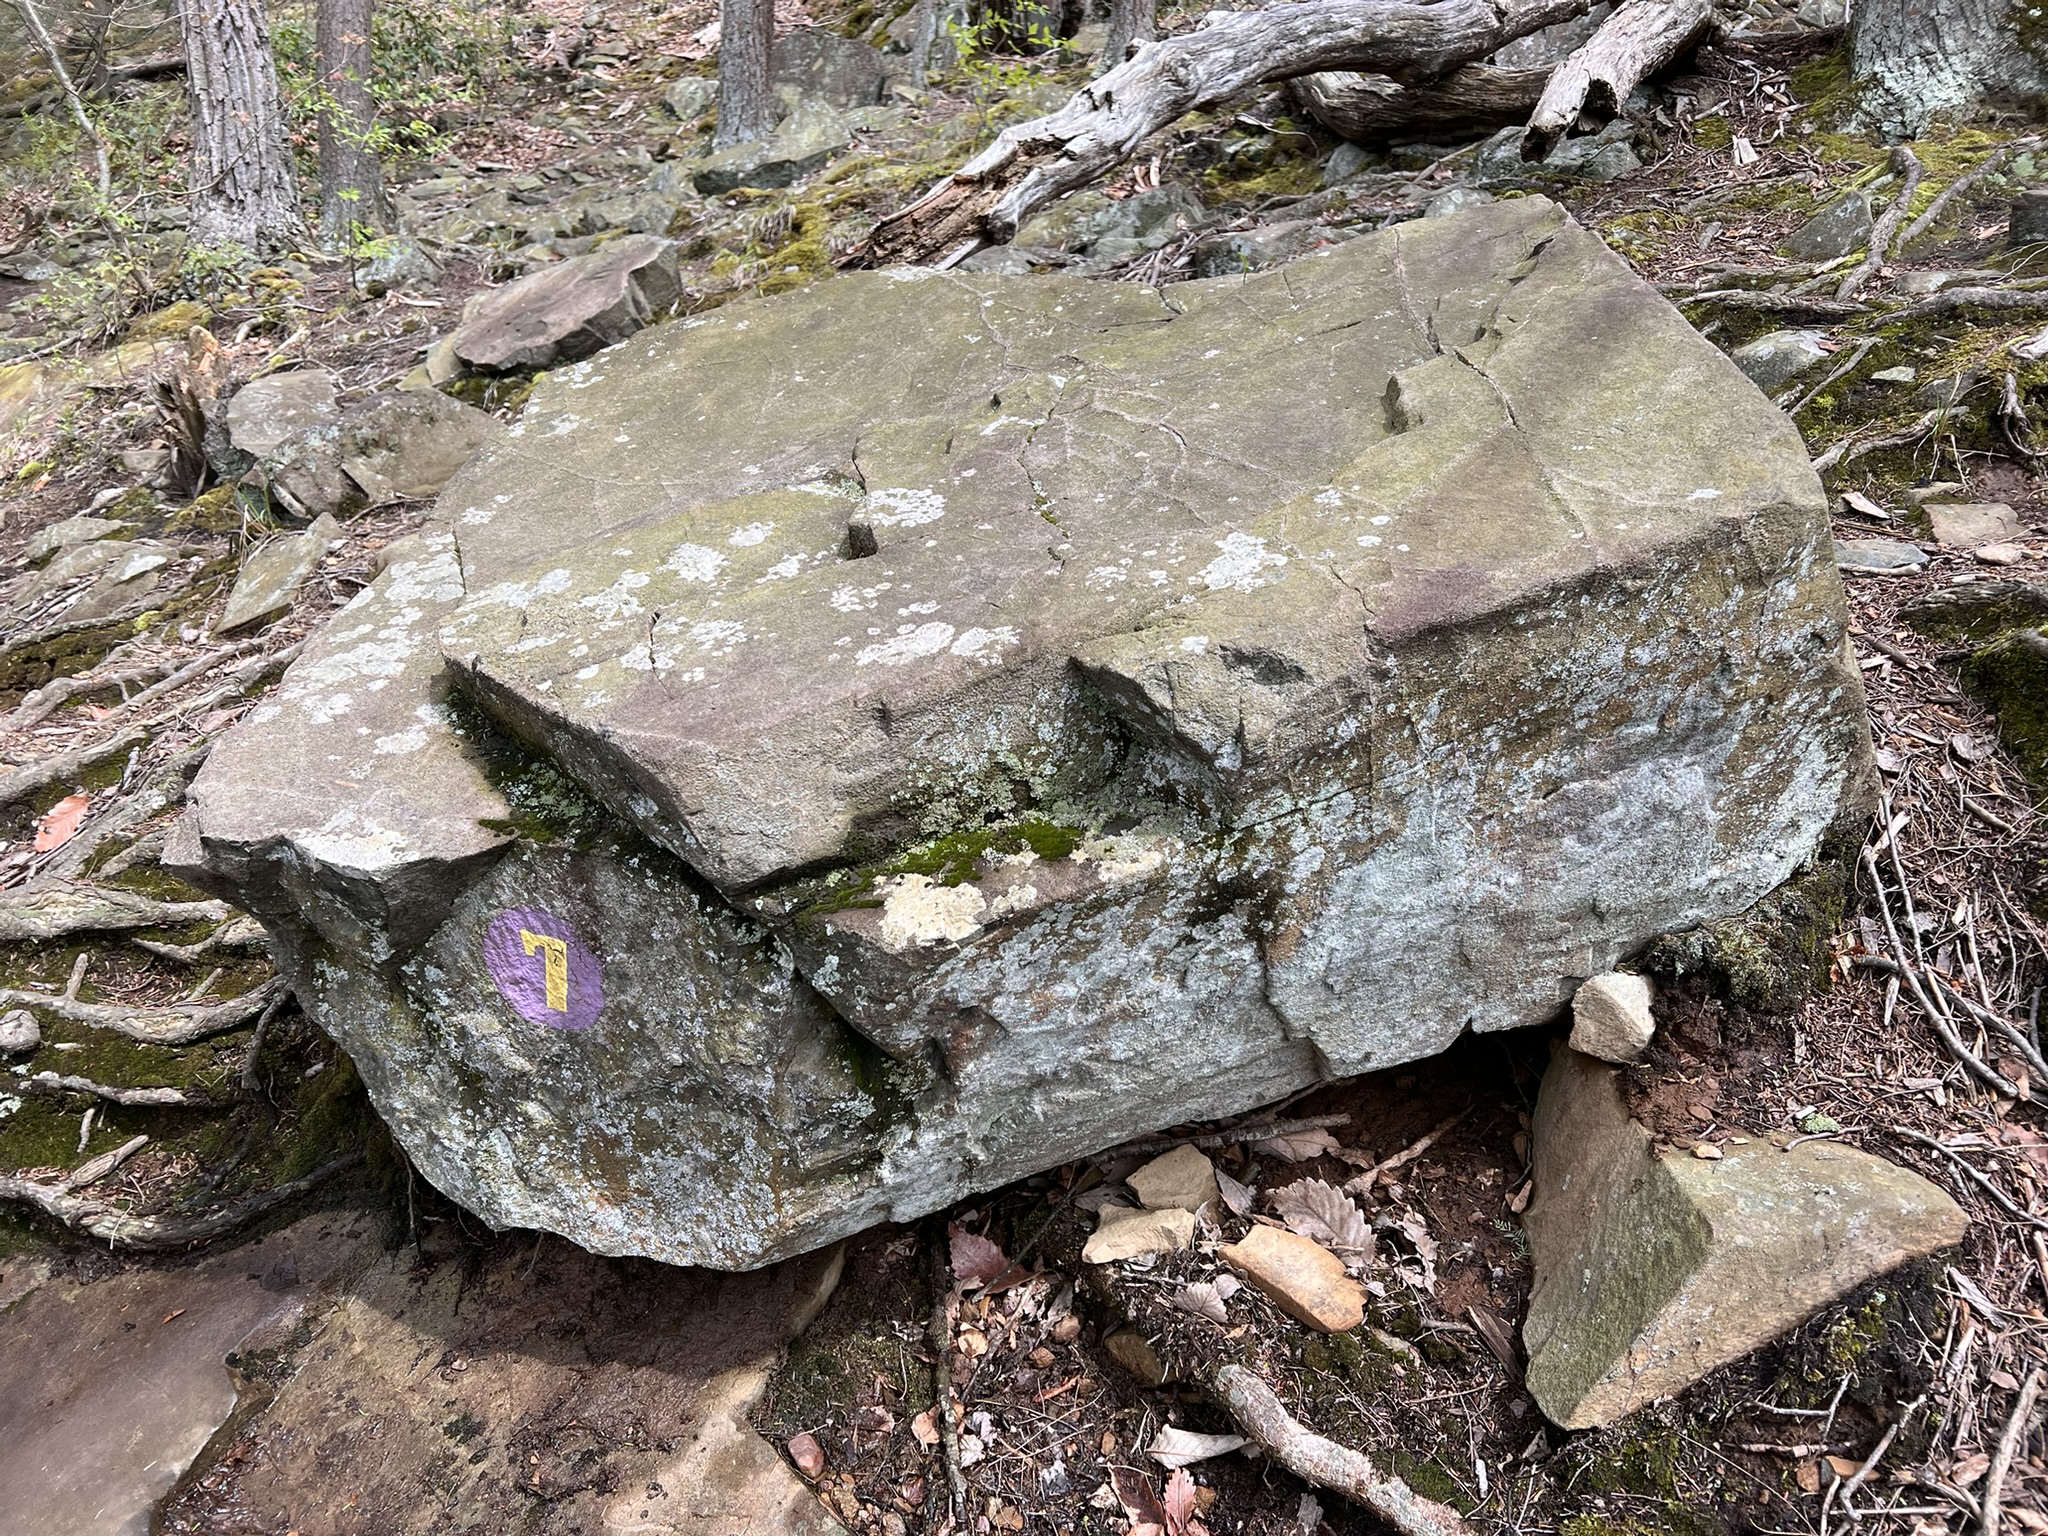
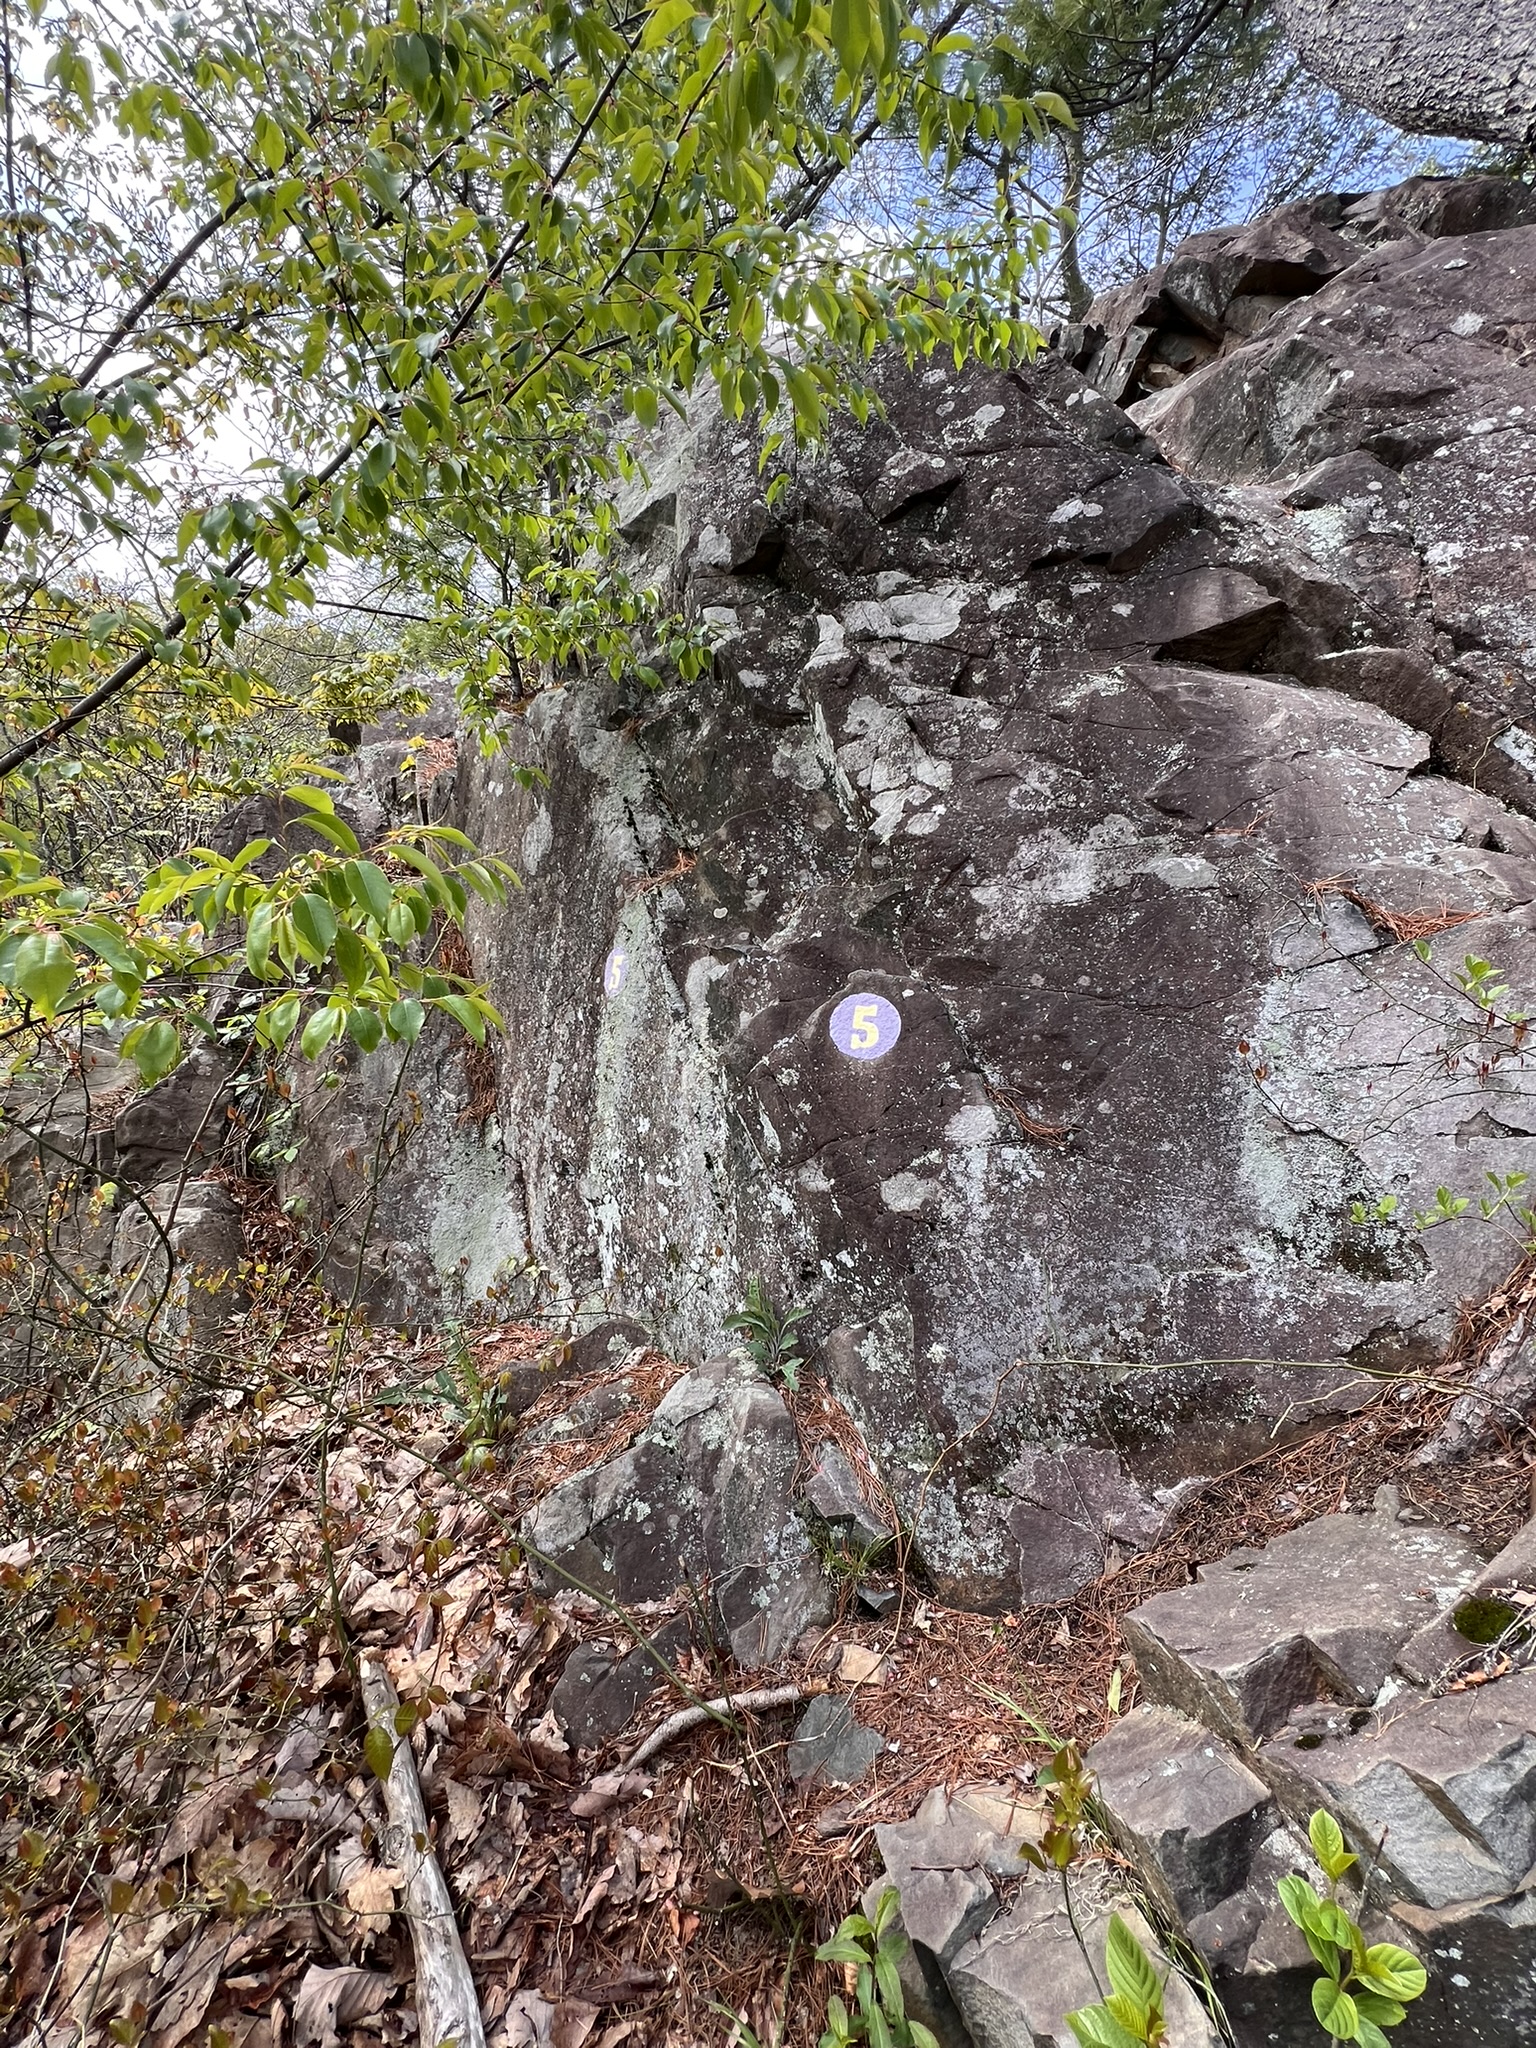
From left to right: V8 highlights the blocky diabase cliff in the background; V7 is an example of a polyhedron boulder and V5 is described as Hydrothermal Precipitate.
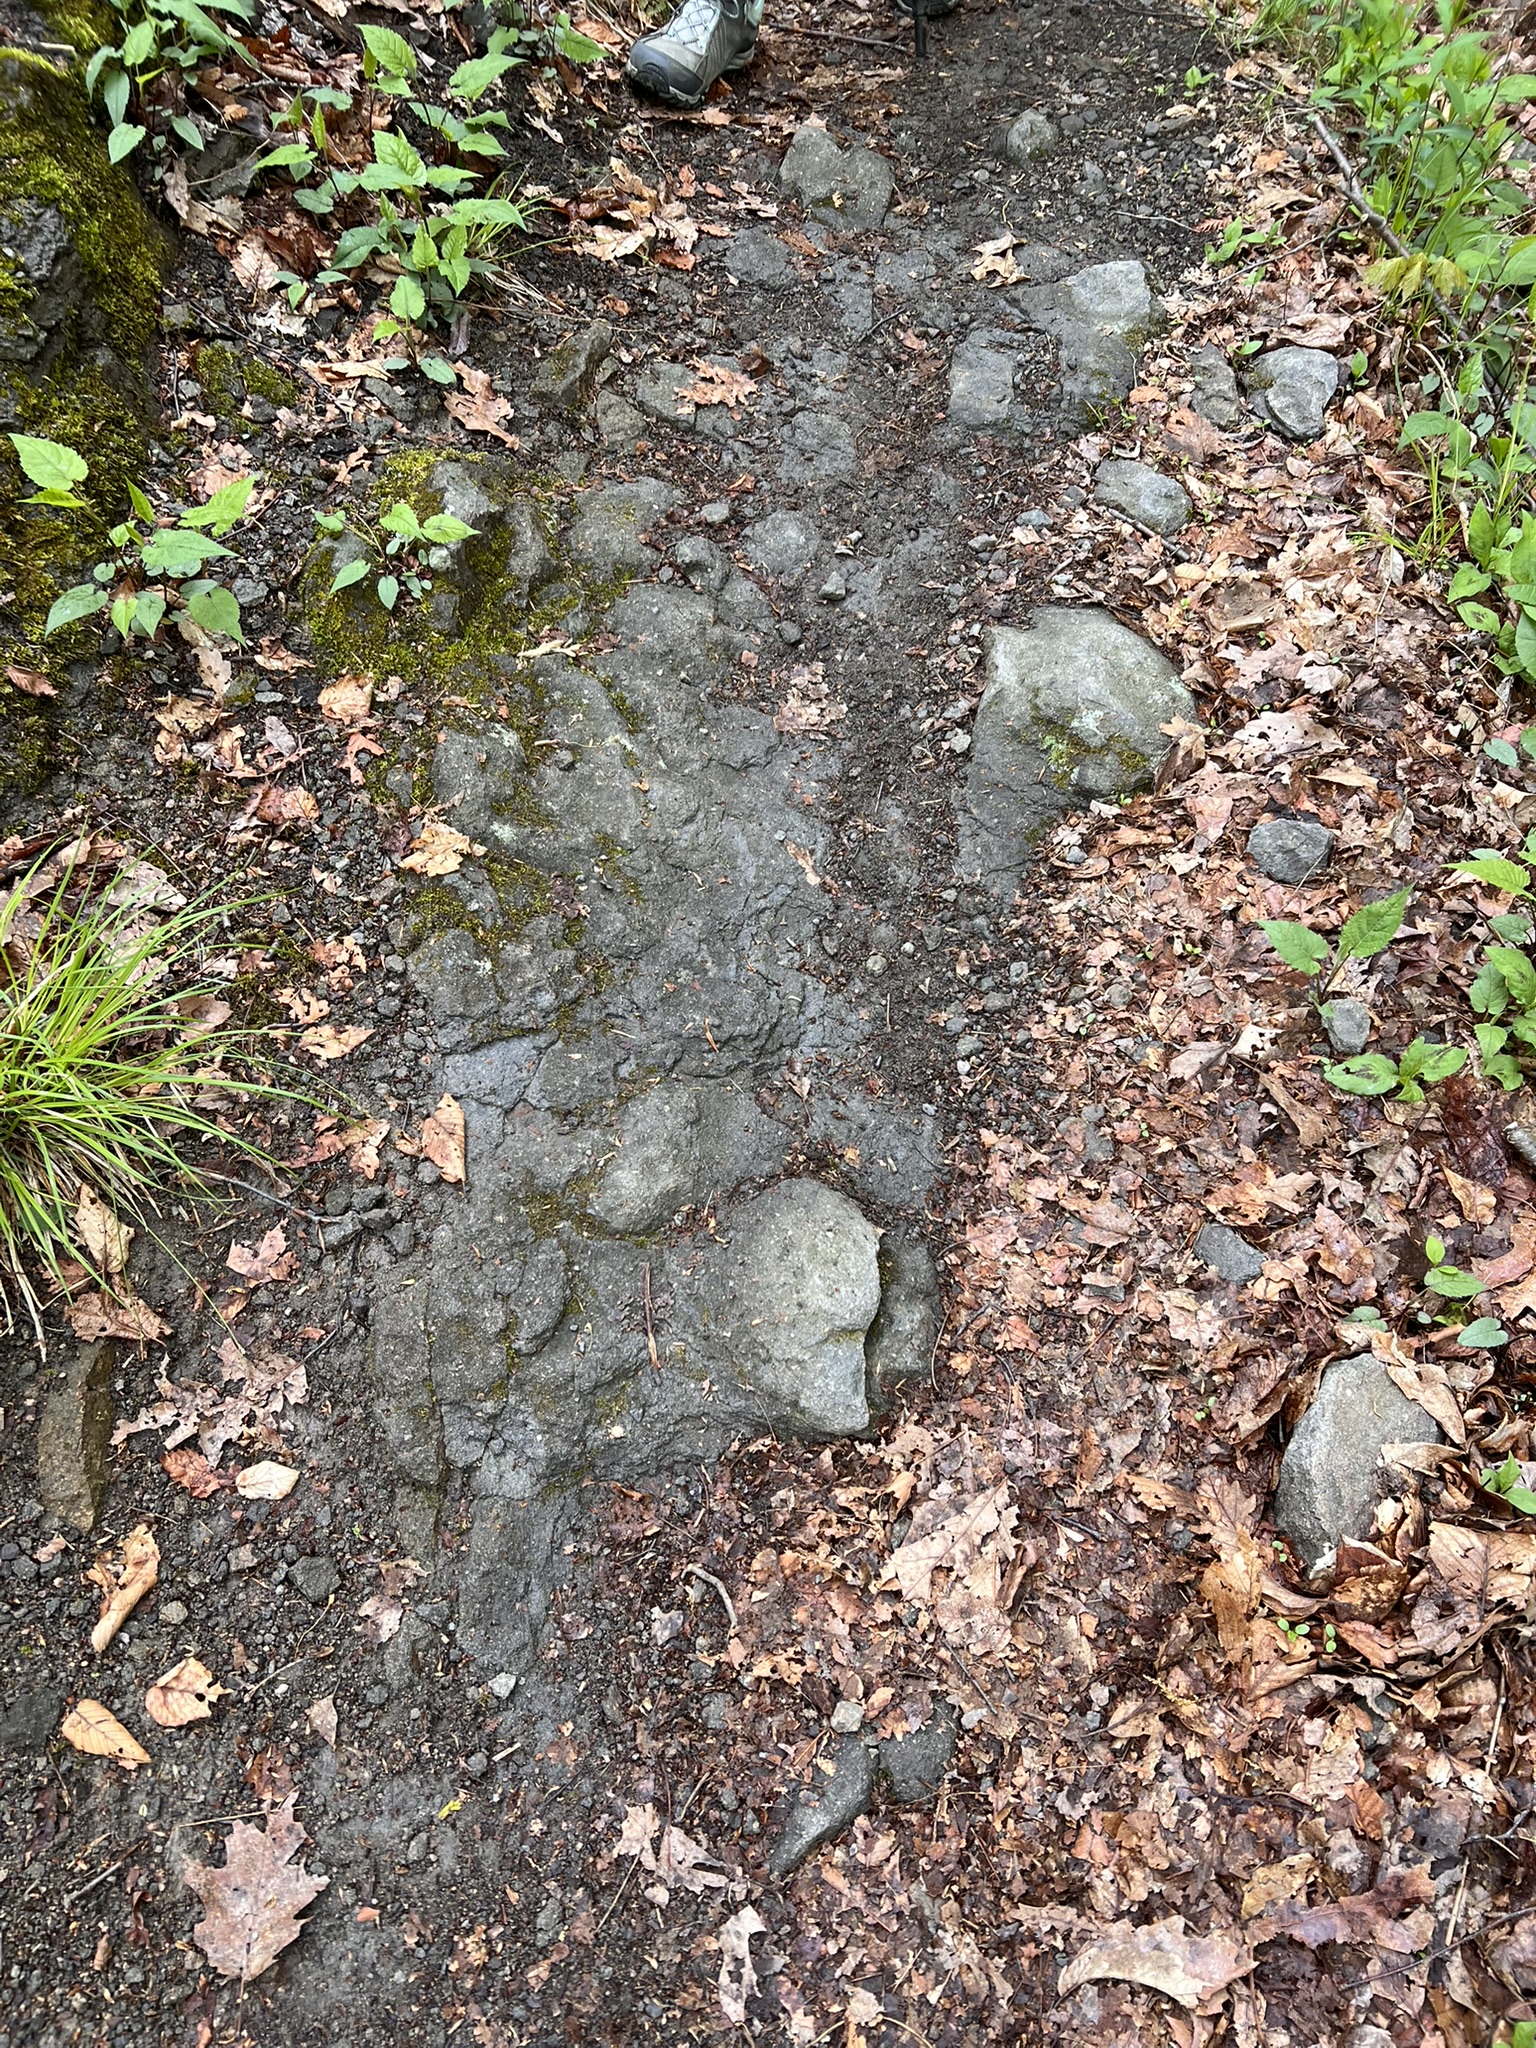
V4 is Polished Diabase. While the marker itself was faded and illegible, we easily found the polished rock it was referring to. V2 shows another example of a talus slope. While we did not find V1, this station talks about the Mill River and its effects on the geology of the area. Looking through my photos afterwards, I realized I had failed to take many photos of the river. Luckily the guide has several photos such as this one where you can get a feel for what the river looks like.
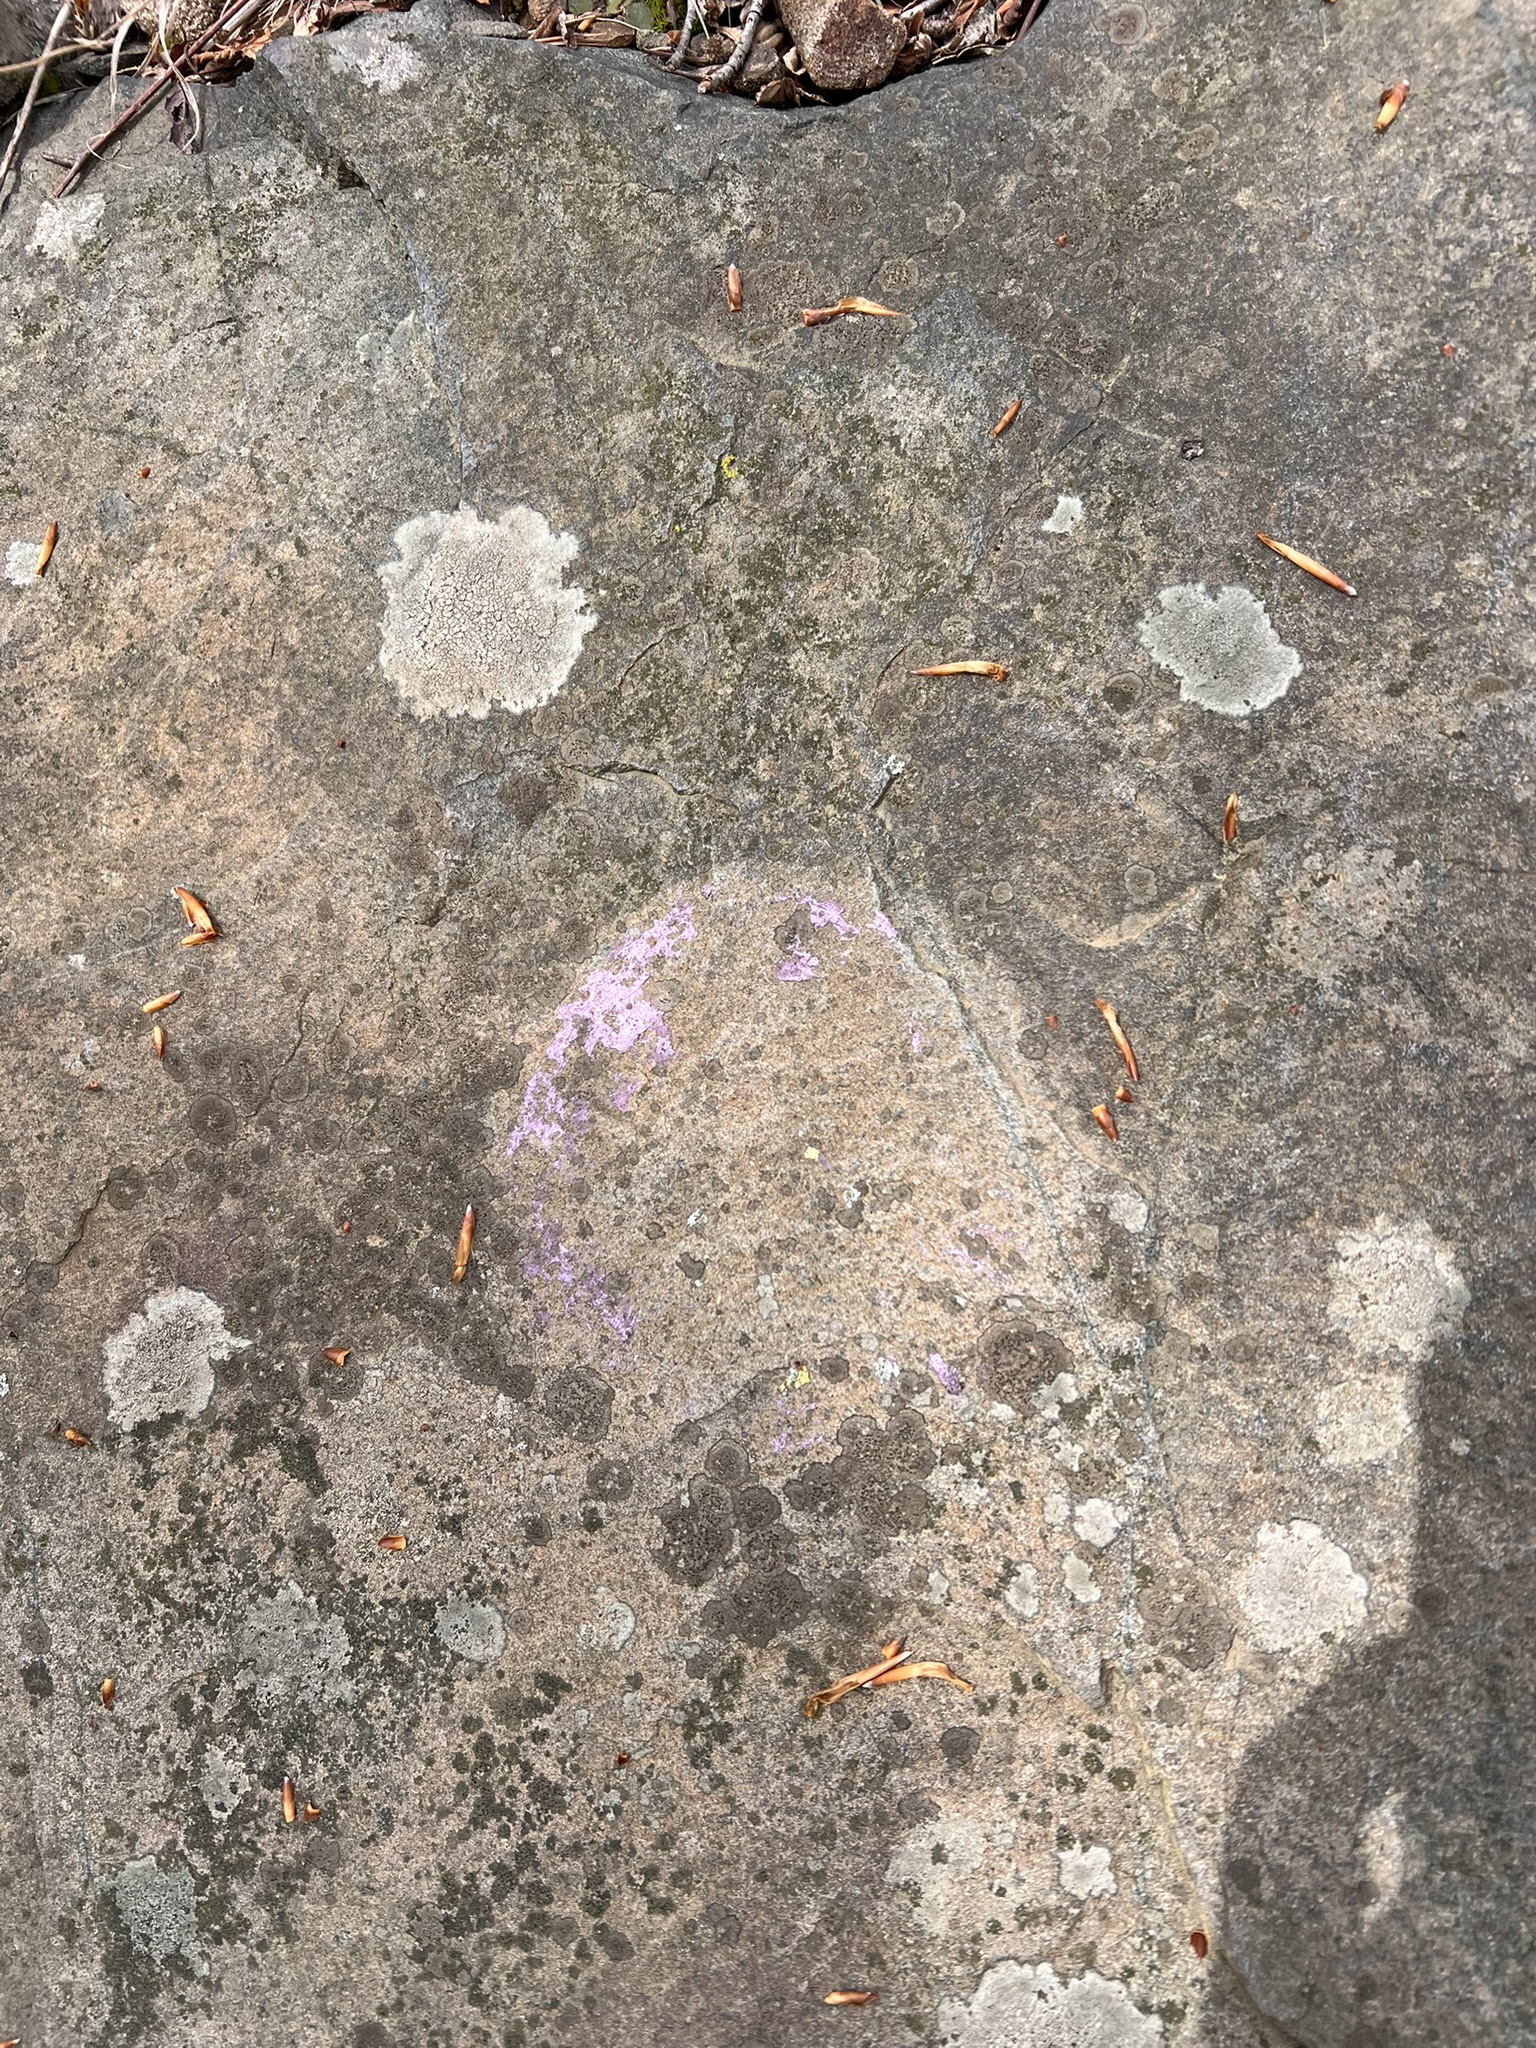
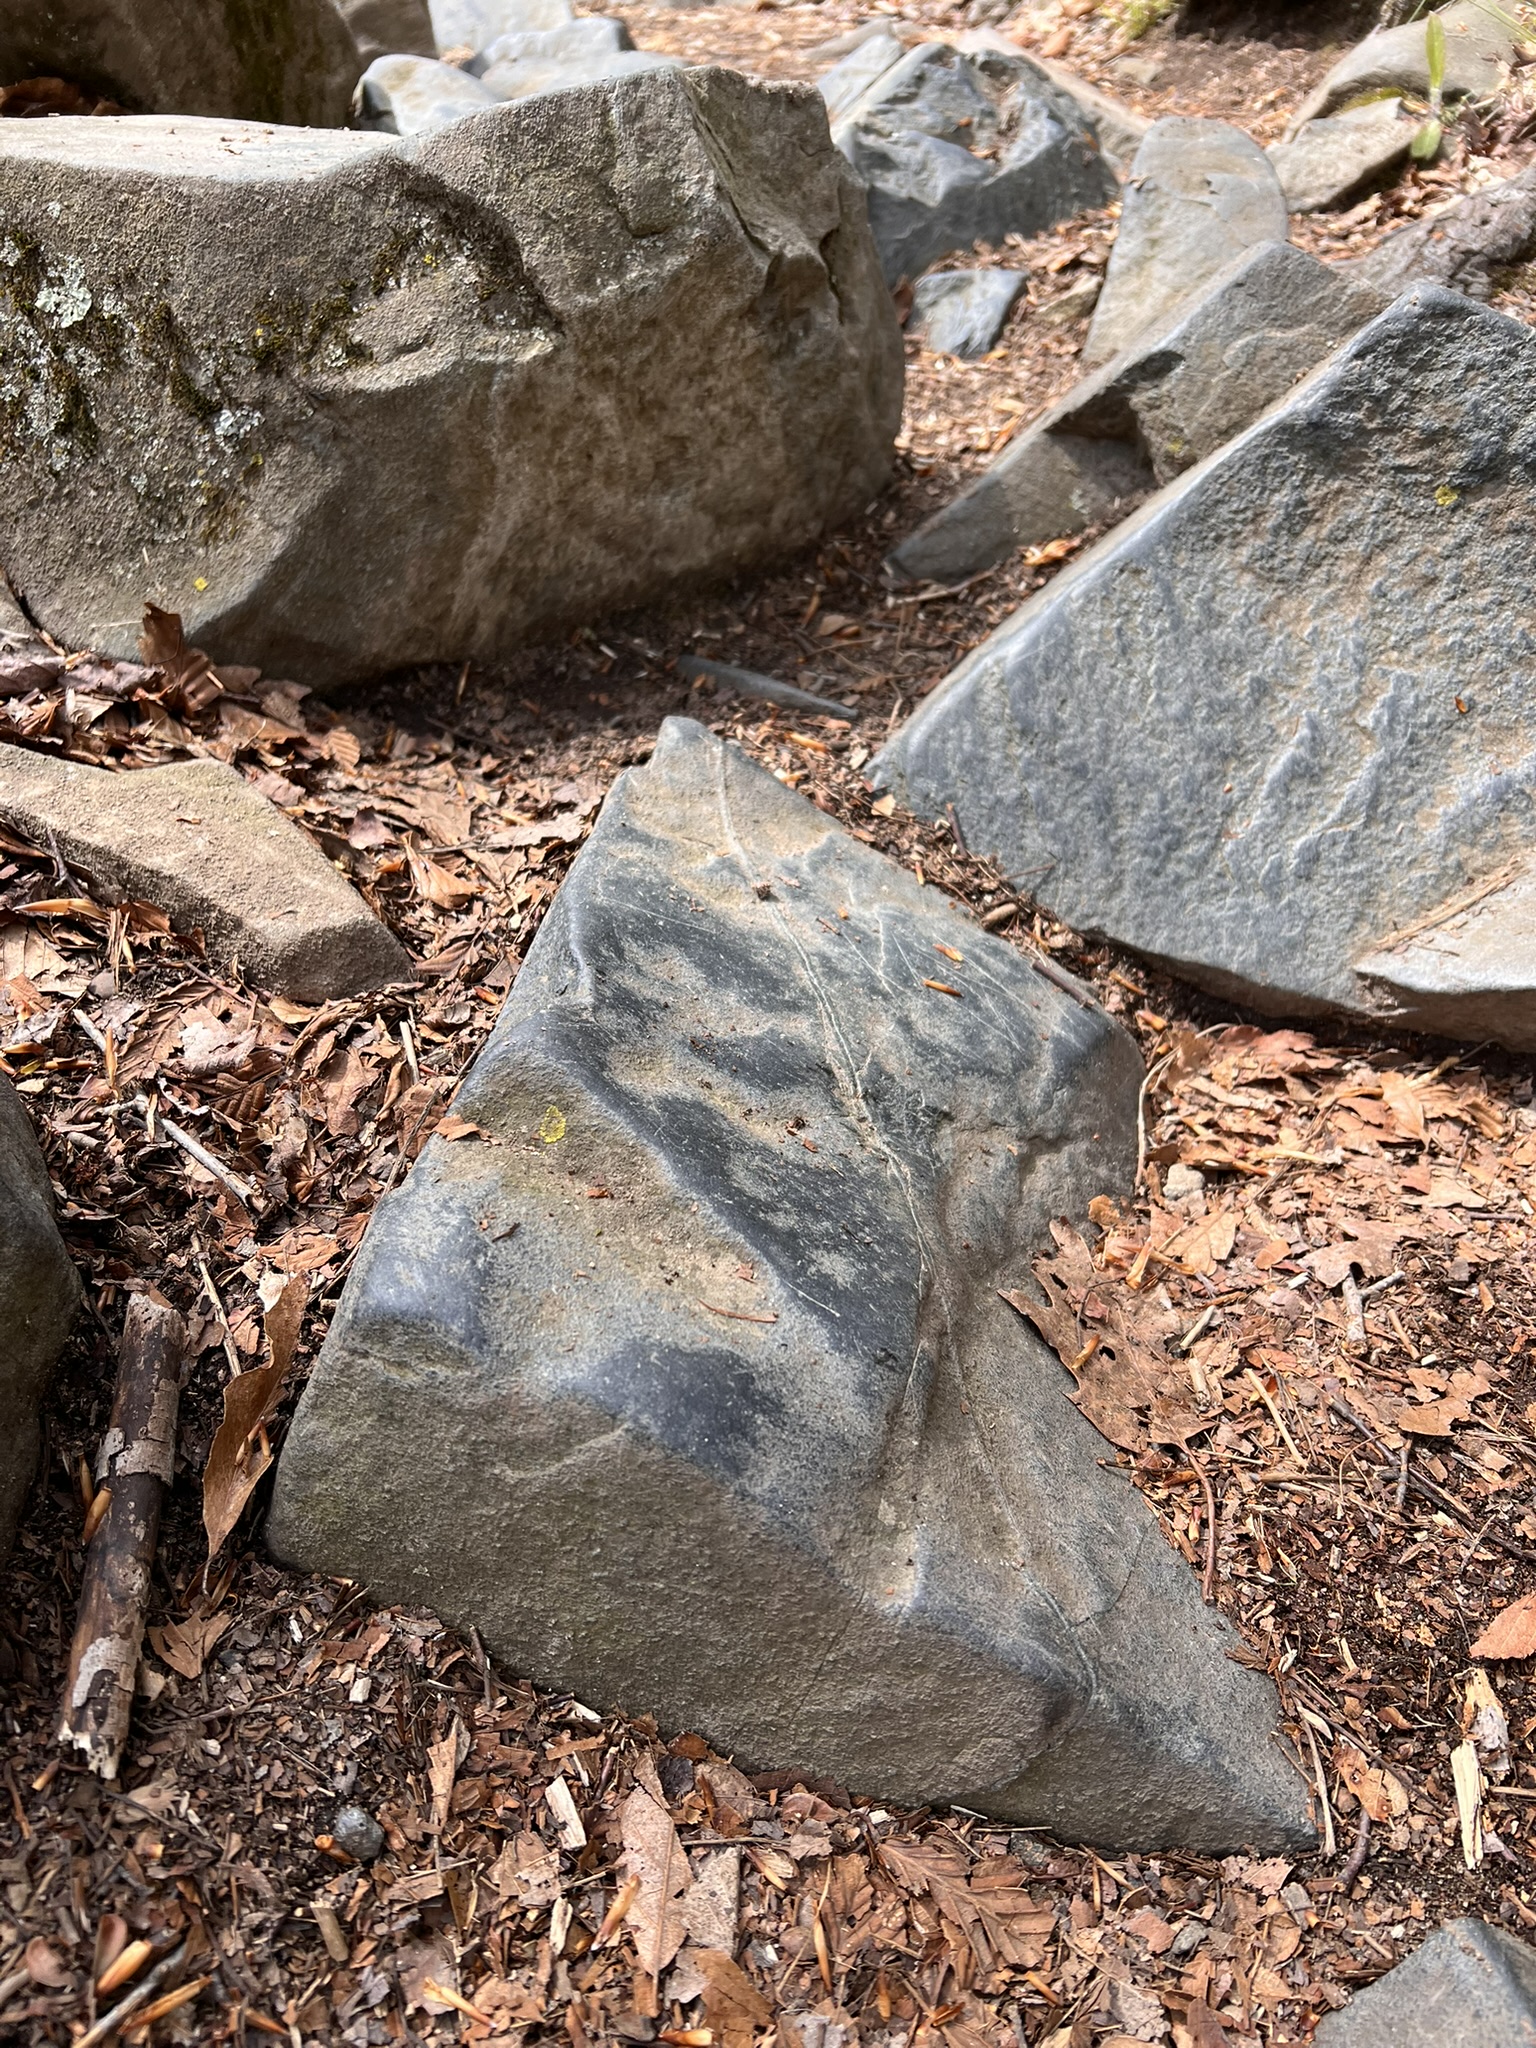
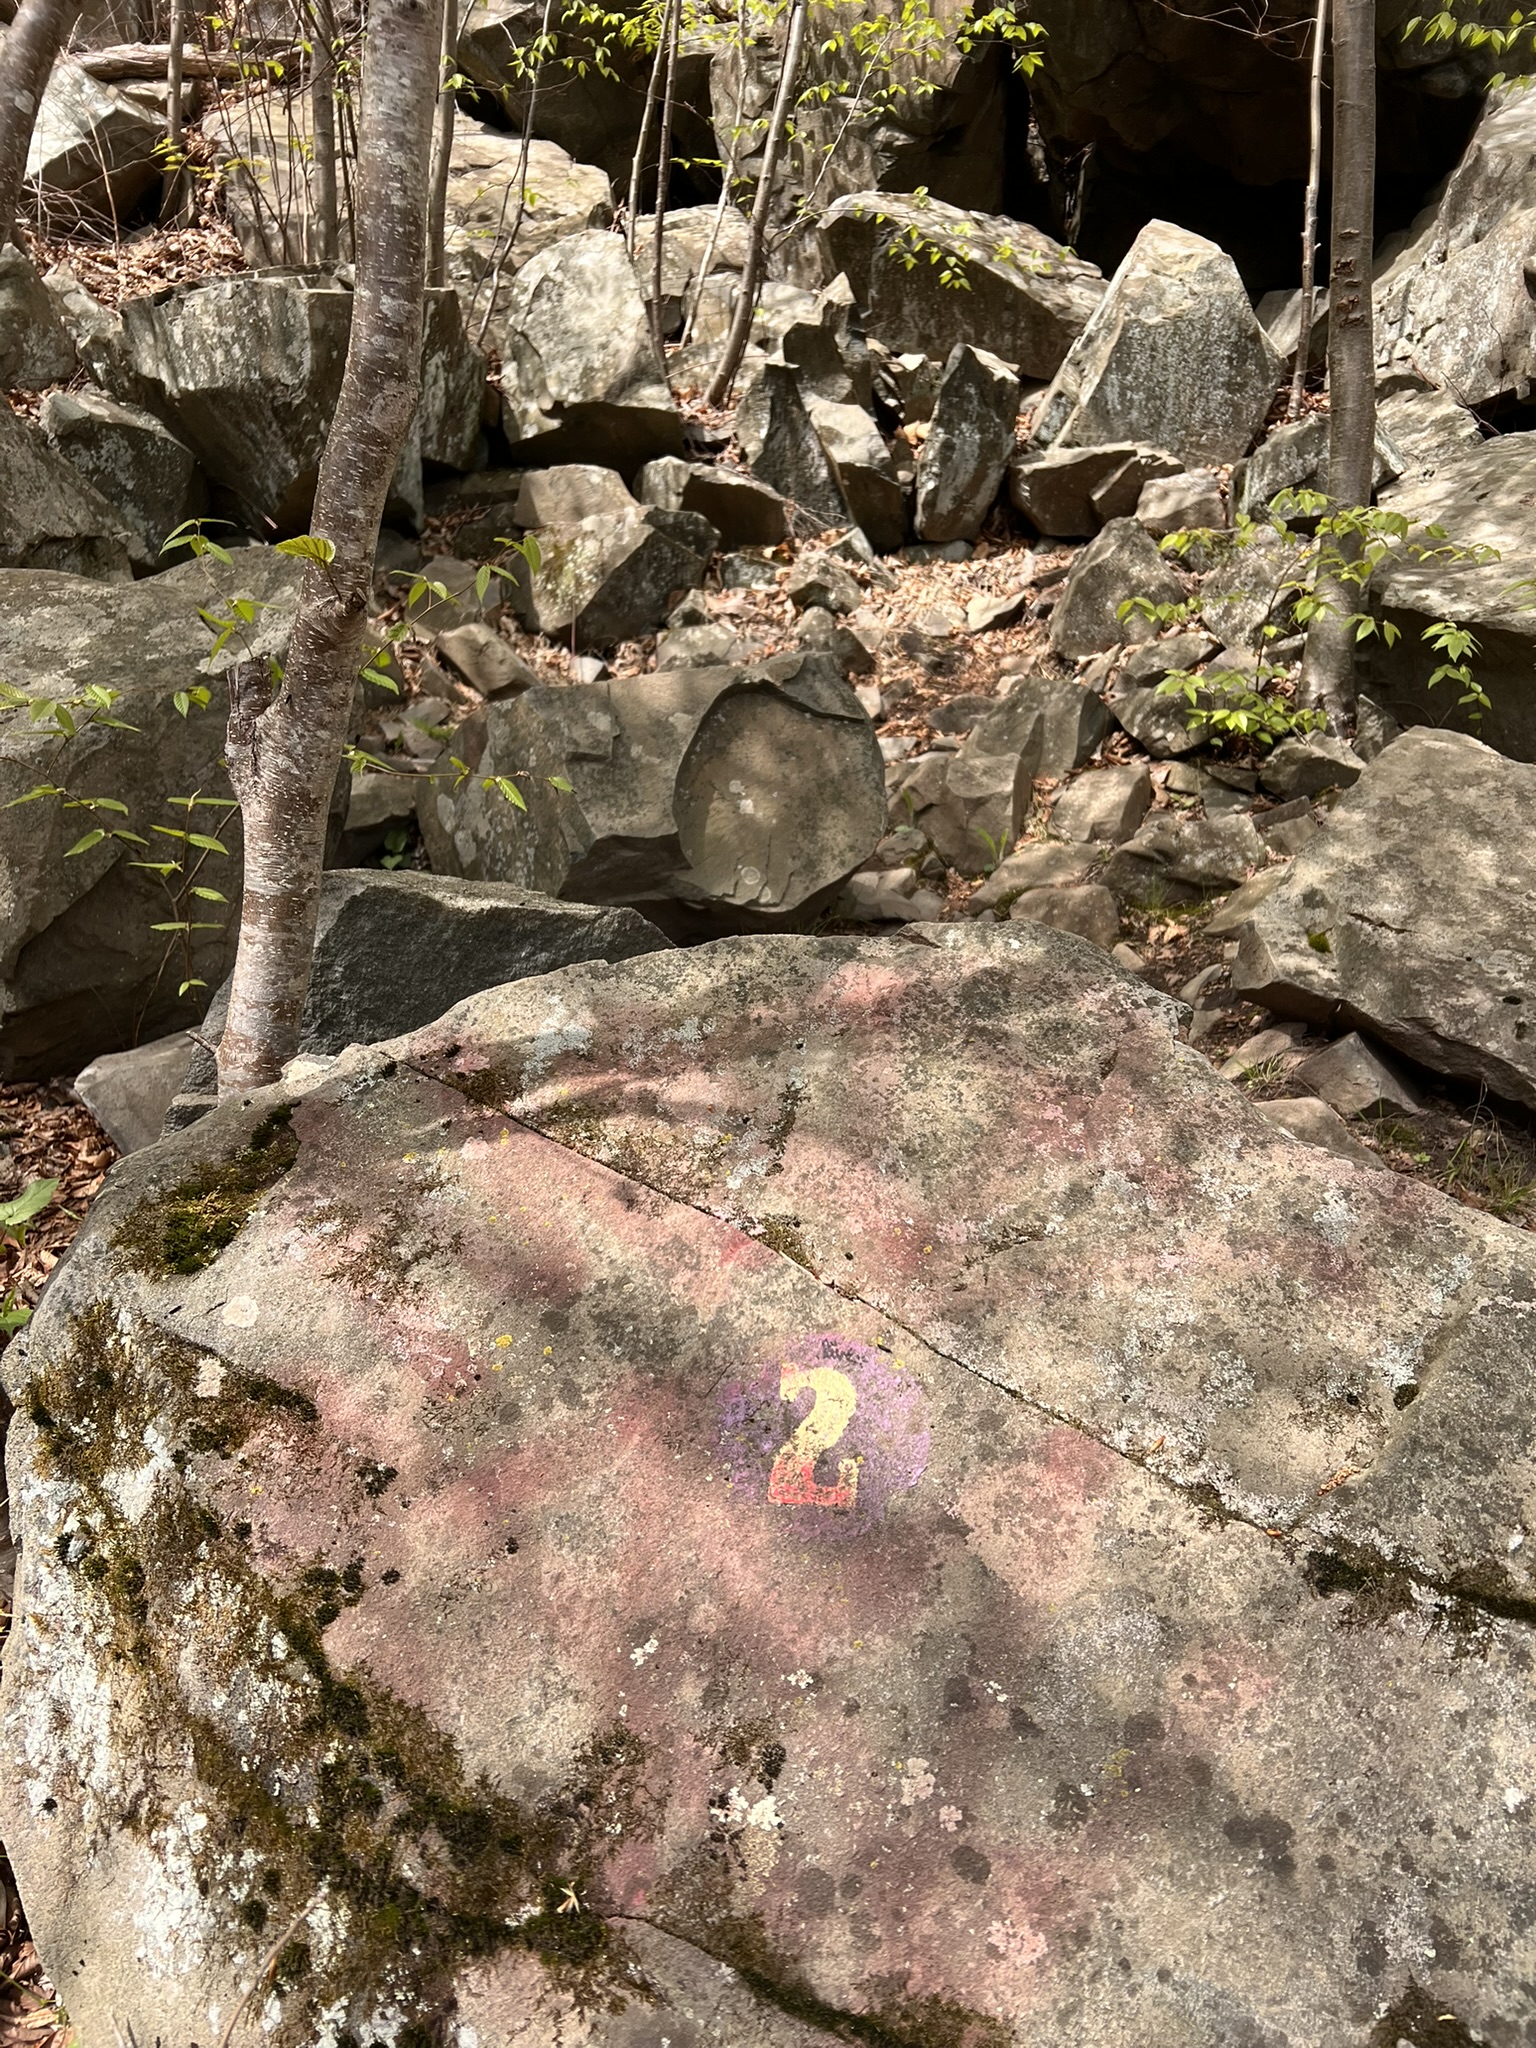
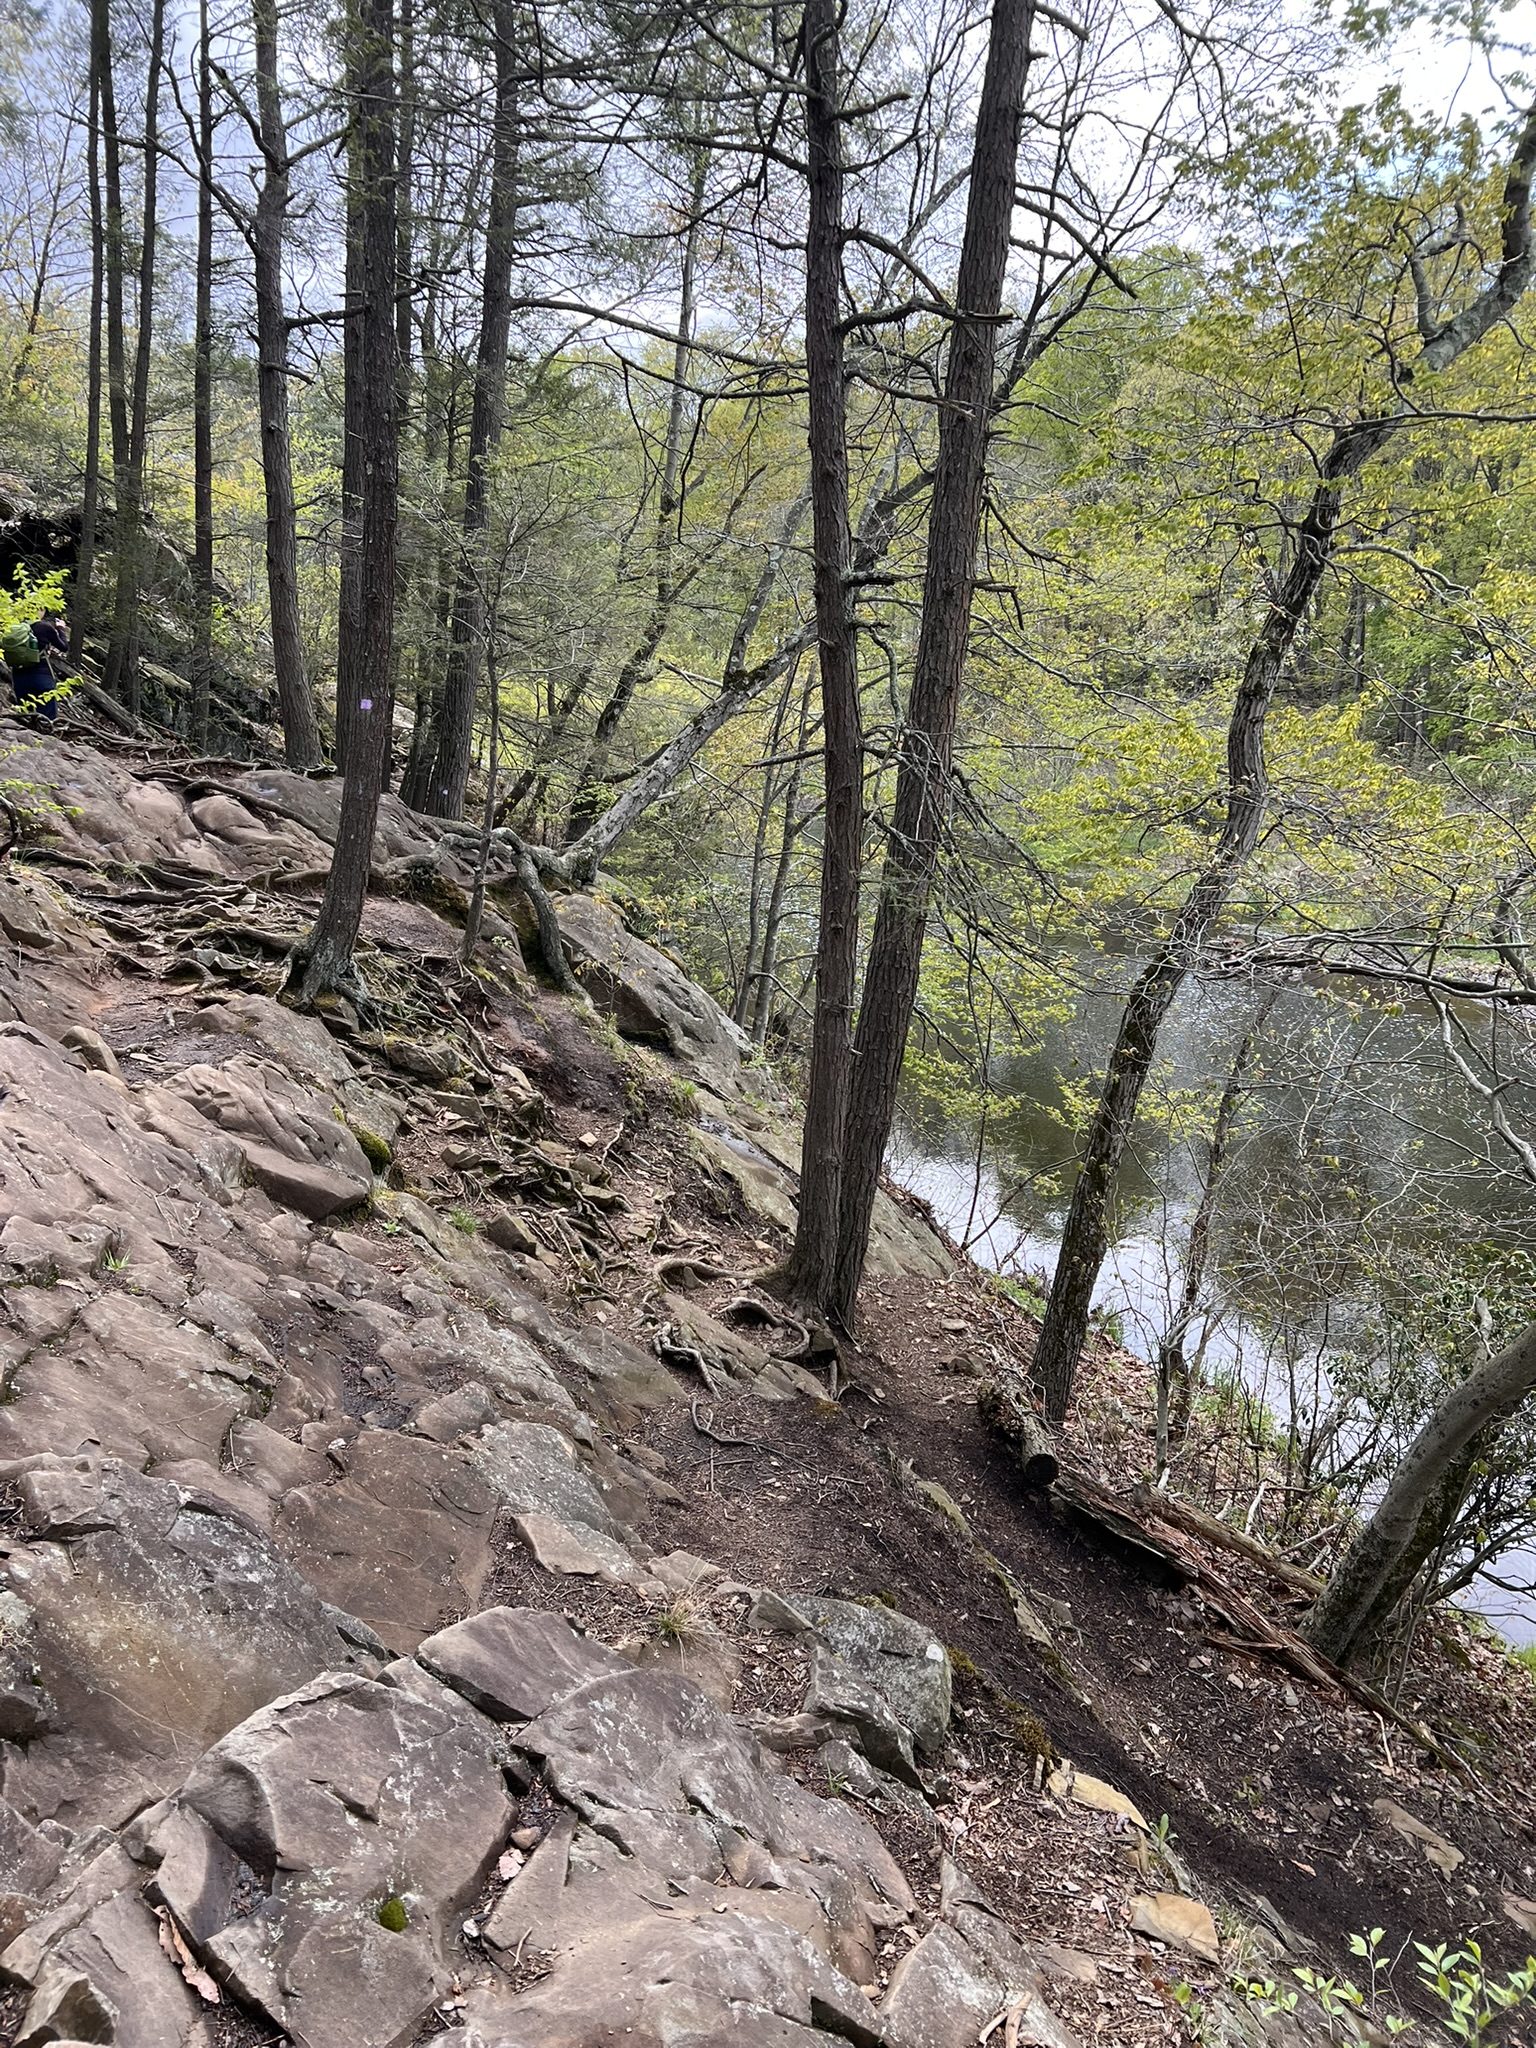
From left to right: the V4 marker for polished diabase that is now illegible; the polished diabase; V2 is another example of a talus slope; a view of the Mill River
According to the guide, there are also geology markers on the Green Trail, Tower Trail and the Red Circle Trail. To add some fun learning and a scavenger hunt vibe to your next hike, download a copy of the Geology Guide and make a visit to Sleeping Giant State Park. Happy Hiking!
Bibliography
The Traprock Landscapes of New England: Environment, History and Culture, by Peter M. Tourneau with photographs by Robert Pagini. (2017)
Bulletin No. 41: Trap Rock Ridges of Connecticut: Natural History and Land Use by Penelope C. Sharp, Ralph S. Lewis, David L. Wagner and Cara Lee (2013)
Guide to the Geology of the Sleeping Giant State Park, by David M. Sherwood published in December of 2011.
Subscribe to Trail Talk
your next adventure awaits
Questions? Email me at naturenerdsramble@gmail.com or find me on Instagram @the_real_nature_renee.
 Subscribe to Trail Talk


