Grab a compass and a map with detailed terrain features and pre-plotted points and head off into a local woods near you to find small placards nailed to trees, usually well off the trail. Sounds like a fun treasure hunt, doesn’t it?
While hiking in Madison’s Rockland Preserve in January of 2024 I stumbled across an old orienteering course I hadn’t heard of before. I was intrigued. Weeks later, I read about a new orienteering course in Haddam. I filed these away for a future blog post. When the last of the leaves fell I pulled out my orienteering folder (literally a paper folder, as I am old school) and decided to start exploring. Miriam-Webster defines orienteering as a competitive or non-competitive recreational activity in which participants find their way over an unfamiliar course (as in the woods) using a map and compass.
My familiarity with orienteering is through my husband, Tom, whose hobby for many years was long-distance adventure racing, which requires navigation with a map and compass on a grand scale. If you have seen the movie “Arthur the King” that is exactly the kind of race I mean. (Click HERE for the trailer). Often times the kids and I would join him as race volunteers in far flung places (Australia, South Africa, Costa Rica). I saw many maps and heard countless stories of both successful navigational strategies and disappointing errors. I decided it would be fun to try my hand at orienteering.
Orienteering has its roots in military training. As a sport, it first appeared in Norway in the late 1800’s before spreading across Scandinavia and throughout Europe. In the United States, orienteering as a sport developed in the latter part of the 20th century with the formation of the U.S. Orienteering Federation (USOF).
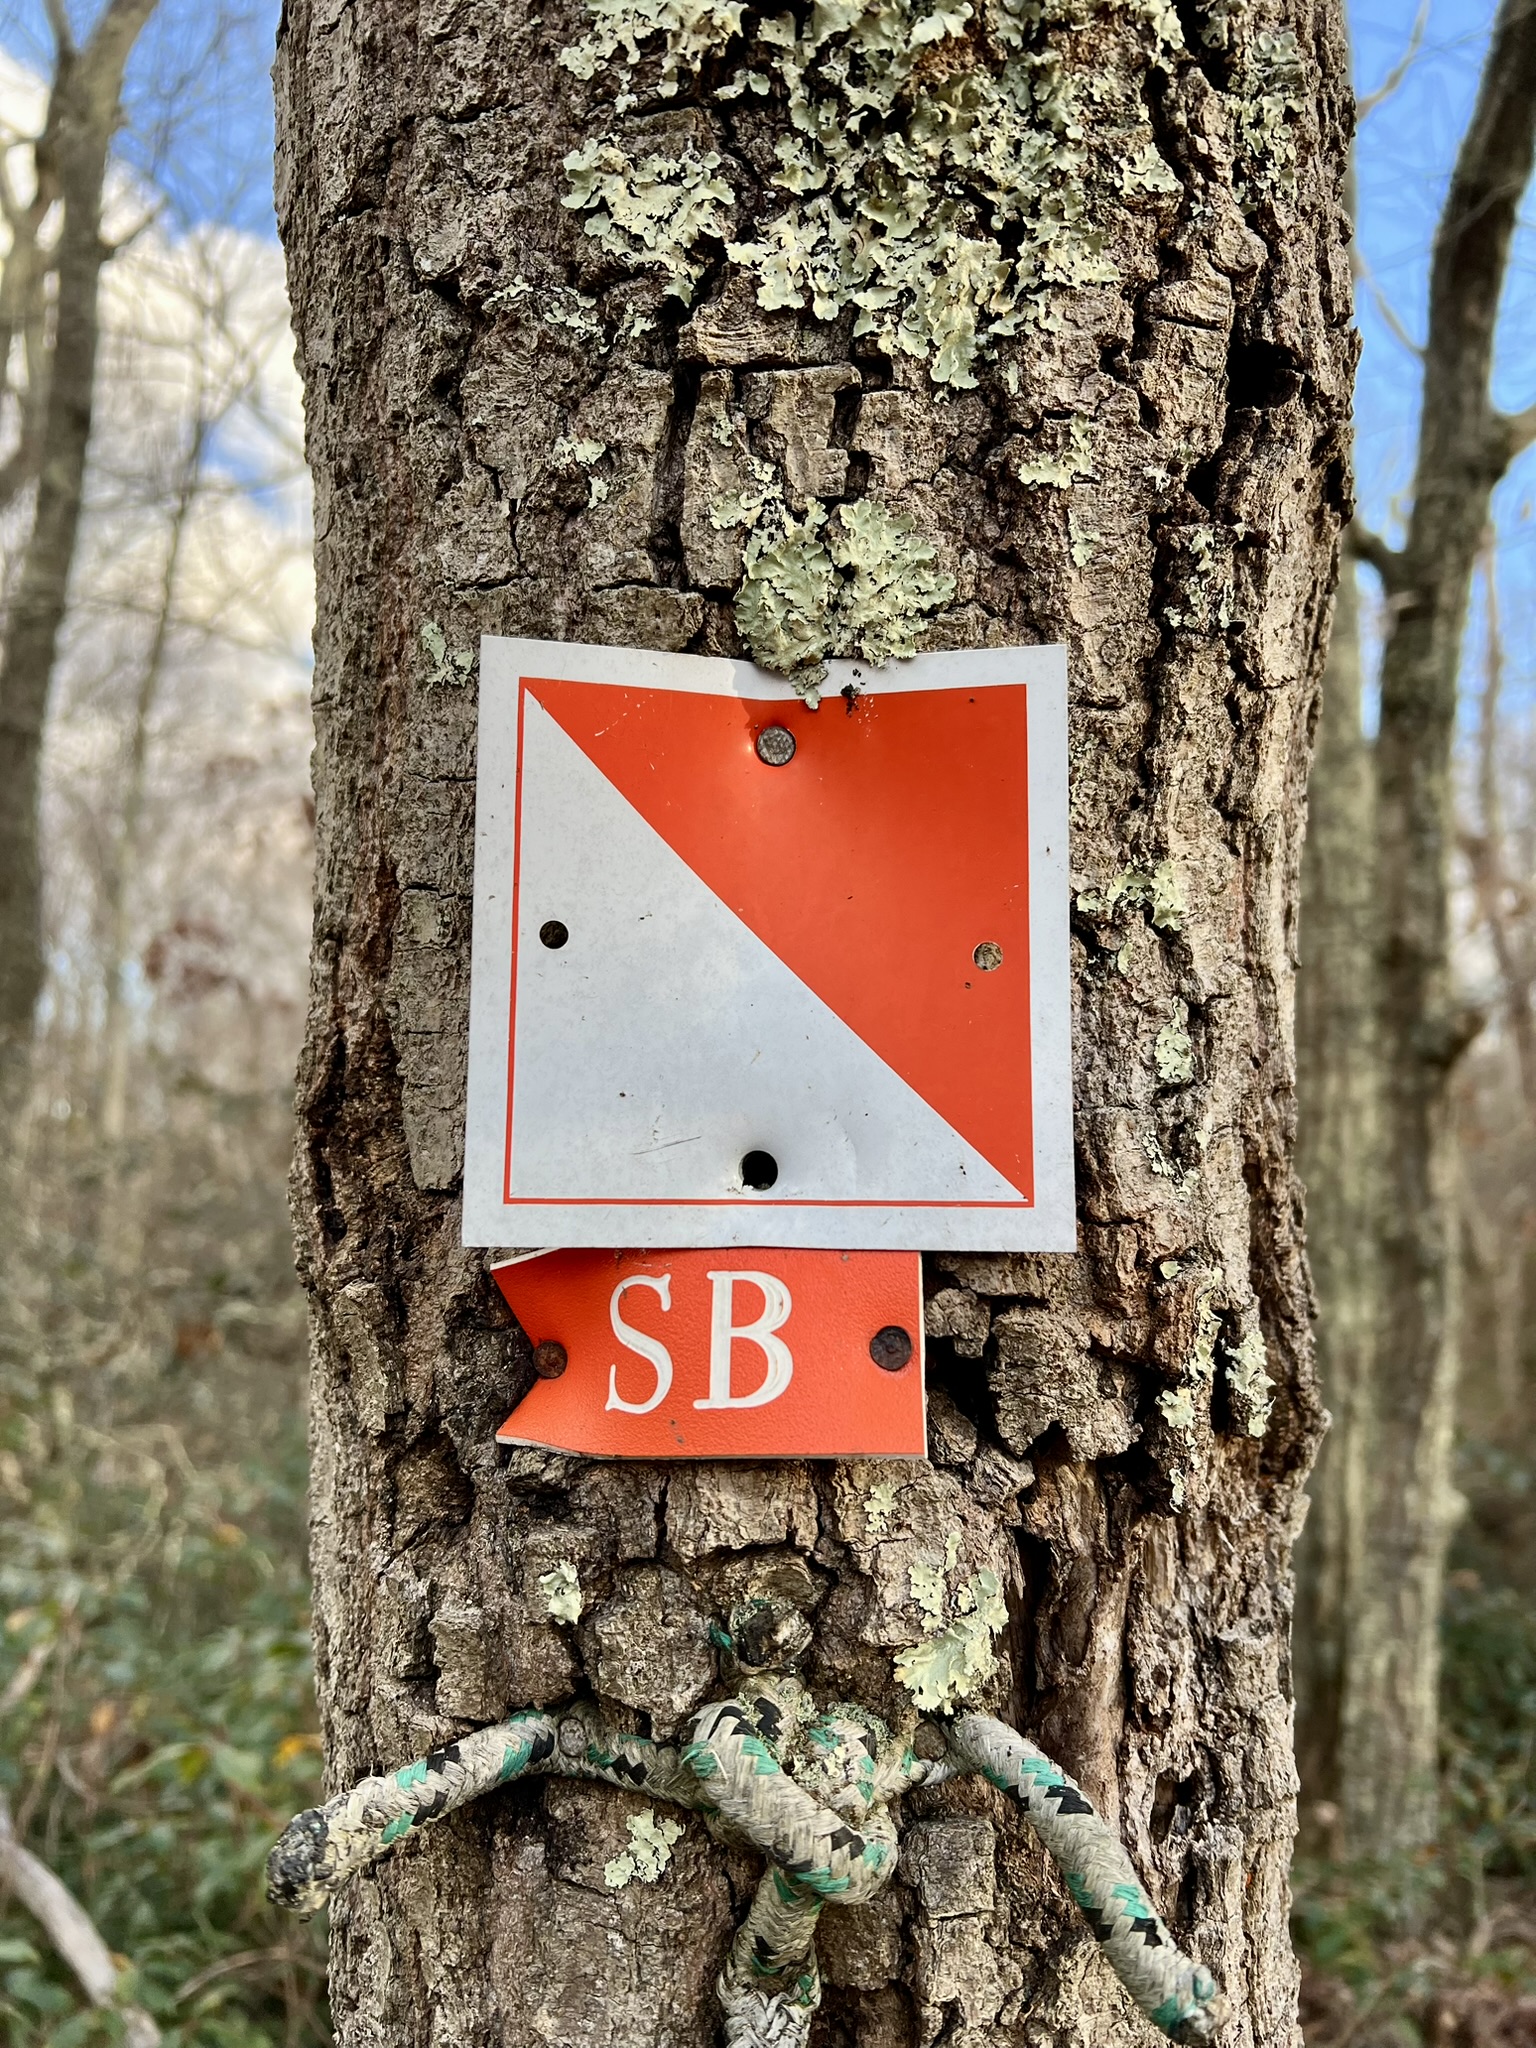
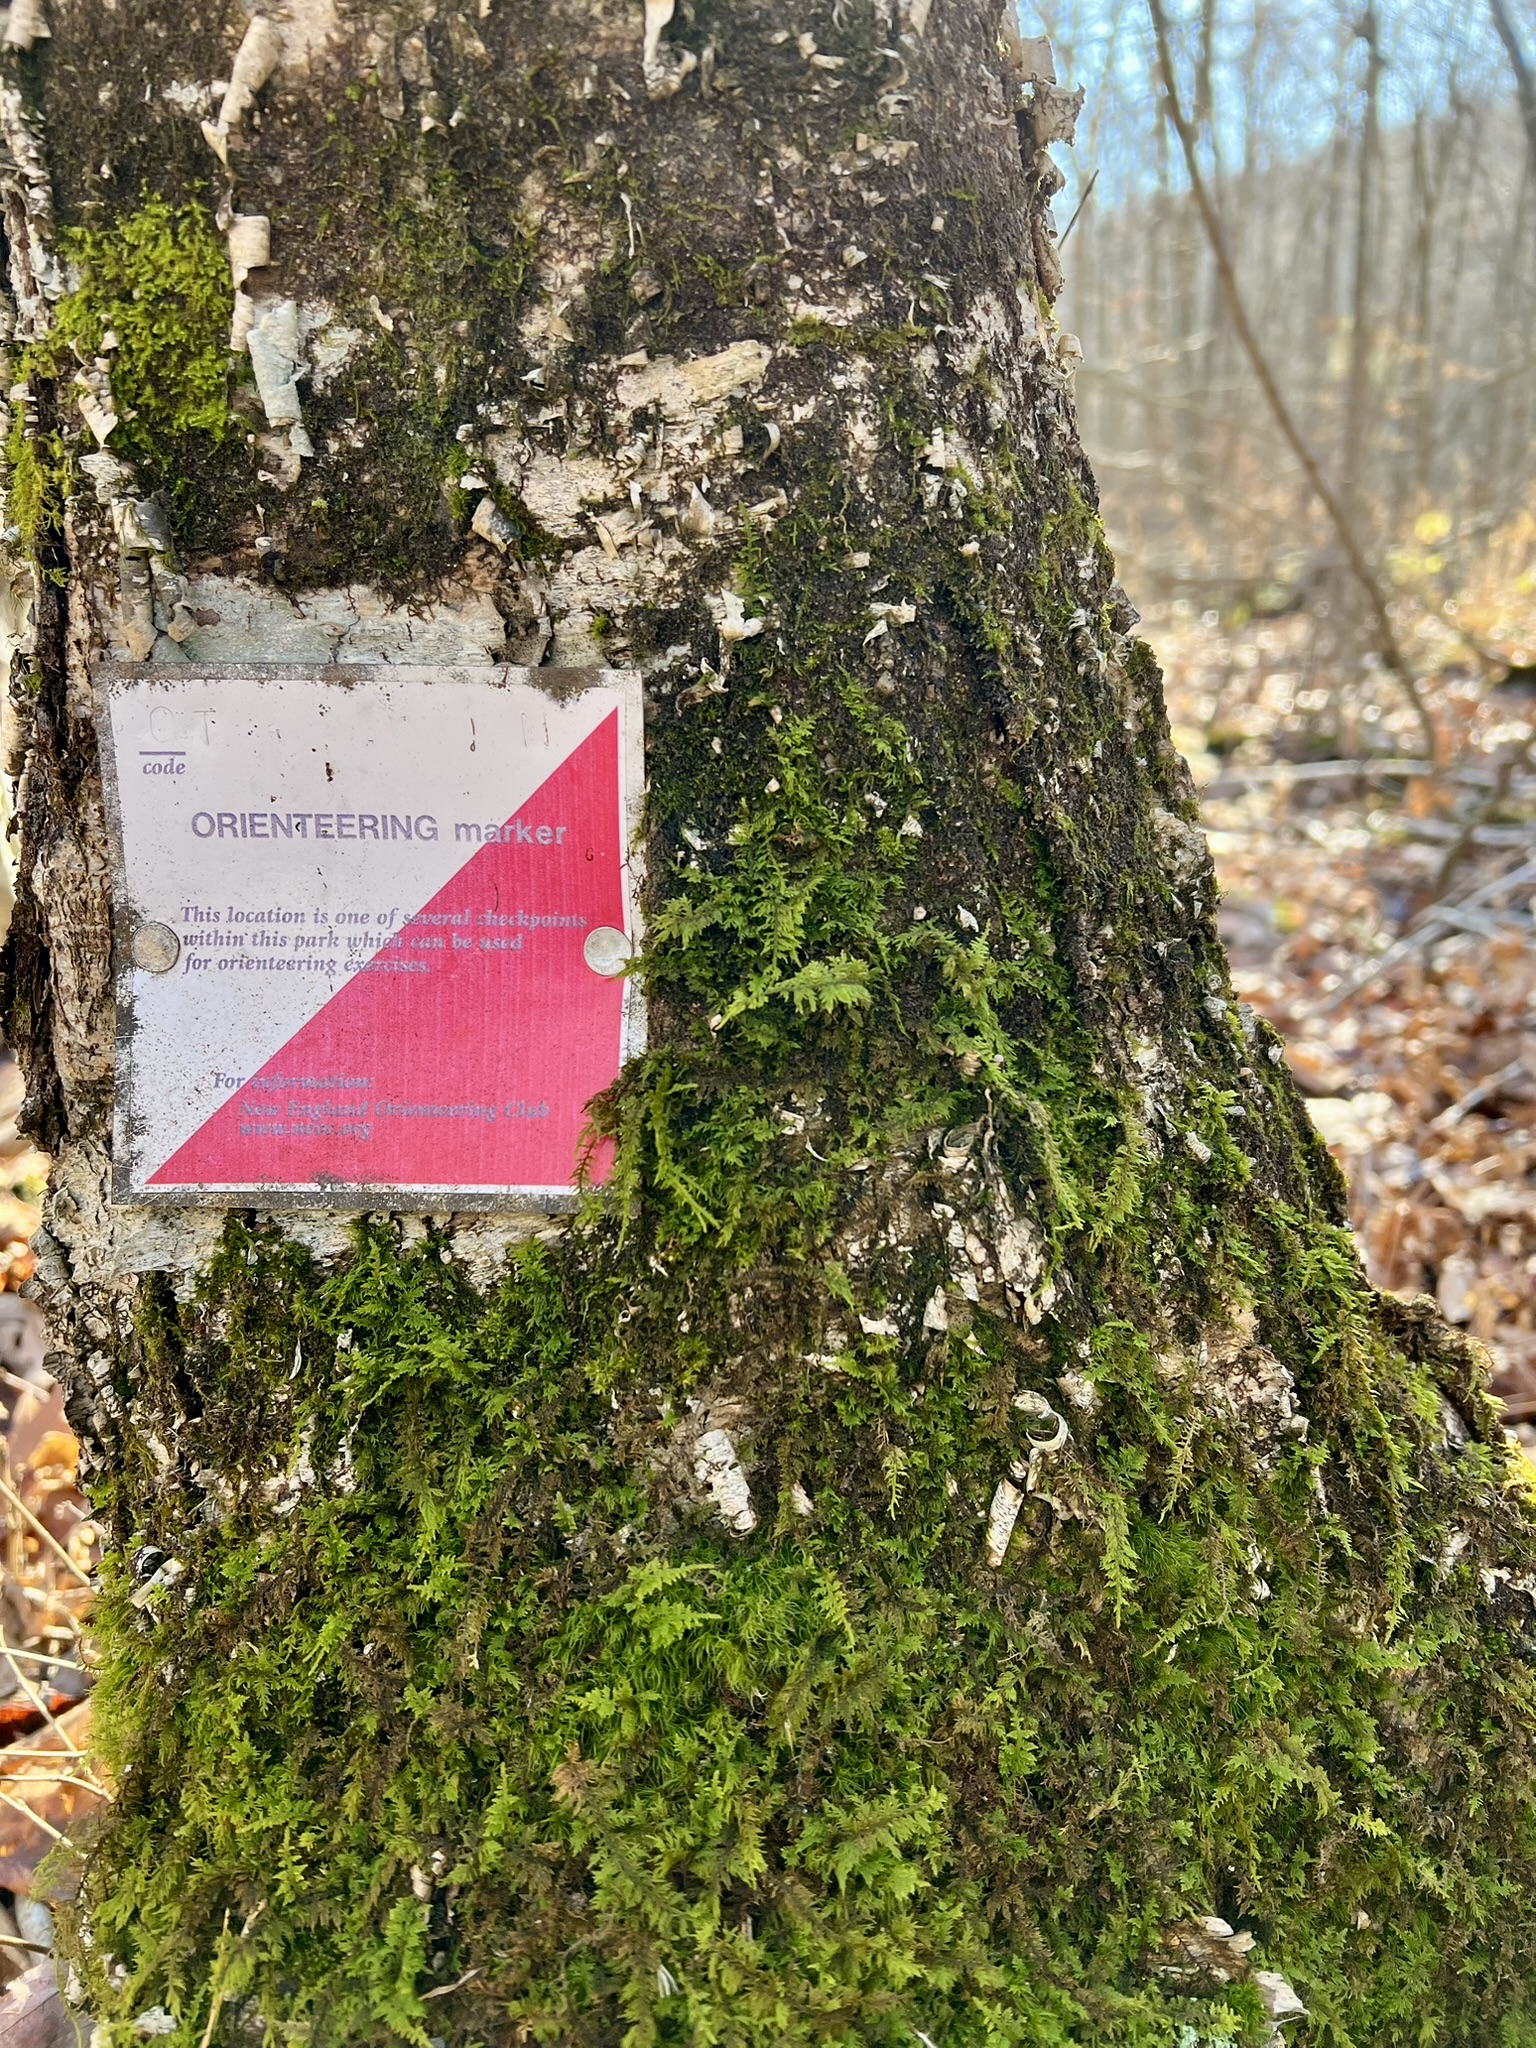
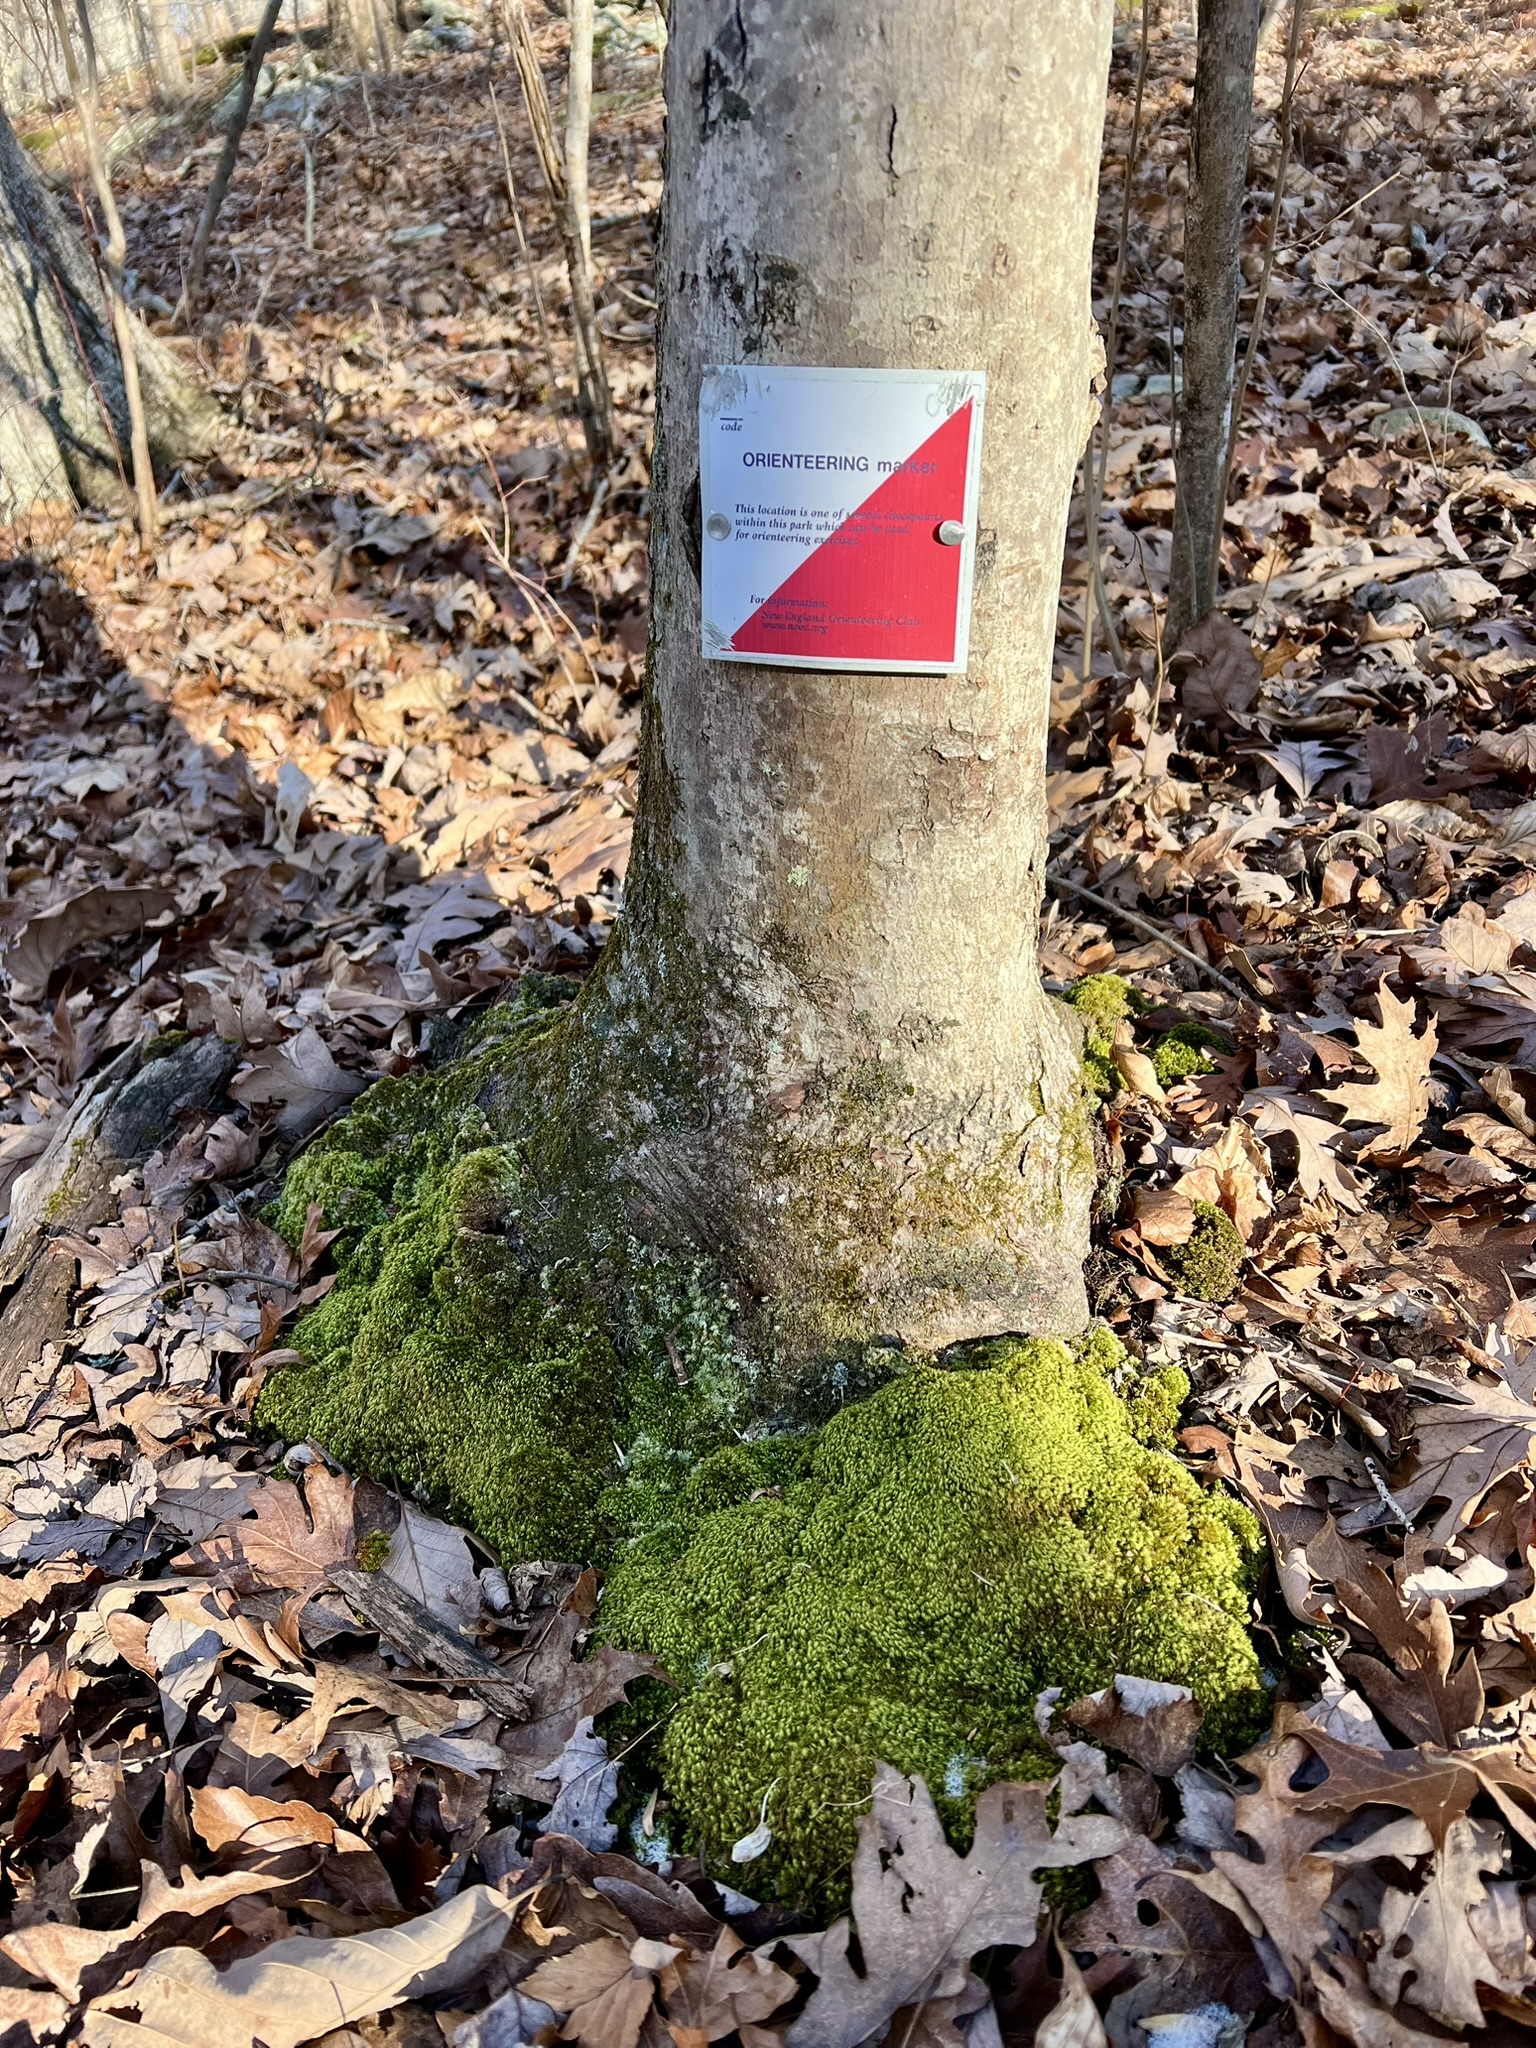
While most orienteering events are temporary, with control points (CPs) put up for a defined period of time, there are several permanent orienteering courses (O-courses) in Connecticut where you can practice orienteering skills at your own pace. While each one varies slightly, most of them have CPs that are small square markers with the trademark orienteering symbol of a white and orange triangle.
There are at least three orienteering clubs in my area – New England Orienteering Club (NEOC), Western Connecticut Orienteering Club (WCOC), and Hudson Valley Orienteering (HVO). These clubs sponsor events for all levels and are a superb resource for learning about all aspects of orienteering. There are many types of orienteering events. Another resource is Orienteering USA, whose website includes an interactive map of the country showing where you can find permanent O-courses. I recommend checking the club websites for more details on orienteering in general, and for their spring events schedules.
BREAKING NEWS! WCOC is establishing a new permanent O-course at Rocky Neck State Park.
In March they are planning three Saturday one-hour “Intro to Orienteering” sessions geared toward children, and a major event on Saturday, April 5. Watch their website for details.
Western Connecticut Orienteering Club (WCOC) website
New England Orienteering Club (NEOC) website
Hudson Valley Orienteering (HVO) website
Orienteering USA website
In this post, I write about 4 permanent O-courses in south-central Connecticut. There is another course in White Memorial Forest in Litchfield which I hope to explore this spring. That course is managed by the WCOC and the maps are on the same page as the Hurd Park maps. Writing about the courses proved tricky as I wanted to convey the experience without sharing too many route details. I write about them in the order that I attempted them so that you can experience my educational journey. I recommend opening the map link for reference.
NOTES FOR BOTH FOLLOWING ALONG AT HOME AND GOING INTO THE FIELD:
- Print out a map to bring with you to the field. If you can, print one to scale. I was never able to figure out how to do this, so instead I printed on 11 x17 paper and did my best to judge distances. The vertical lines on orienteering maps are usually already declinated to magnetic north. Look for the scale and the distance between the vertical lines so you can estimate distance in the field. Tom talks in “football fields” which is only so helpful for me, never having spent much time on a football field.
- The O-maps show trails, but they do not show blaze colors. Try not to look at other trail maps as that takes away some of the challenge.
- Look at the contour lines. Most O-maps are drawn in 5m contour lines meaning 5 meters of elevation change between lines. The closer the lines are together, the steeper the terrain.
- Look at the legend to understand the various landmarks. The more complete maps show boulders, cliffs, water, etc.
- In the field, take a compass heading even if you are “sure” you’re going in the right direction. Decide when you will rely more on terrain or on a compass heading. Think about how you will approach the next control point – think about grade, trail vs. bushwhack, identifying features.
- Consider your backstop. How will you know if you missed it?
- The goal is to find the CPs without the assistance of any kind of GPS. There were some instances where I utilized the GPS (with AllTrails for example), but it was usually when we felt a CP was missing and wanted to record our location. If you ever feel genuinely lost, however, you should not hesitate to use GPS to get back to safety.
- While I won’t list them all here, follow basic hiking safety principles — especially letting someone know where you will be hiking and your approximate time frame, and bringing a flashlight/headlamp as a precaution if you are out later in the day.
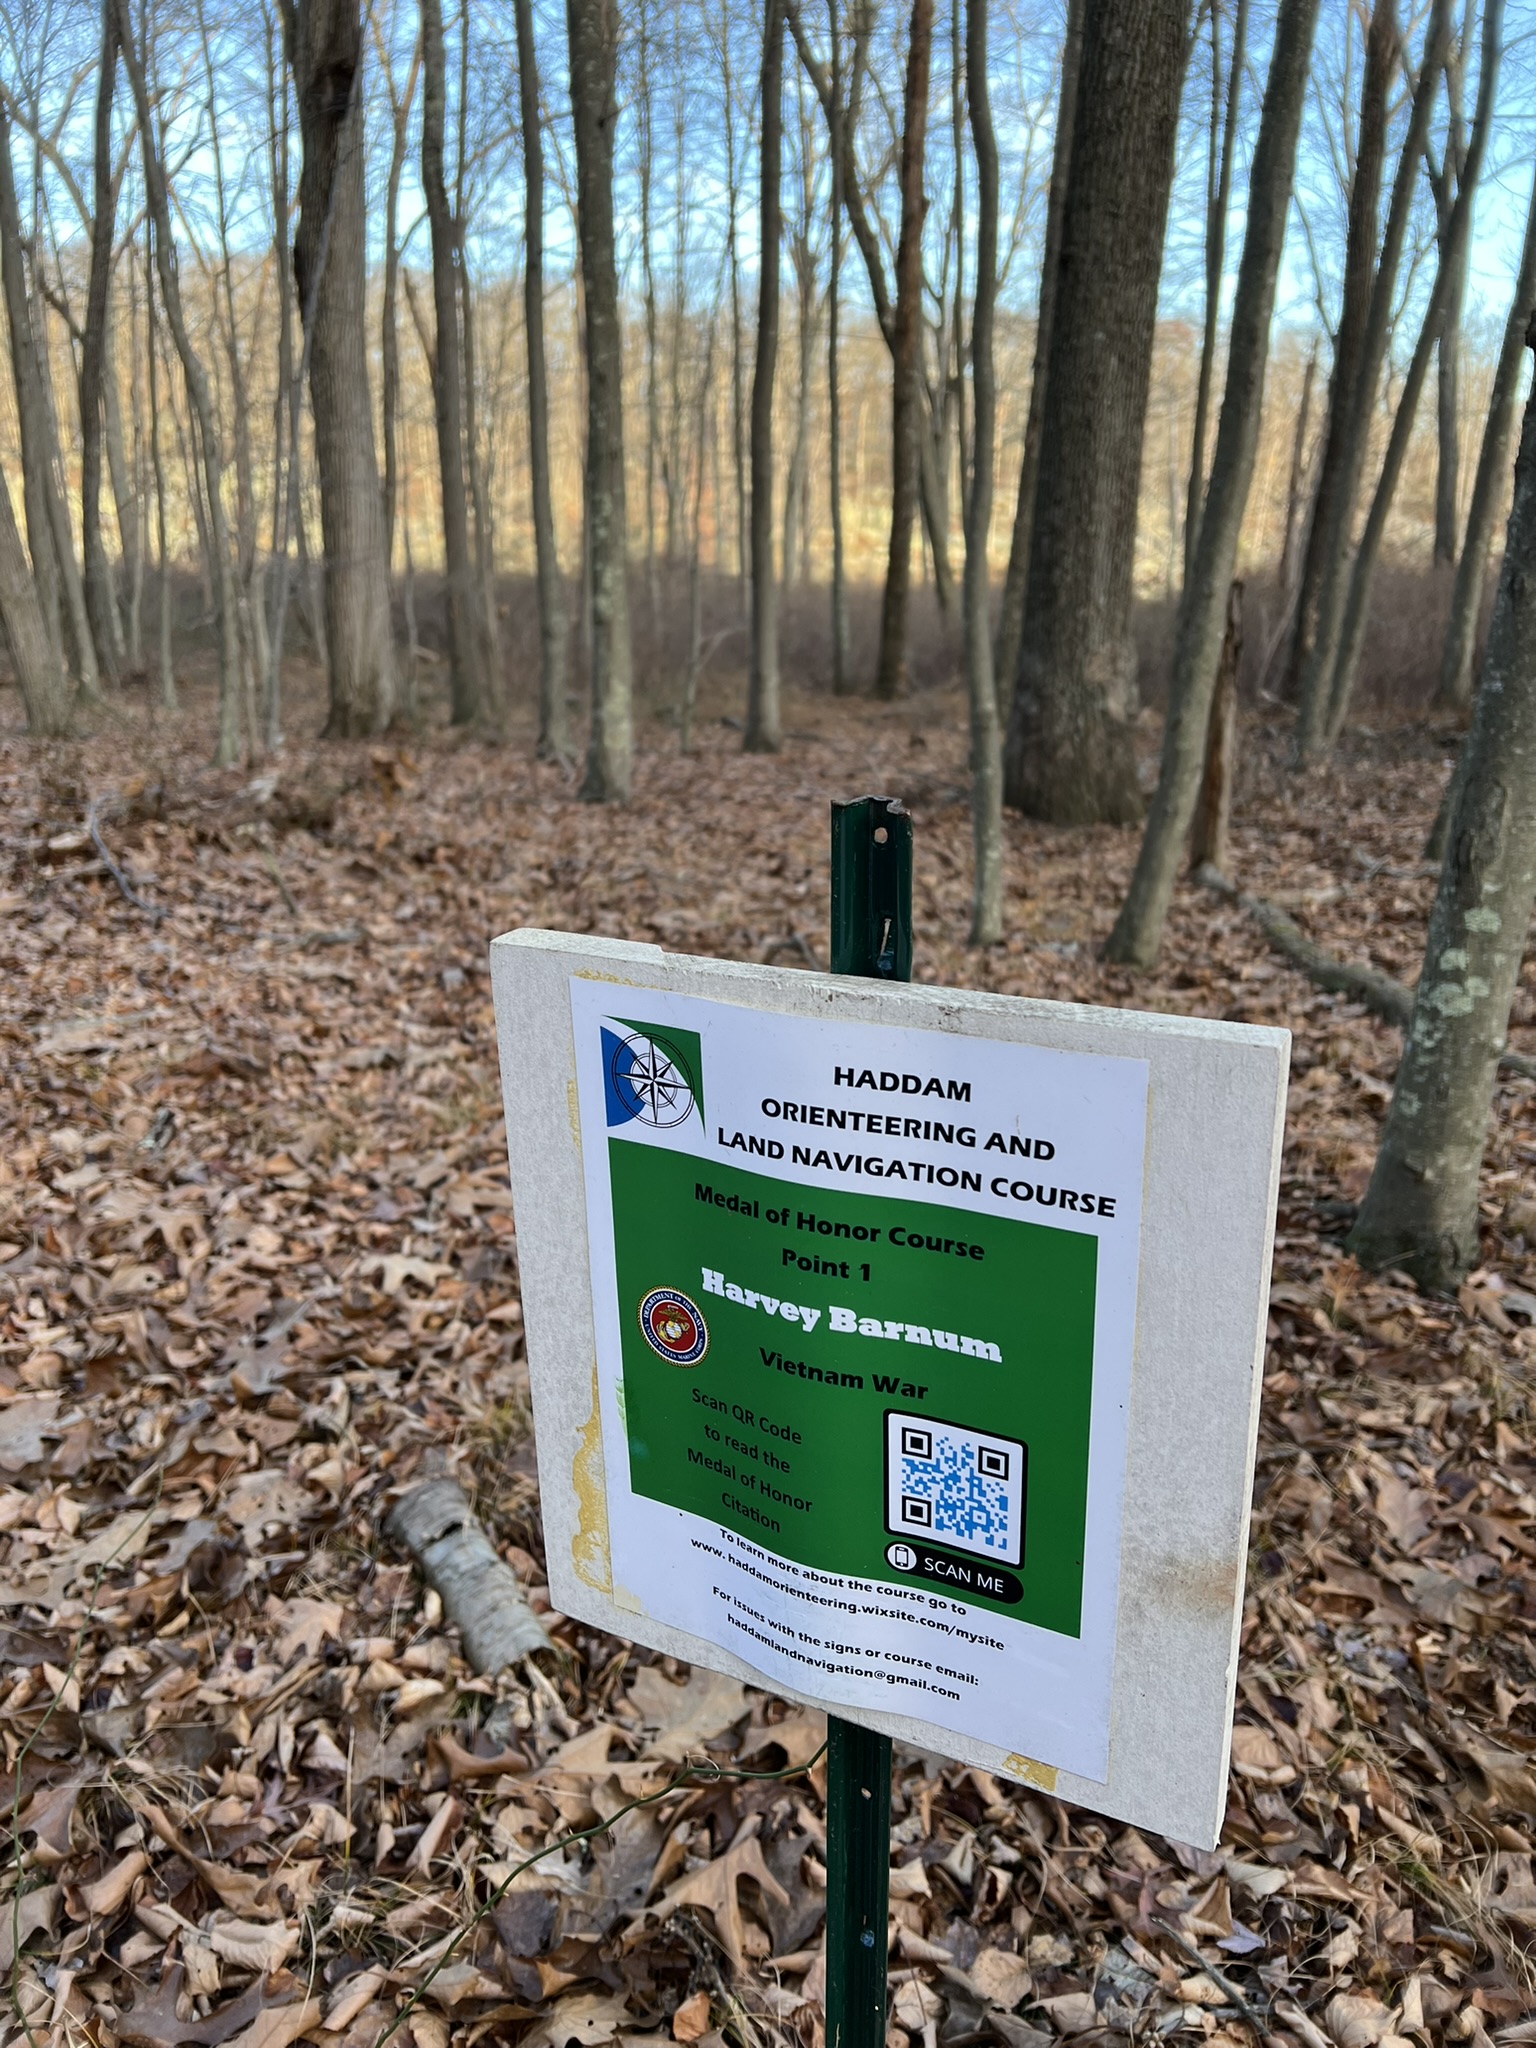
Beaver Ledges and State Land, Haddam. 12 CPs.
Haddam Orienteering Website
| CHALLENGES | BONUSES |
| No legend No control point descriptions Limited features shown on map All CPs are off trail | Map has a good scale The CPs are large and can be seen from a distance Each CP highlights a CT Medal of Honor recipient |
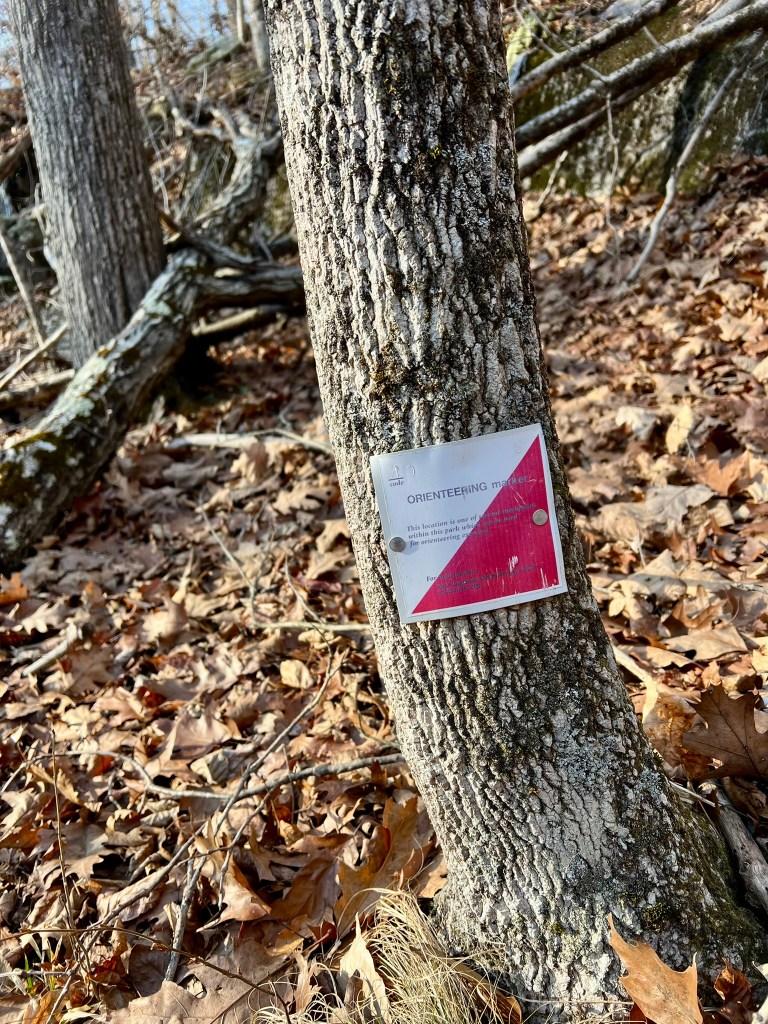
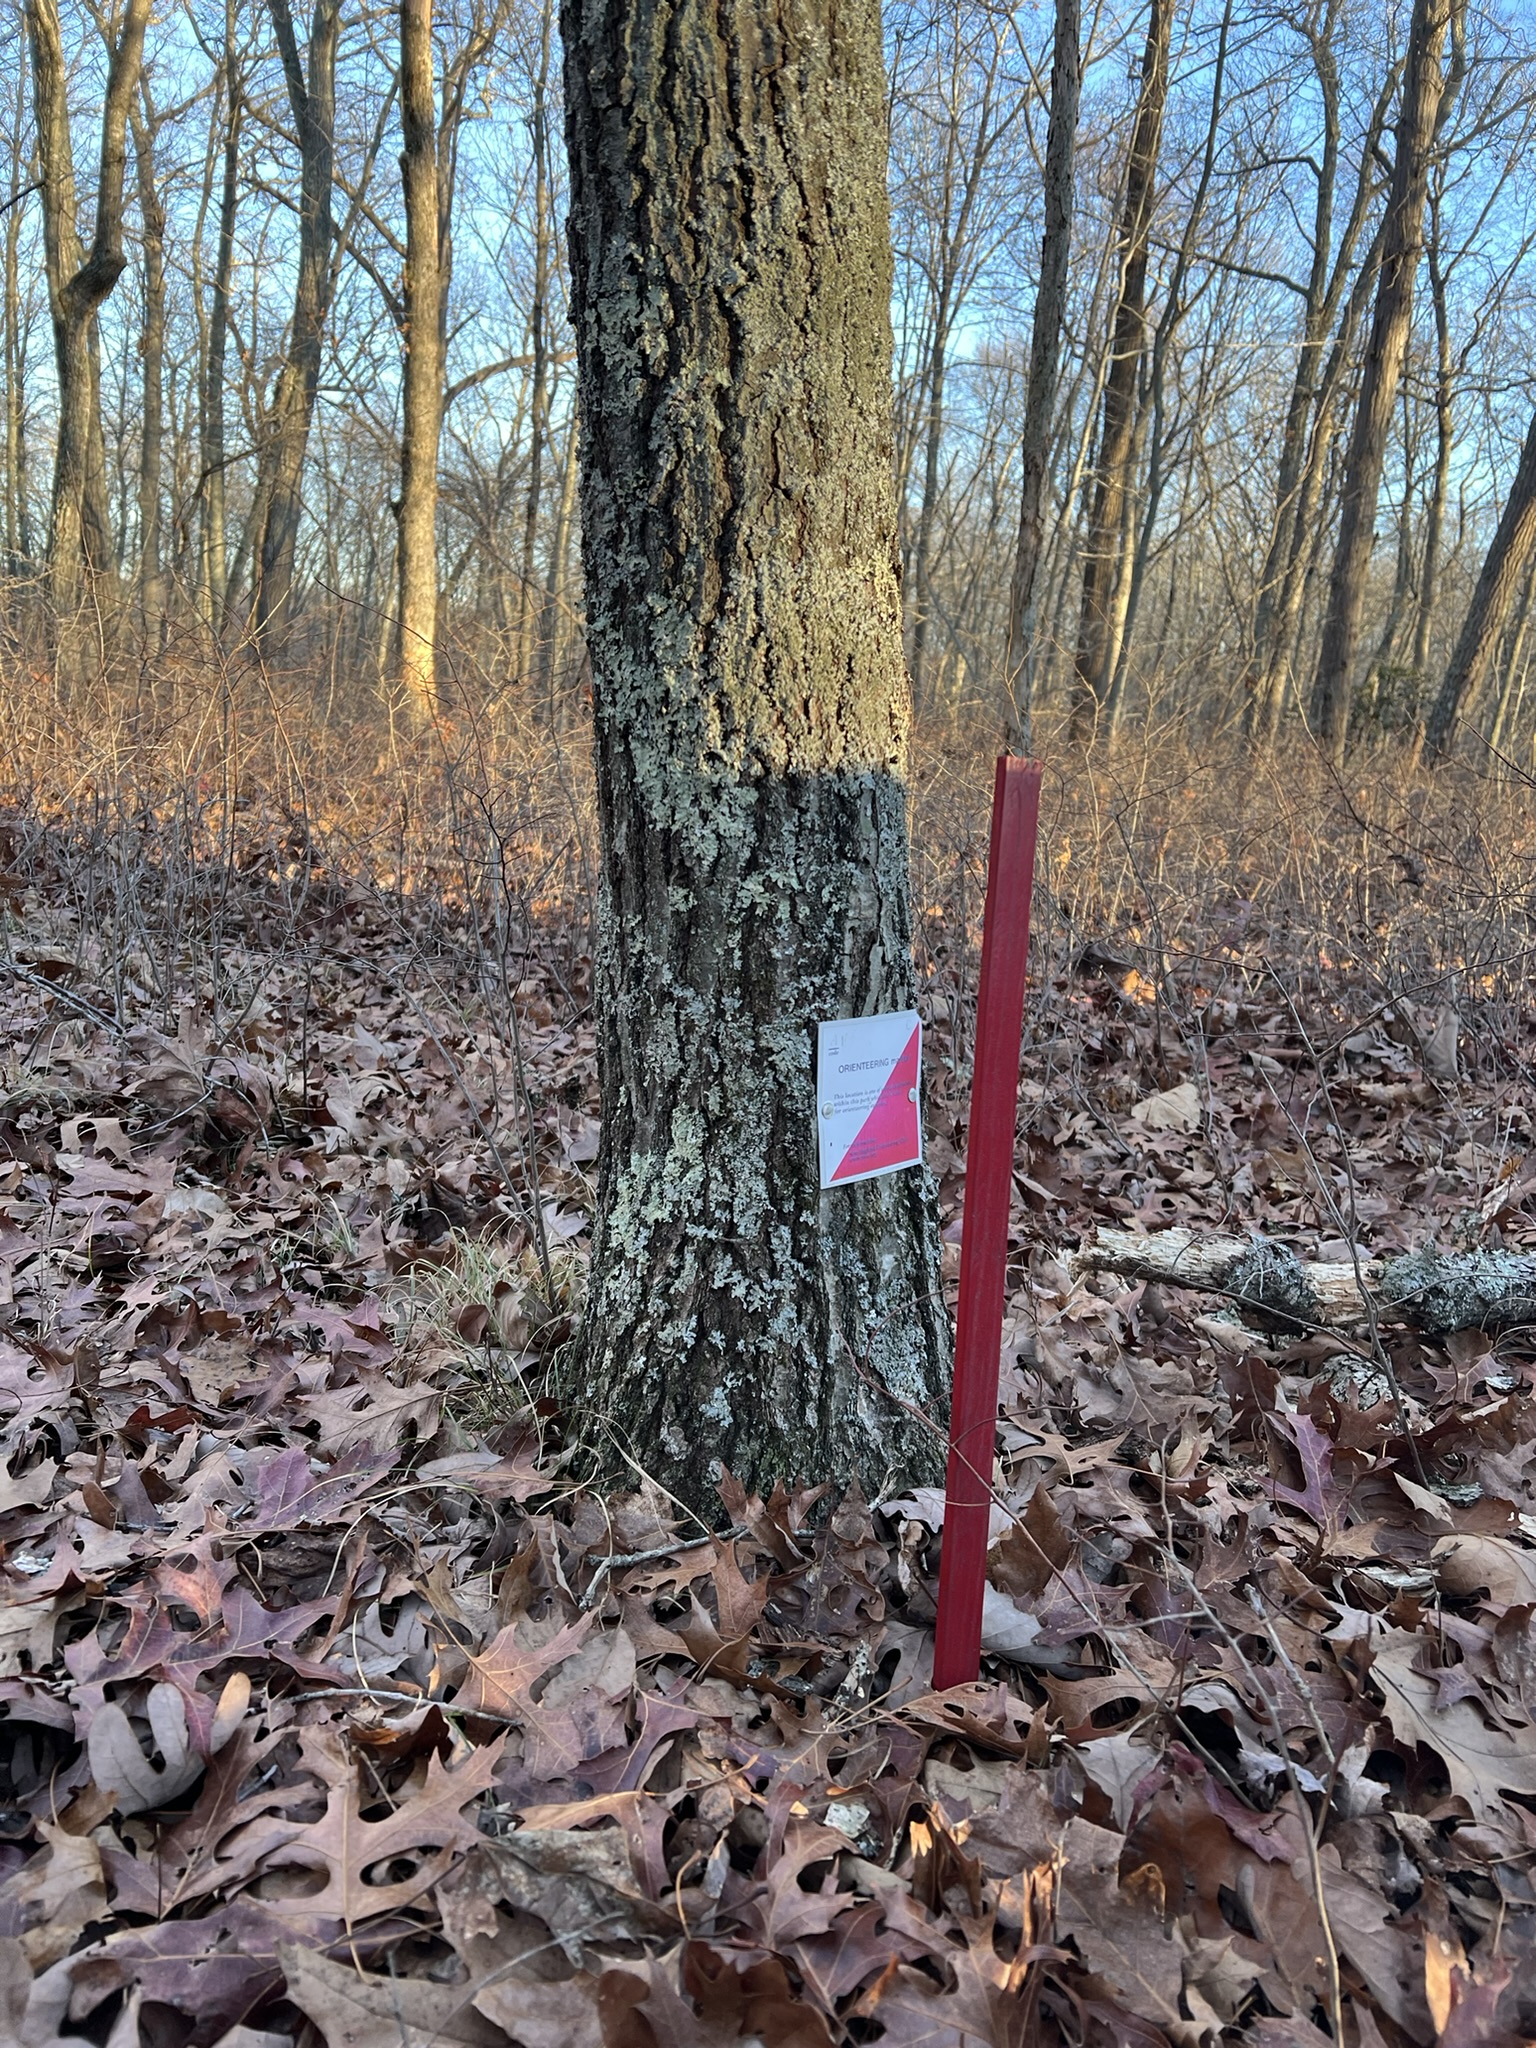
Haddam native Dan Dachelet created the Haddam course, which spans CT DEEP land and the Haddam Land Trust’s Beaver Ledges parcel. Dan learned compass and navigation skills in the military, where he developed a love of orienteering. This course was immensely challenging but also very fun for a variety of reasons. I recommend tackling this course after you have tried some beginner level courses. The main challenge is that the map has very few landmarks. There are a few symbols on the maps to denote cliffs and boulders, but no legend, so you need to know what the symbols mean. Another challenge is that there are no control descriptions to provide hints as to what you are looking for, and in many cases the points are some distance from any trail. For our first visit in mid-November we had a short time window before dark, so decided to try for points 7, 5, 10 and 12 in the northern part of the forest. Despite the challenges, we soon learned these were mitigated by the control points themselves, which are large signs on chest-high signposts. The next surprise was the dedications to different Connecticut Medal of Honor recipients. The name and war are listed on the sign, along with a scan code where you can pull up each soldier’s unique story. With each find we took the time to look up and read aloud the events that led to the proffering of the medal. It was a very poignant experience. Anyone who has questions about the course, or for organizations interested in an in-person class in orienteering, email dandachelet@gmail.com.
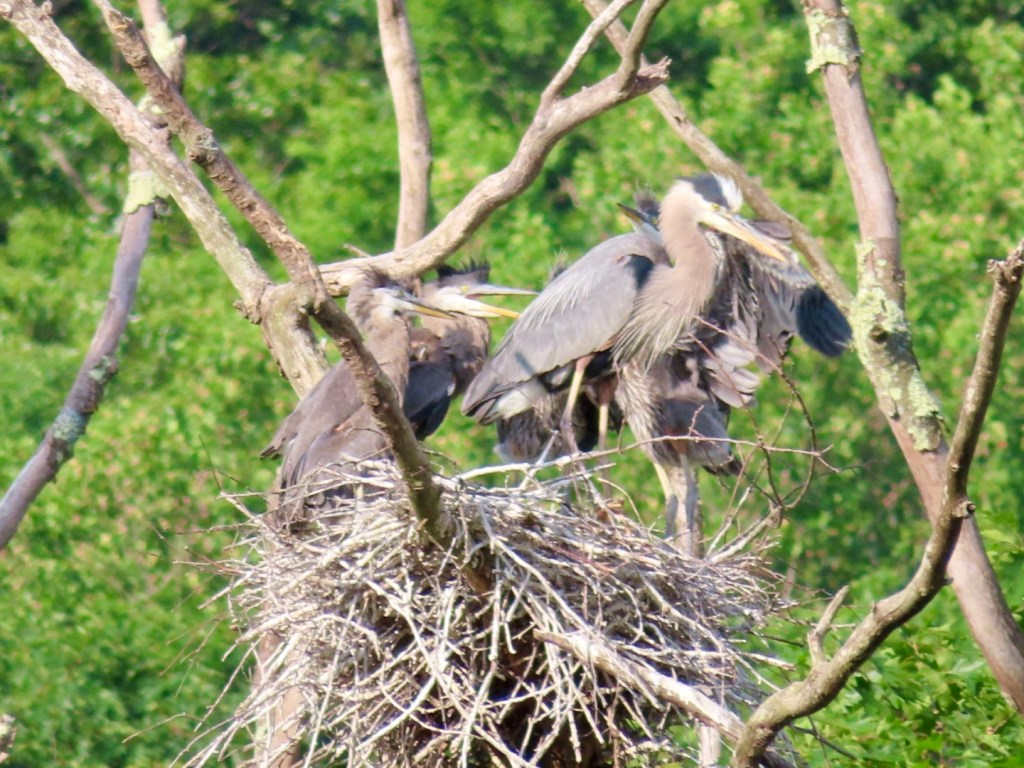
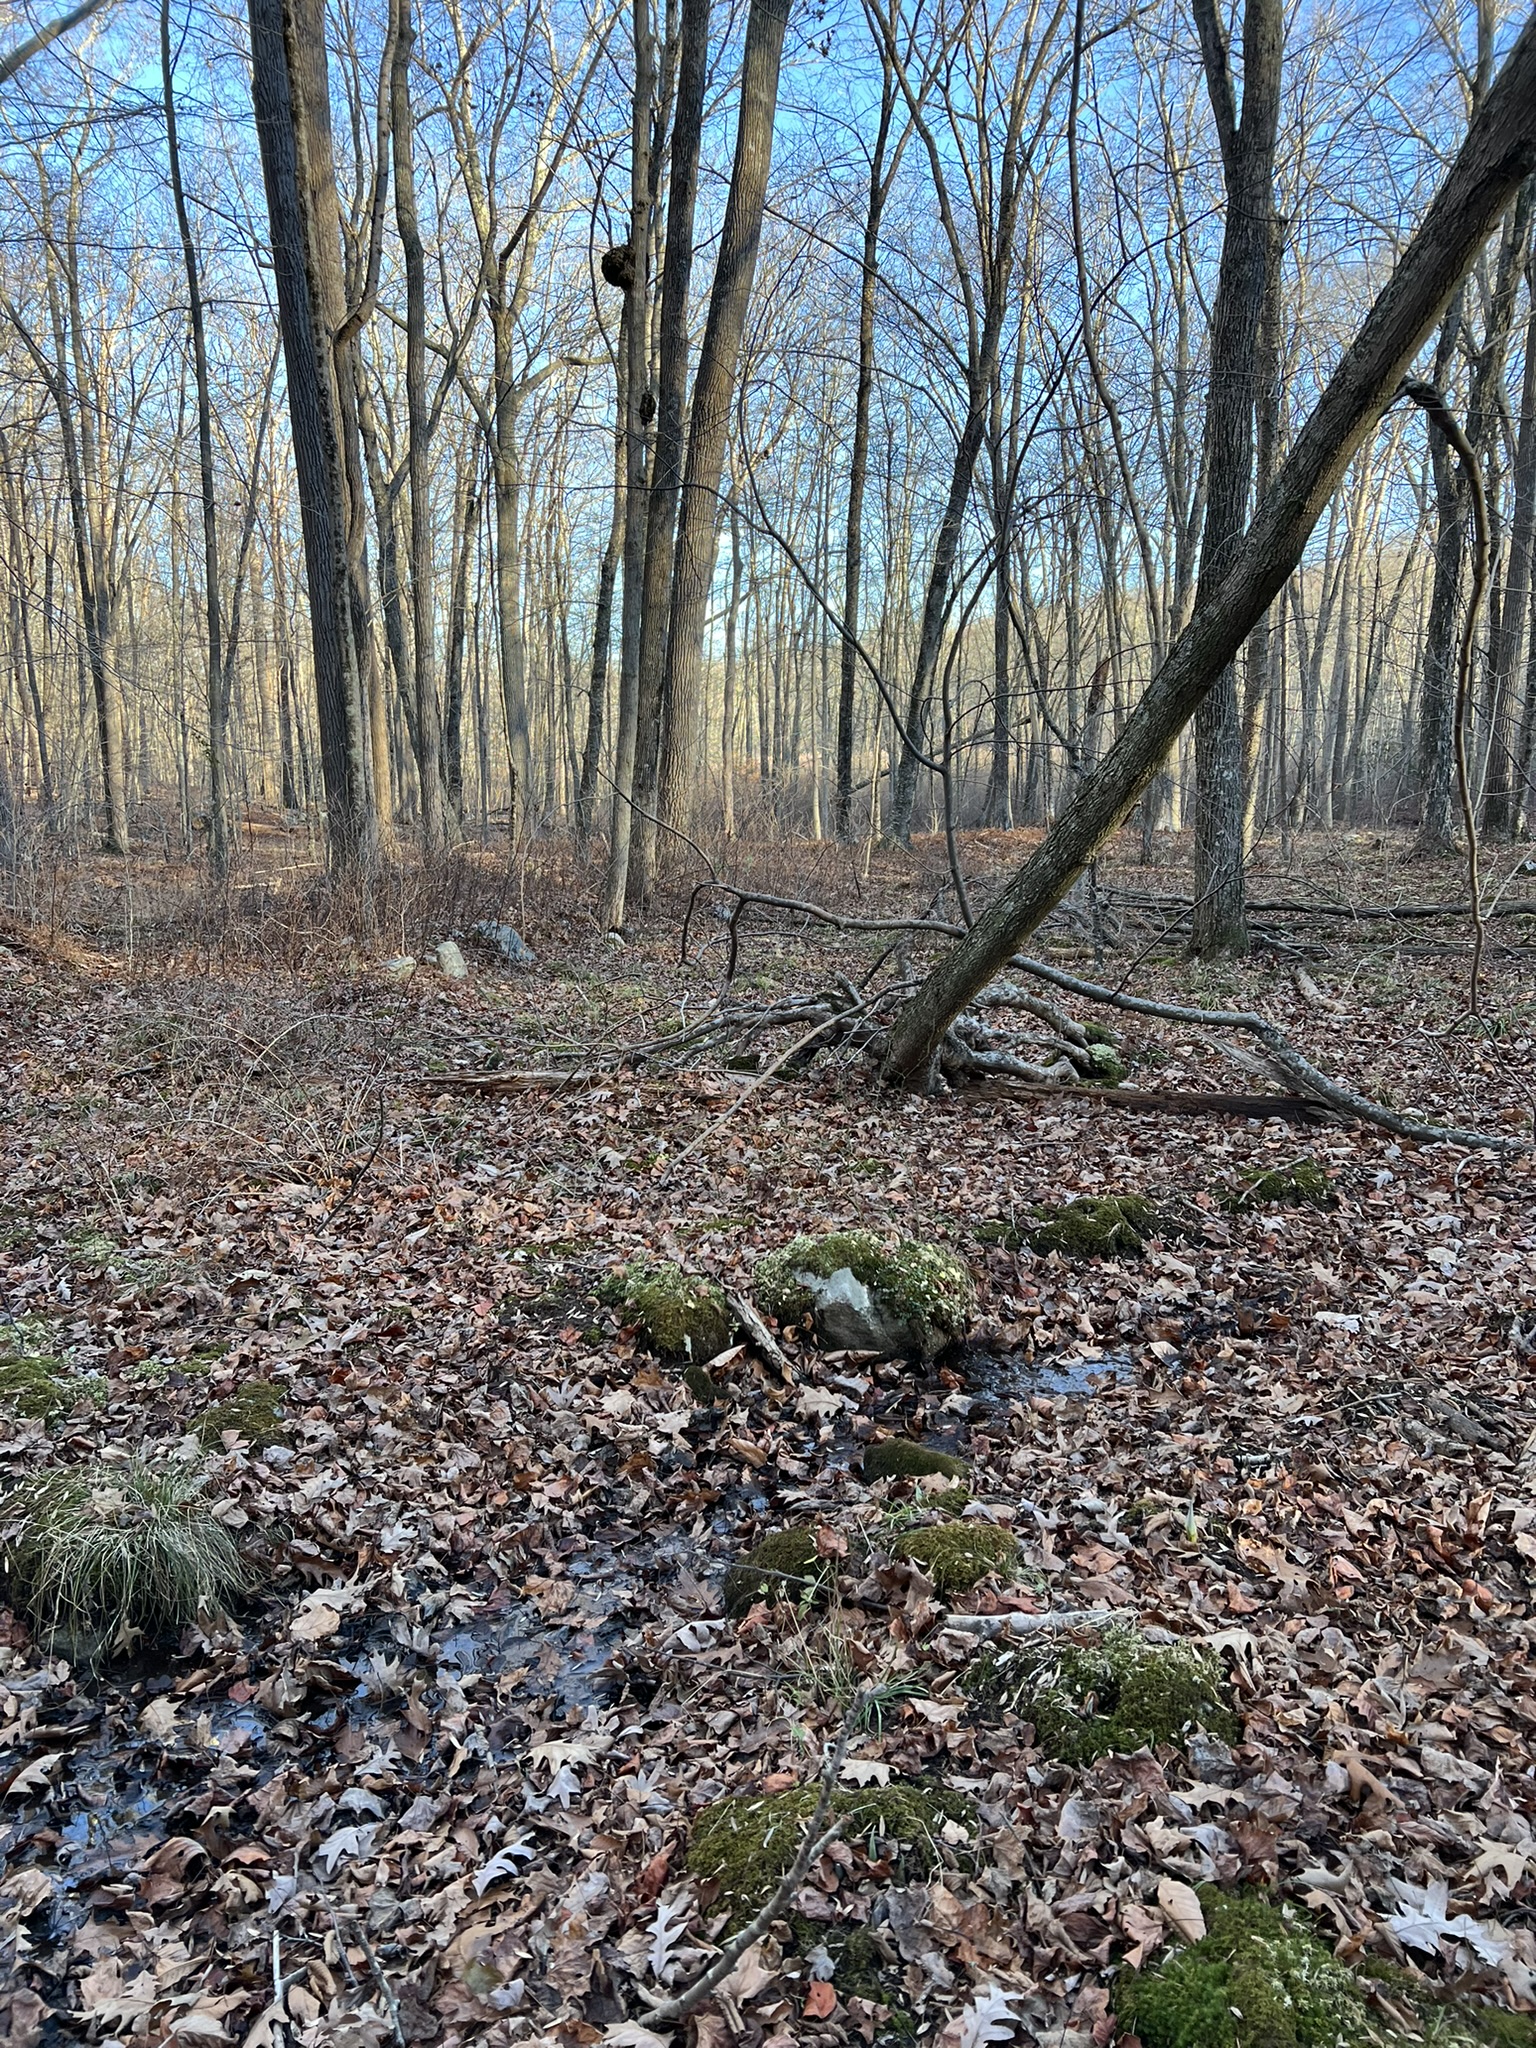
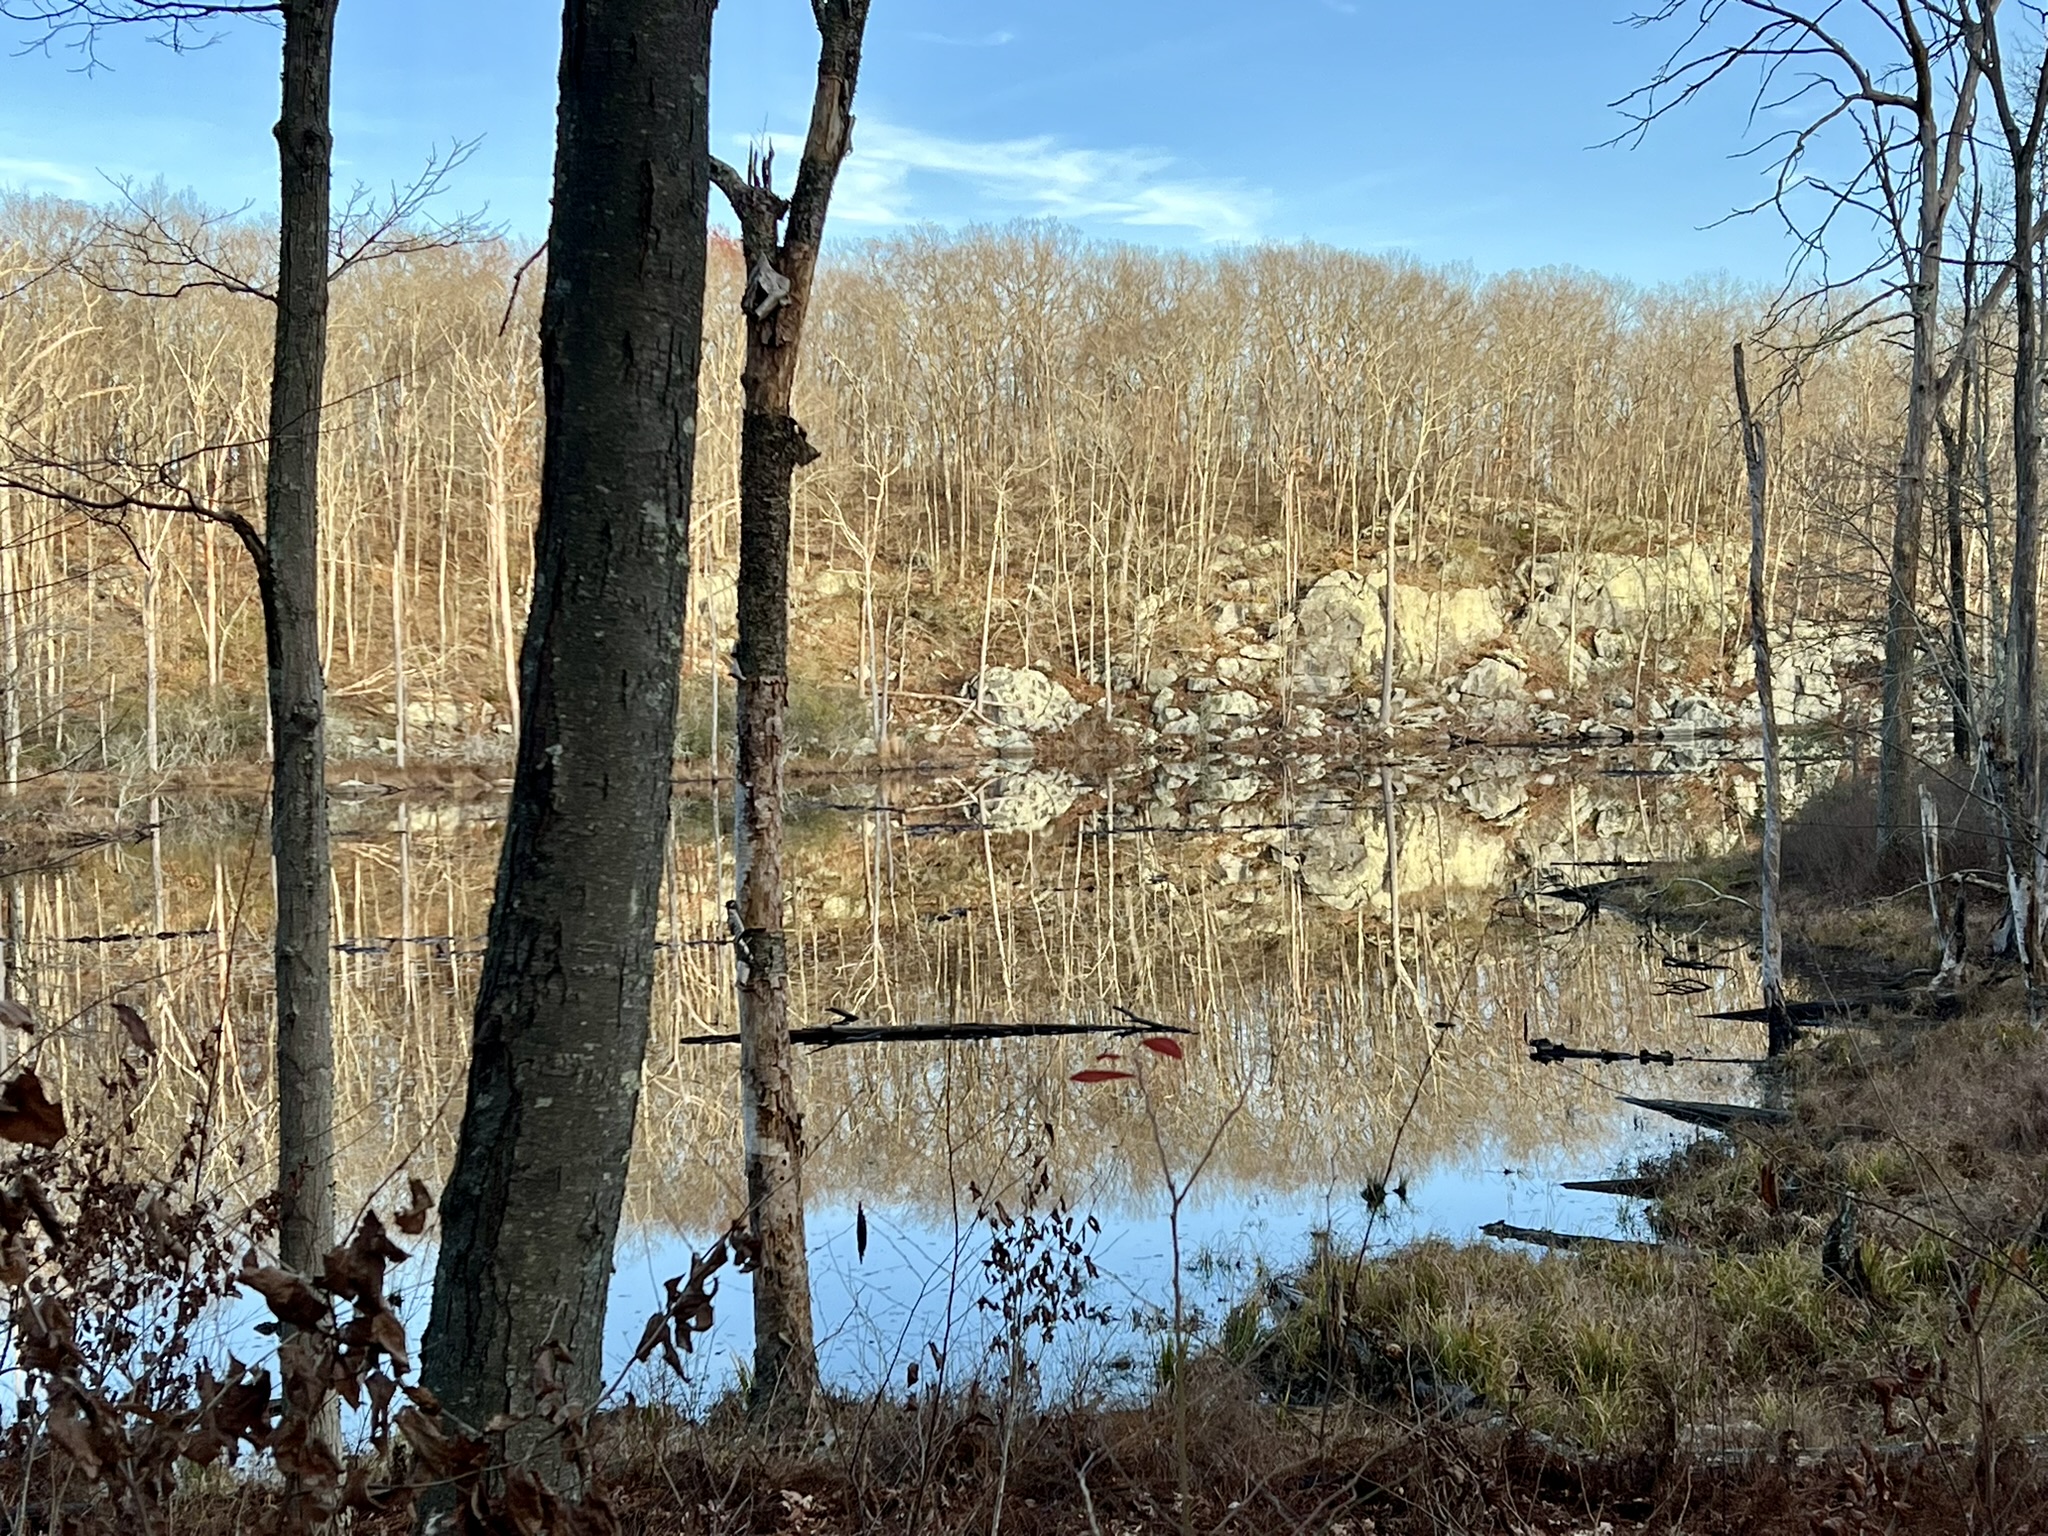
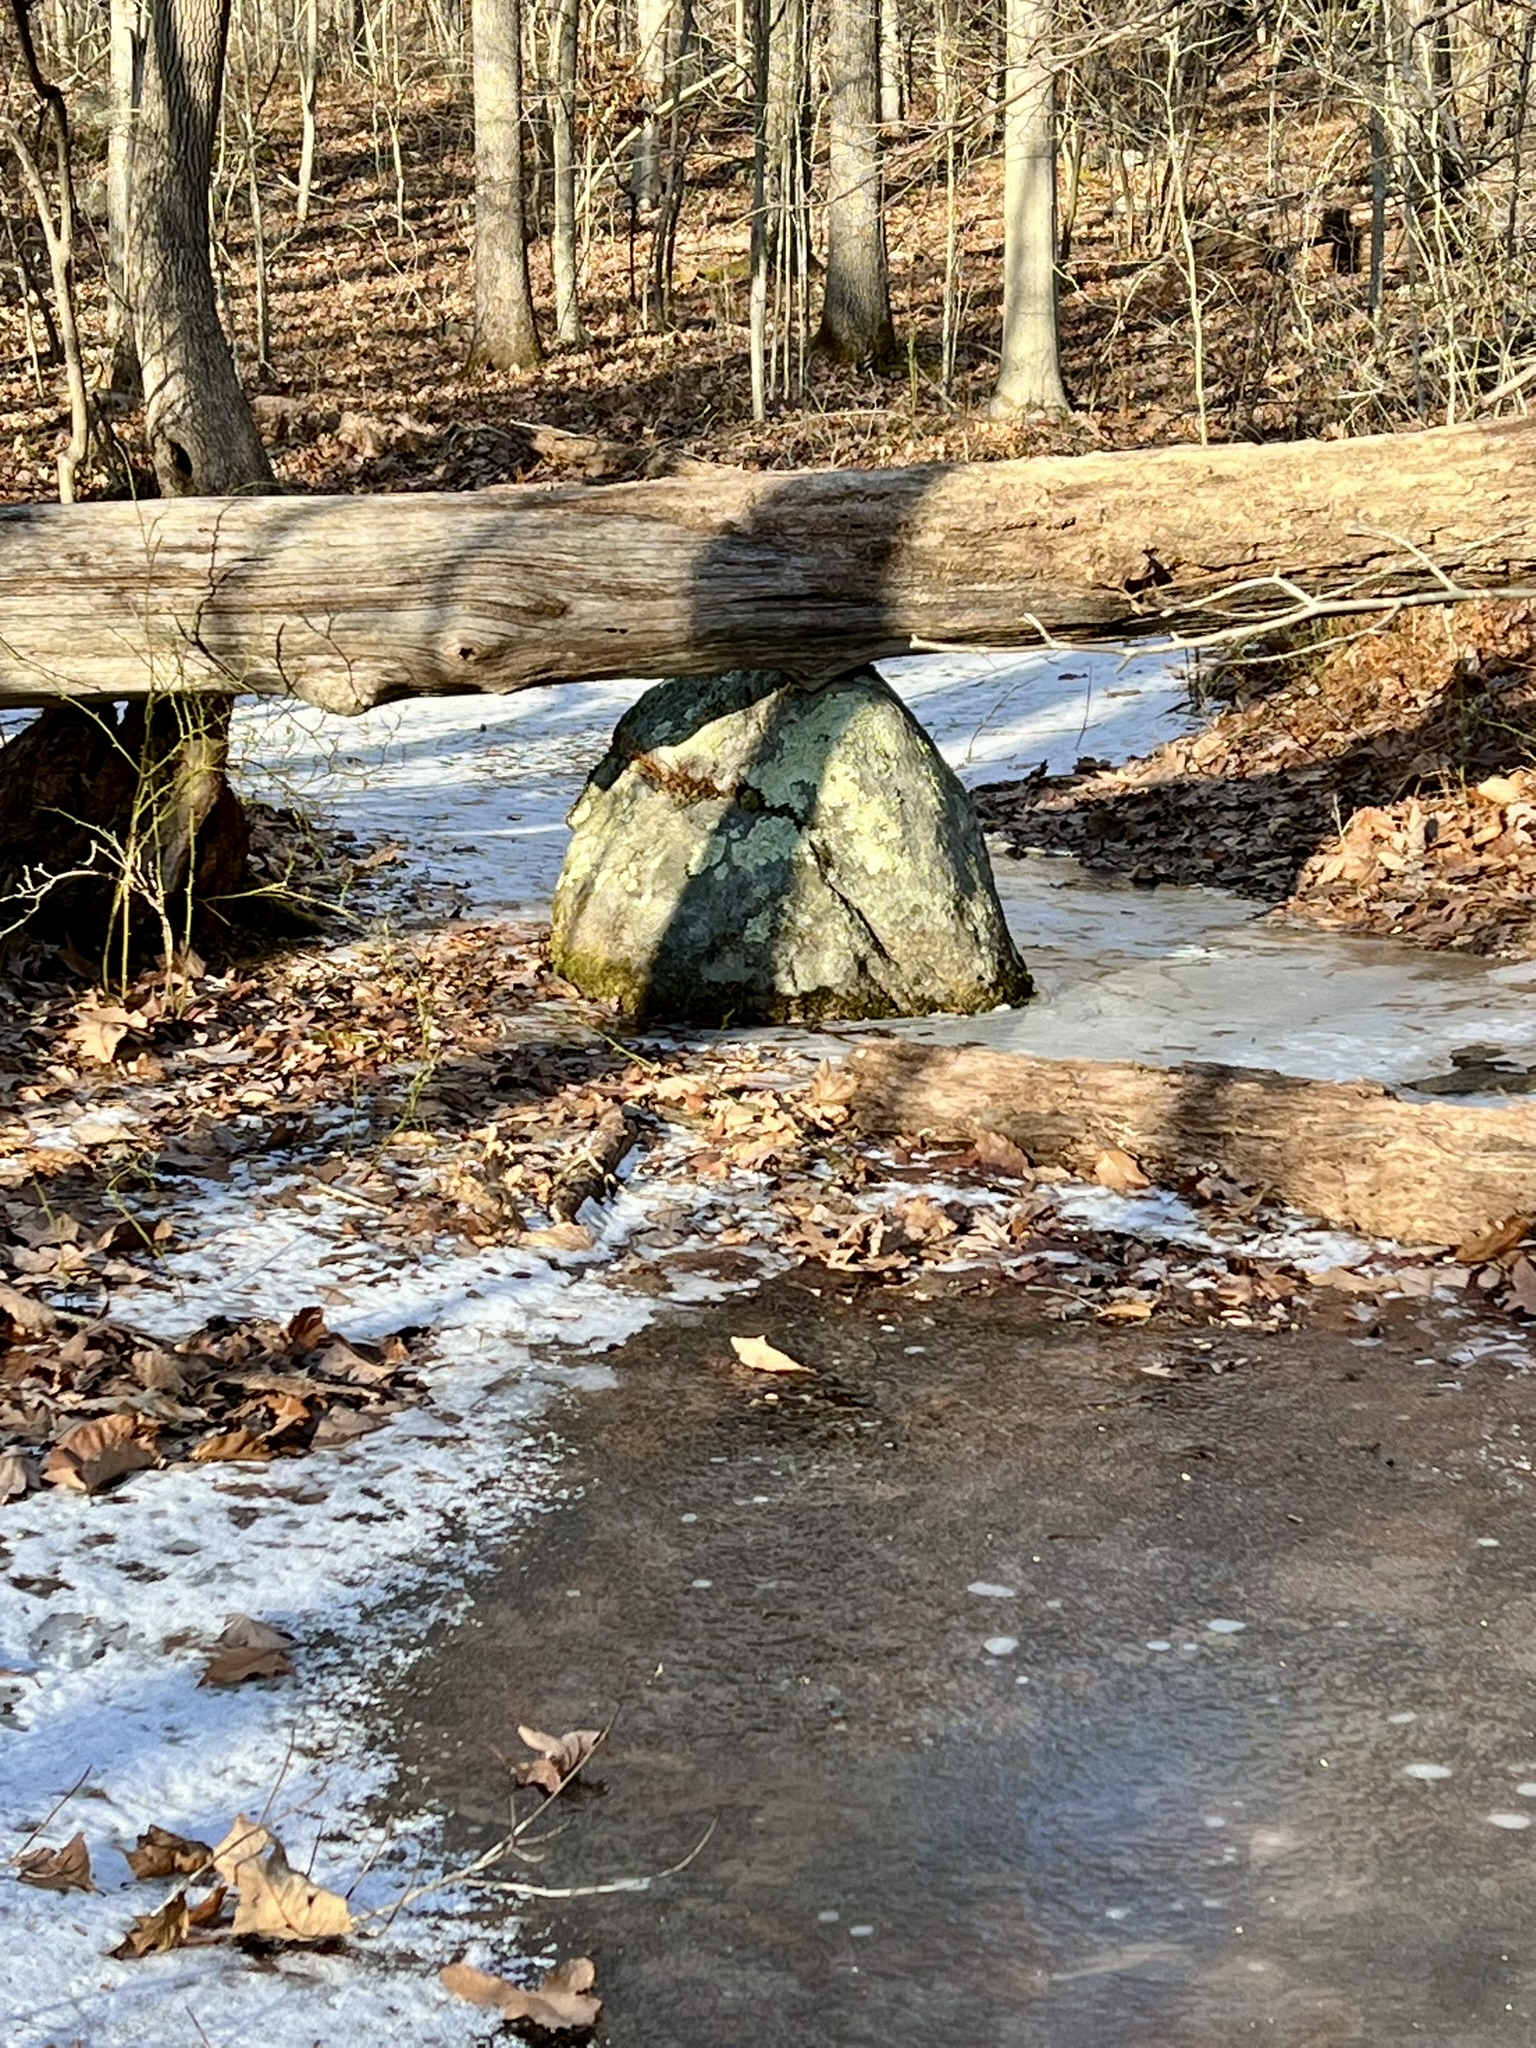
Beaver Ledges is one of my favorite destinations. The main pond is a chorus of frogs in springtime, and you can hike along the eastern cliffs and observe a heron rookery on the opposite side. Up until our orienteering visit, my explorations were limited to the main trail. On our first orienteering outing, we bypassed the trail and headed west on Ruth Hill Road, then entered the woods, bushwhacking, to find the northernmost CPs (7, 5, 10 and 12). The woods were beautiful and it was fun to get off trail. Note: Dan has made some recent changes to improve the map’s accuracy, but one of the unfortunate effects is some of the water features no longer show. It is helpful to know that the flat area to the south and west of CP 12 is a marshy area and there is a stream that runs between this marsh and the marsh to the south of CP 5.
Photo: Heron rookery in June of 2024
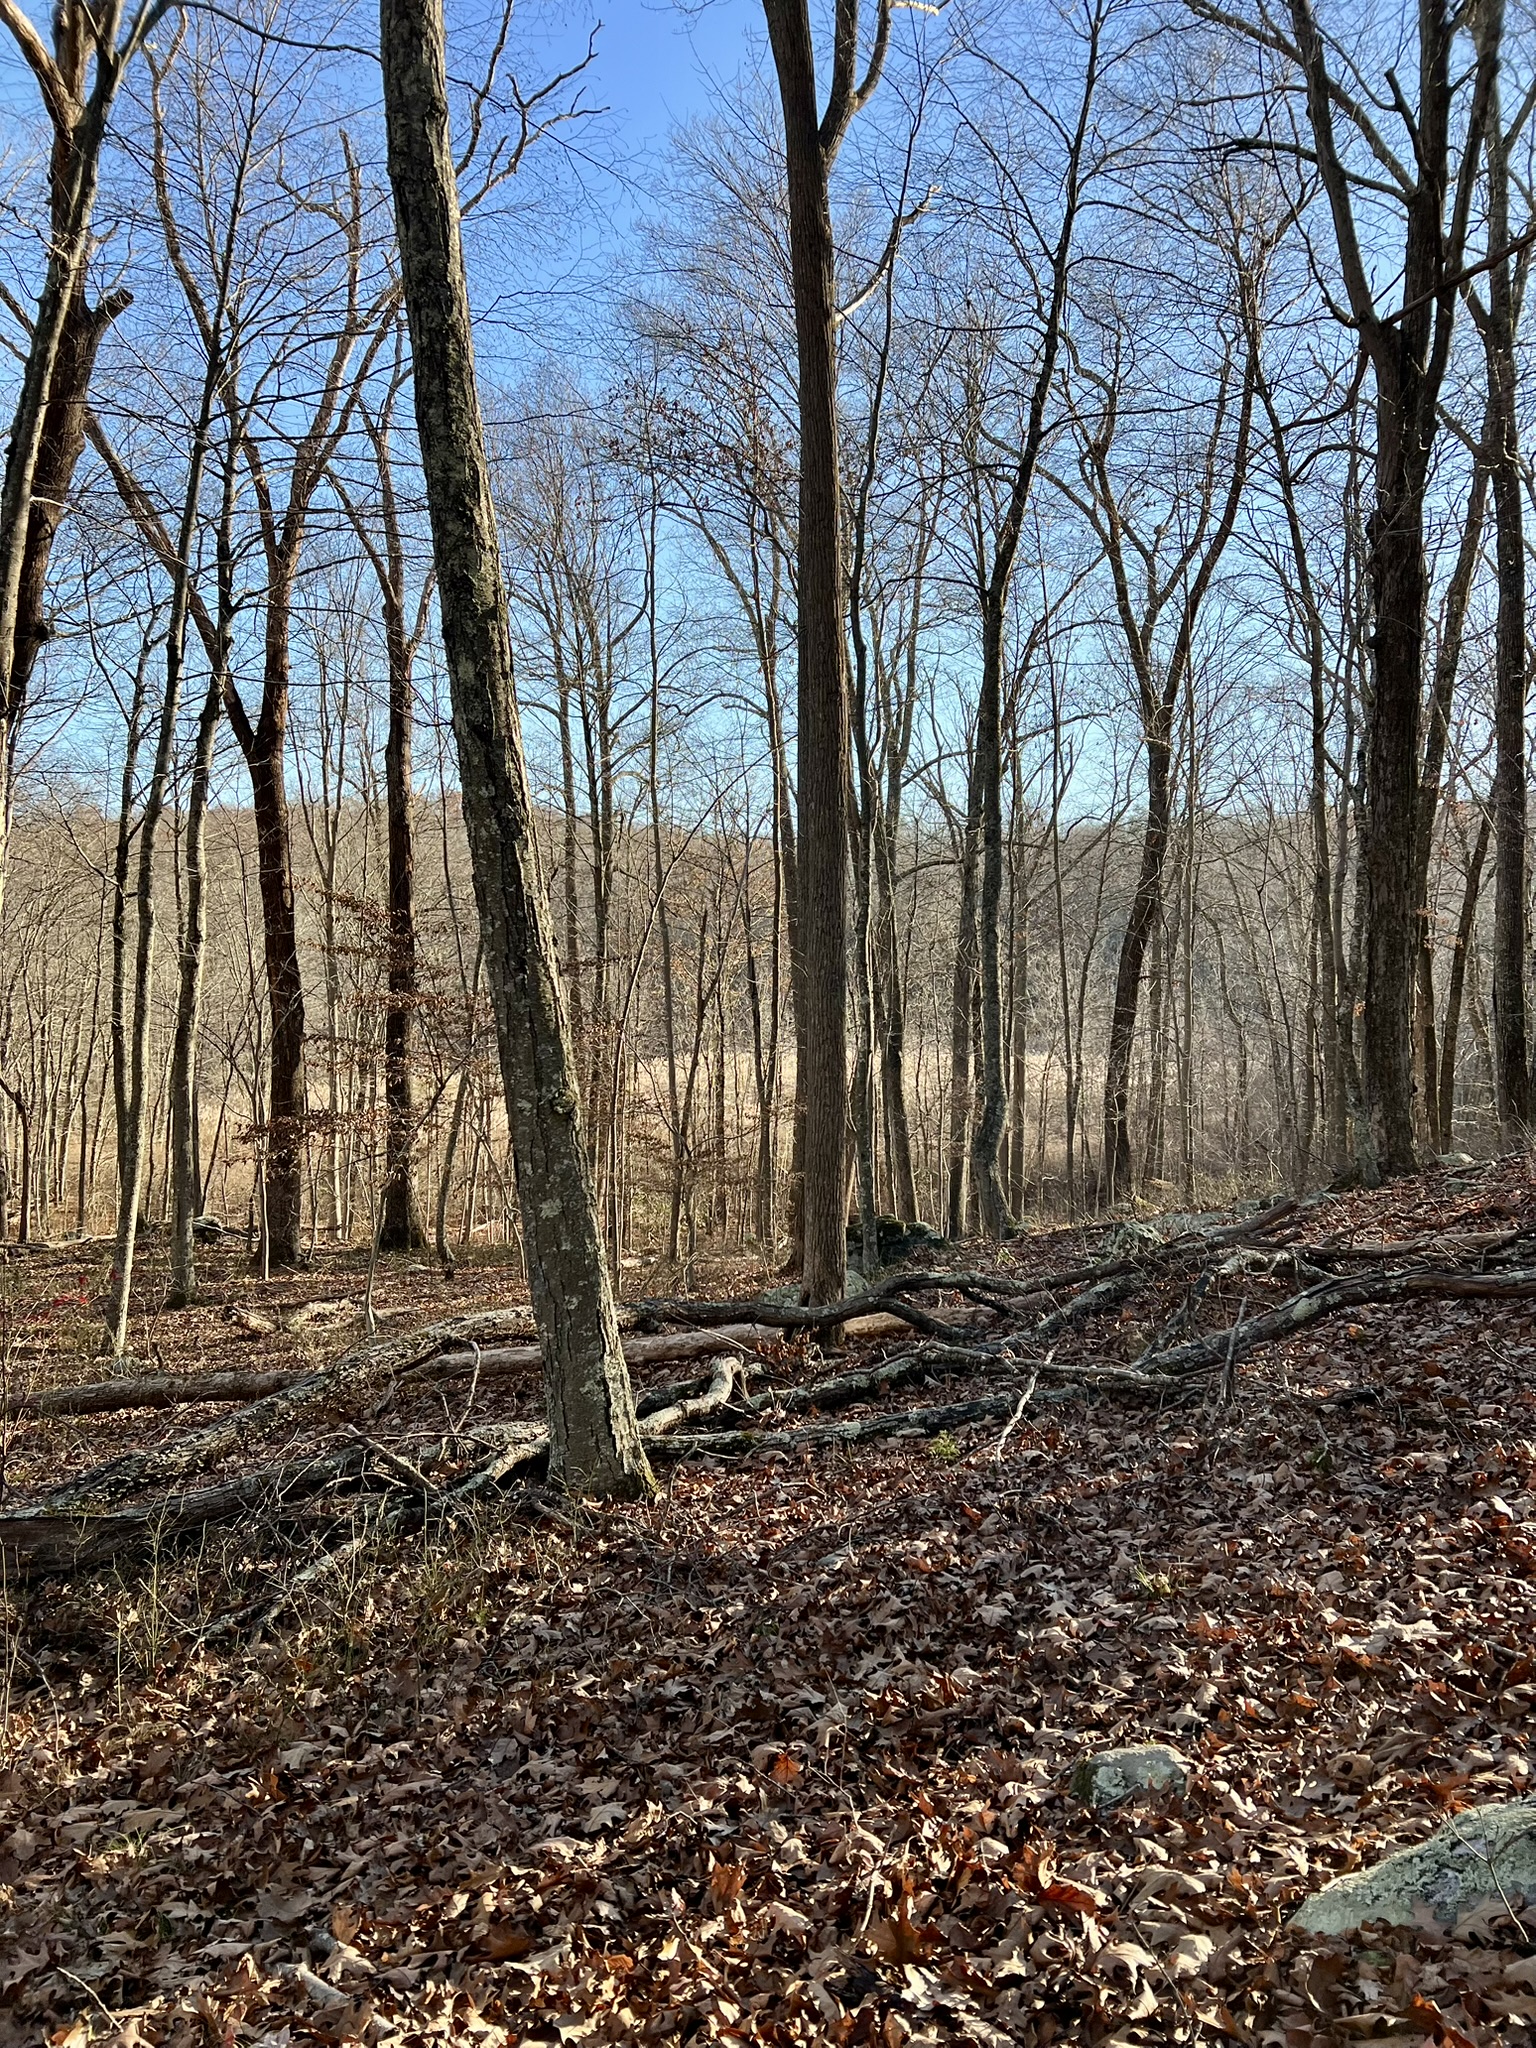
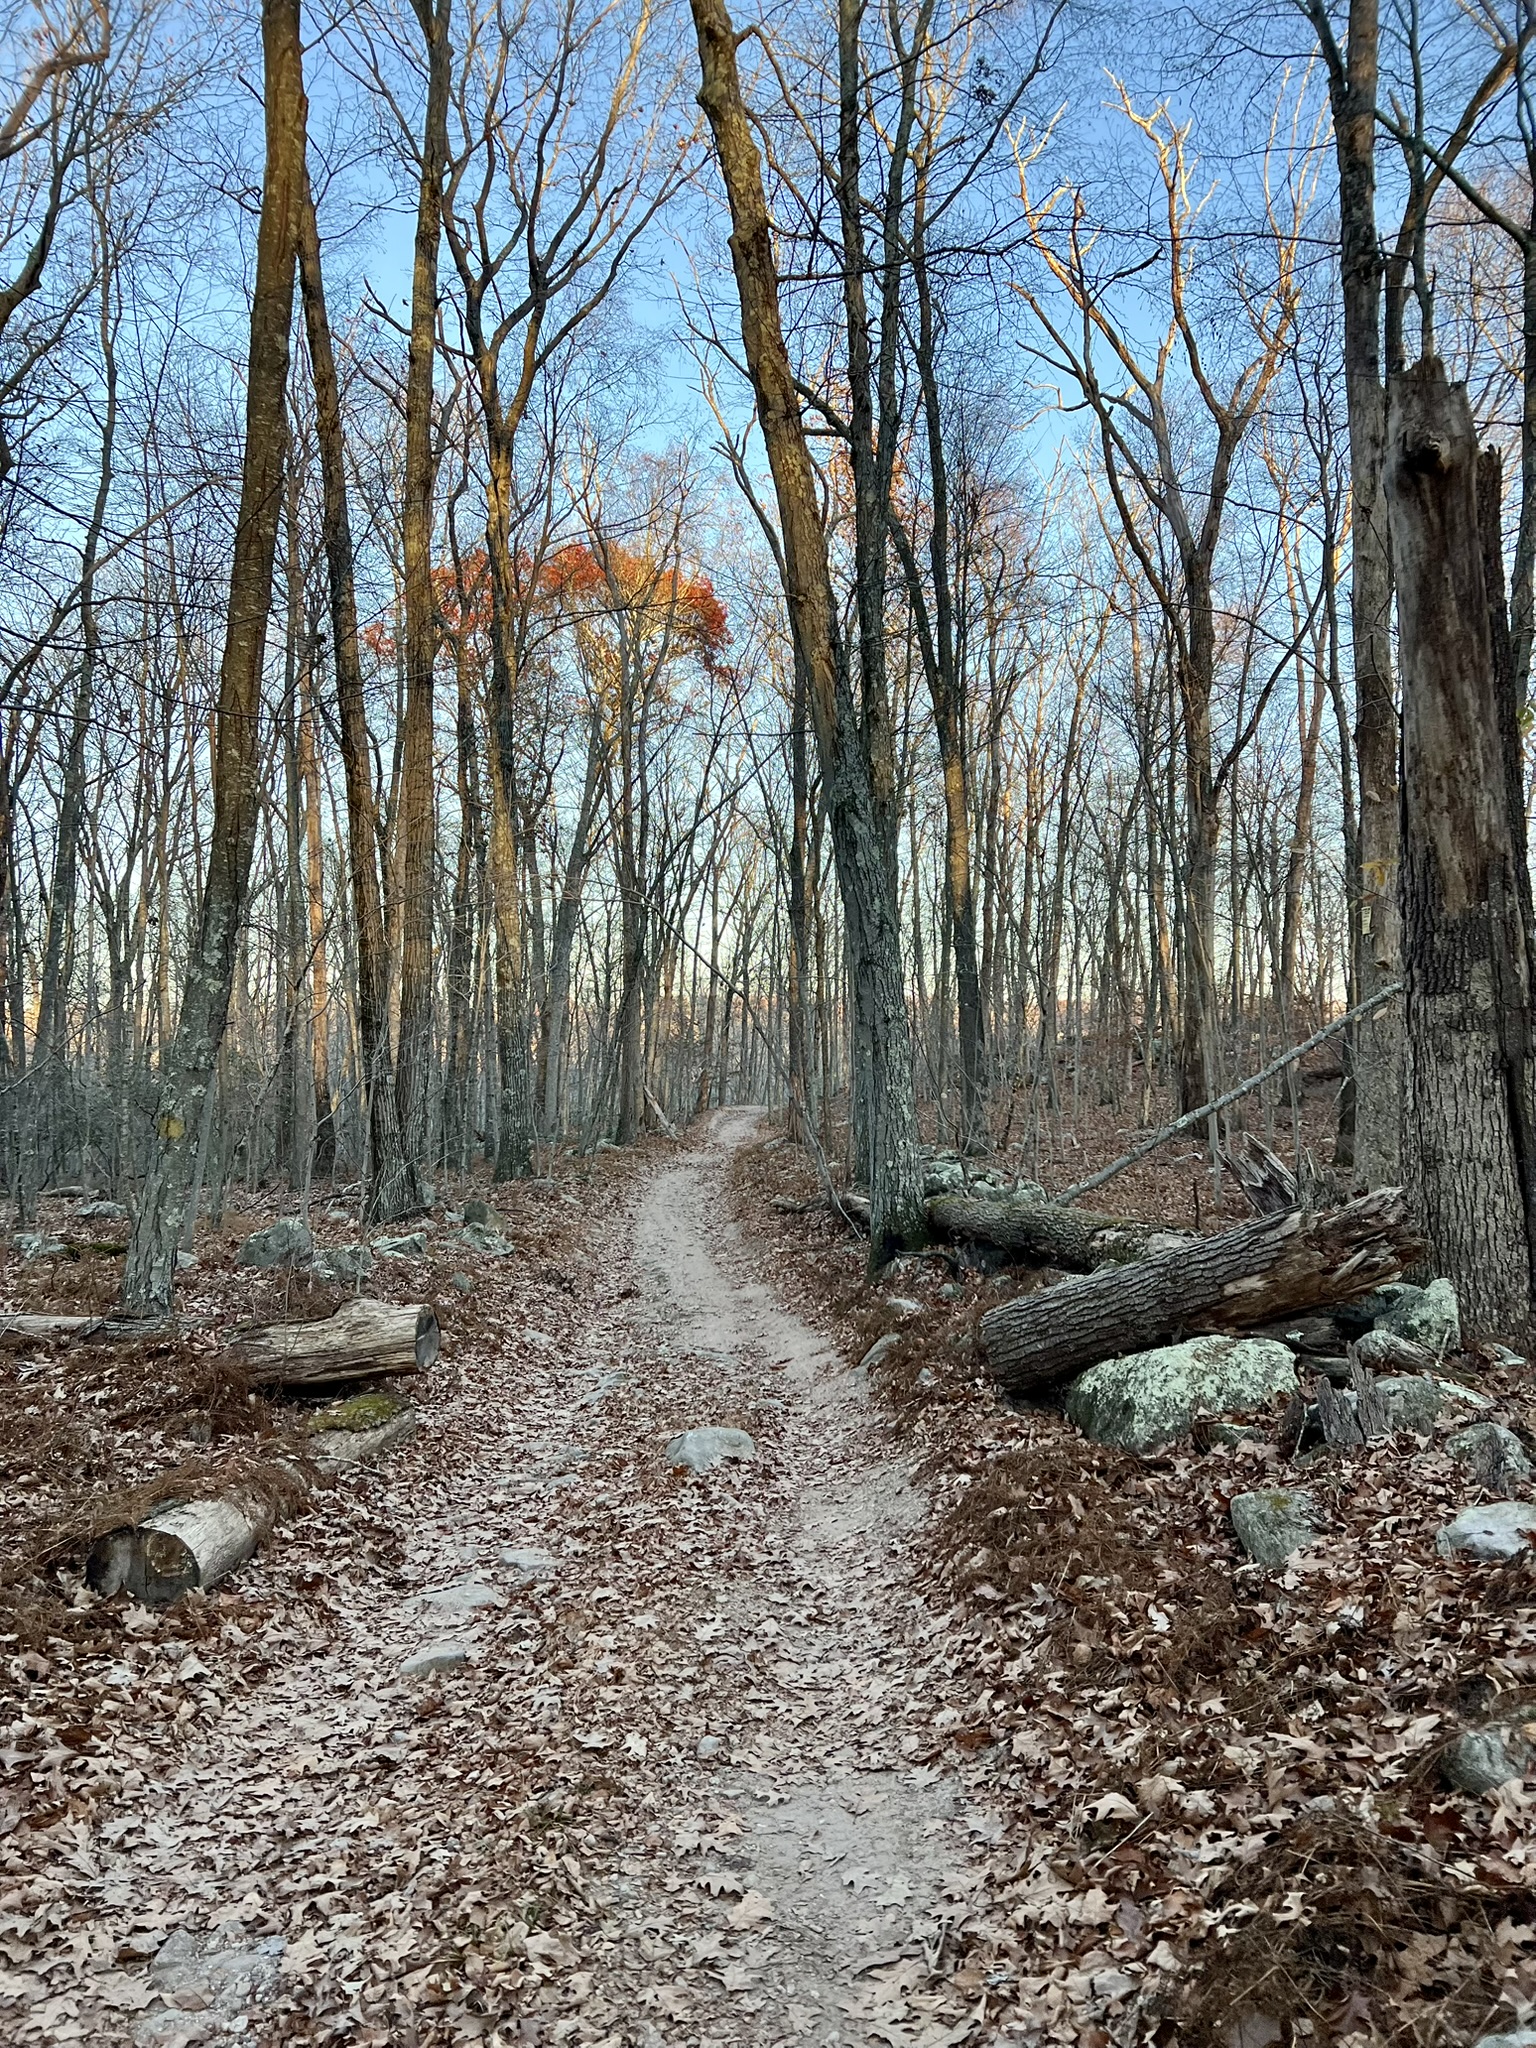
From left to right: Much of the woods was open and navigable; bushwhacking; CPs are visible from a distance; making our way back along Ruth Hill Road.
We returned a few days later to knock out a few more points. This time we chose to go counterclockwise around the pond searching for CPs 3, 2, 11, 4, 1 and 6. As we rounded the southern edge of the pond I felt I was hitting my stride. We discovered an old foundation along the way, and seeing the pond from the western bank was a treat. By the time we found CP 6 it was getting late, so we headed north on the trail to the junction of Ruth Hill Road and back to our car. This spring I hope to get back out to tackle CPs 8 and 9, which are further off trail and should be a real challenge.
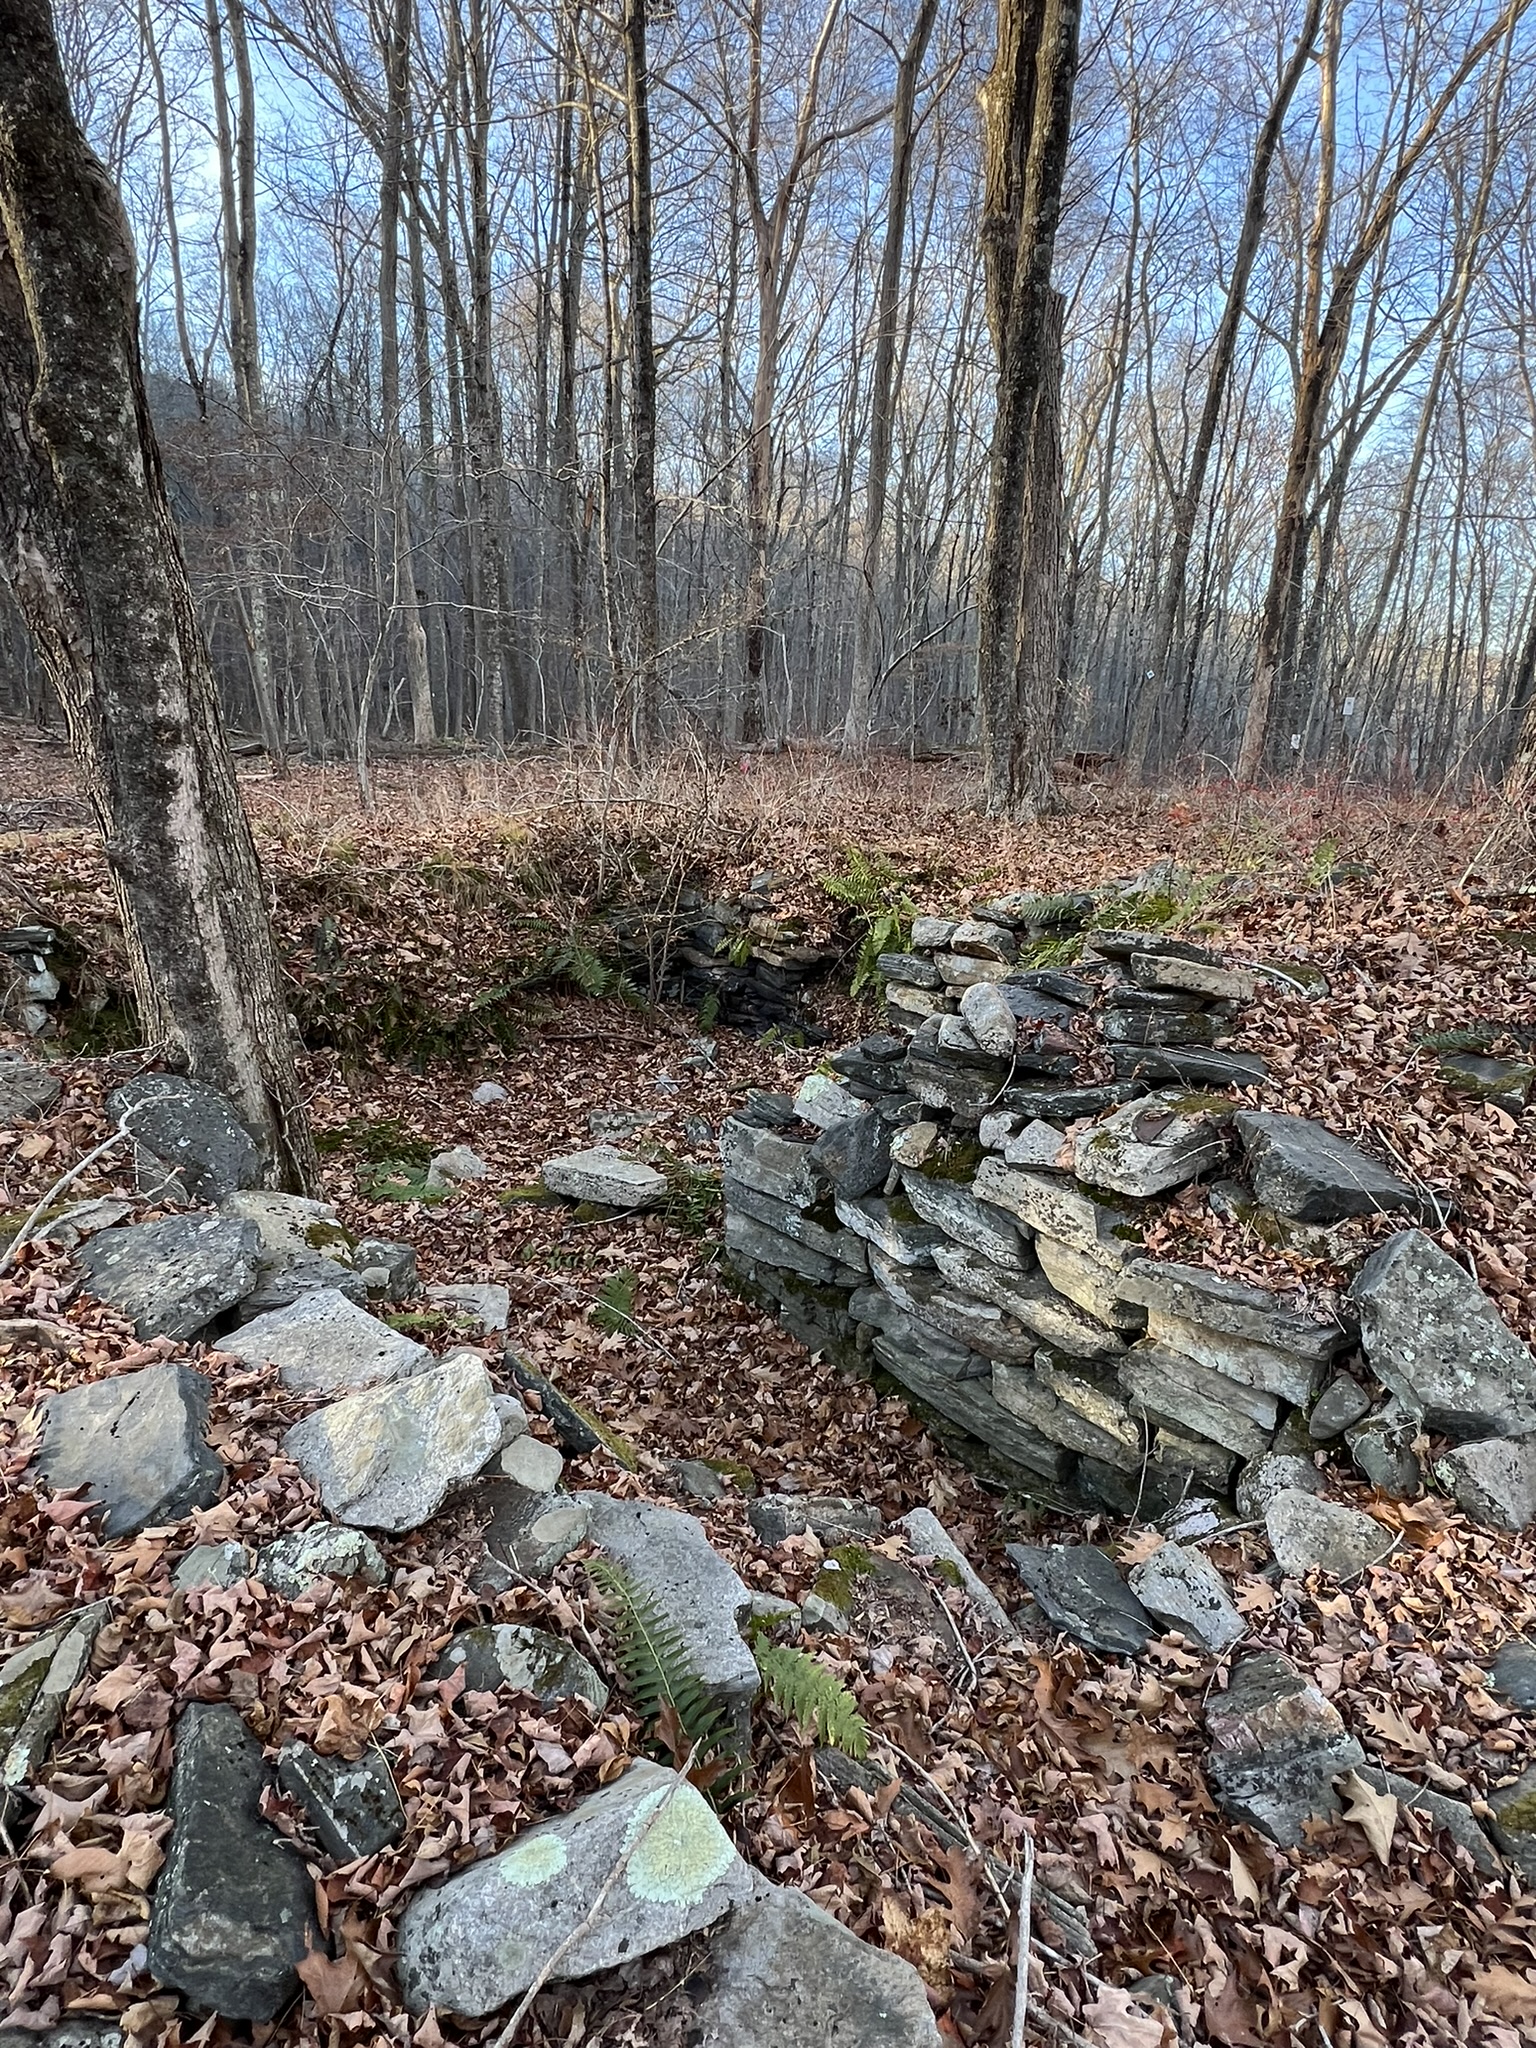
From left to right: CP 1; an old foundation; the beauty of the woods; the beaver pond from the western bank with cliffs in the distance
NOTE RE: ACCESS AND PARKING. The entrance is on Ruth Hill Road but if you Google that your GPS may take you a way that is impassable. Instead, head south on 154 from Tylerville (where Route 82 meets Route 154) going through the new rotary that leads to Route 9. Stay on 154 south. Take the next right on Dudley Clark Road, and then a right on Old County Road which becomes Ruth Hill Road. The paving turns to gravel, and after going under the Route 82 overpass the road becomes very difficult. About ½ mile past the overpass there is a large sign for Beaver Ledges on the left. While there are a few places where you can park a vehicle, it can be rough and muddy and I wouldn’t recommend trying unless you have 4WD. The other option is to park under the Route 82 overpass and walk the short distance to the property. The P triangle on the map is the junction of Ruth Hill Road and a driveway (it’s Tinker Road, but really a driveway) where the trailhead sign stands. Make sure you don’t block the driveway!
Rockland Preserve, Madison. 14 CPs.
| CHALLENGES | BONUSES |
| Map has a smaller scale Map does not include MTB trails New hiking trails don’t appear on map Trail from Rt. 79 lot not as shown on map Limited landmarks shown on map | Most CPs on or visible from the trail CPs are at head height Clear control descriptions Landmarks related to CPs are accurate |
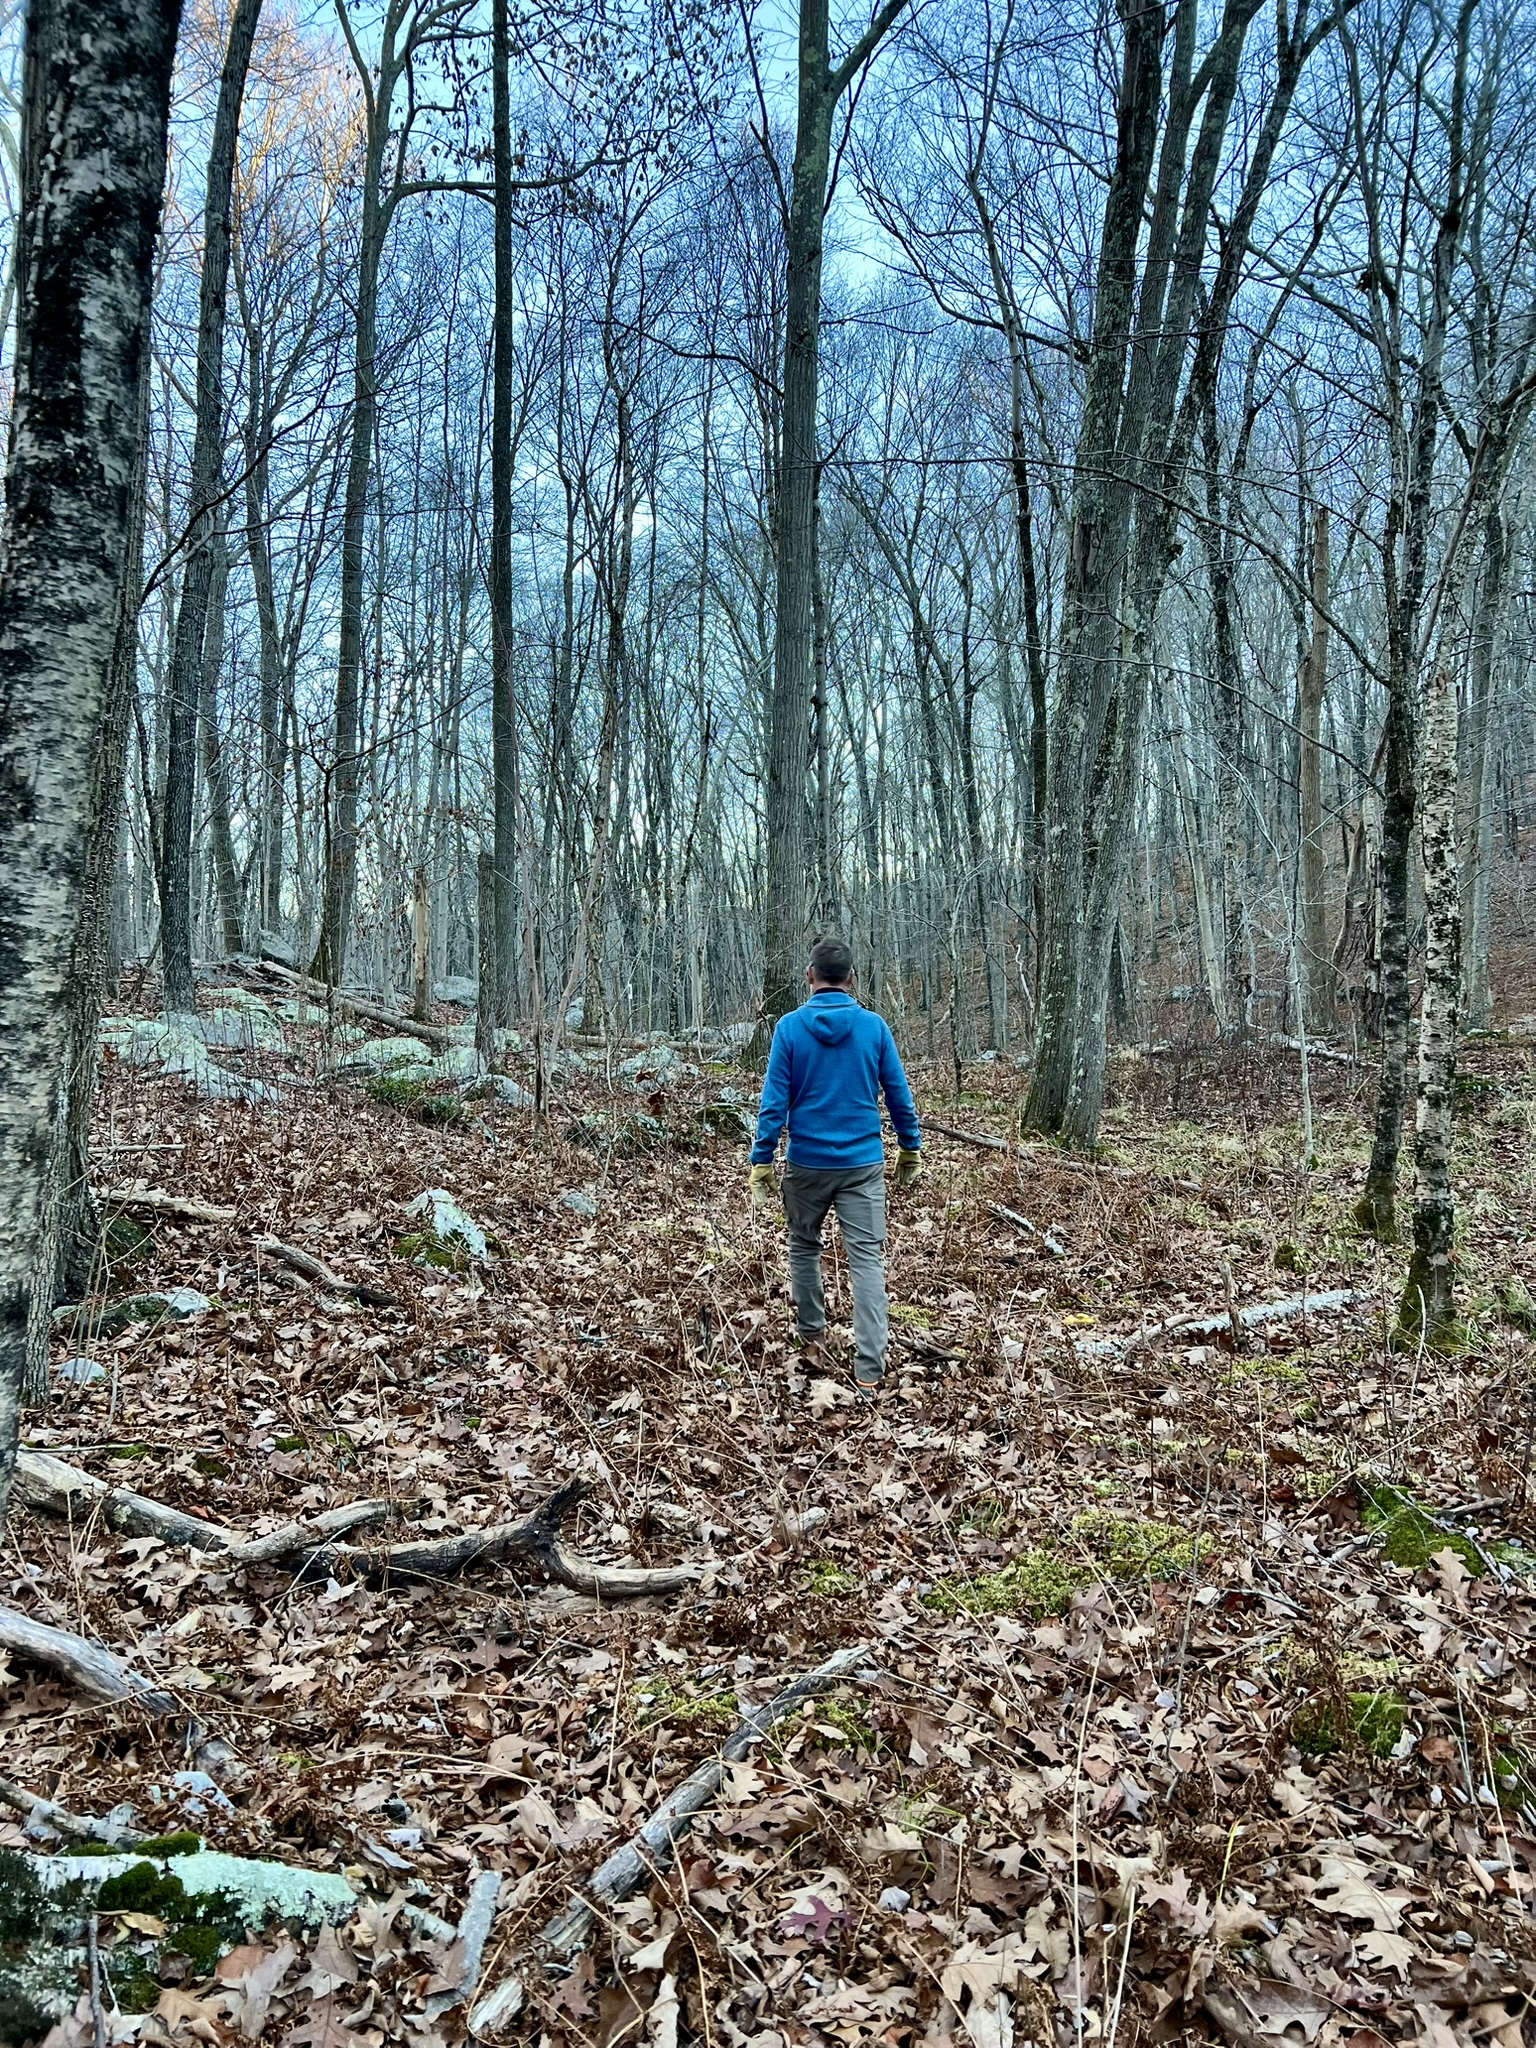
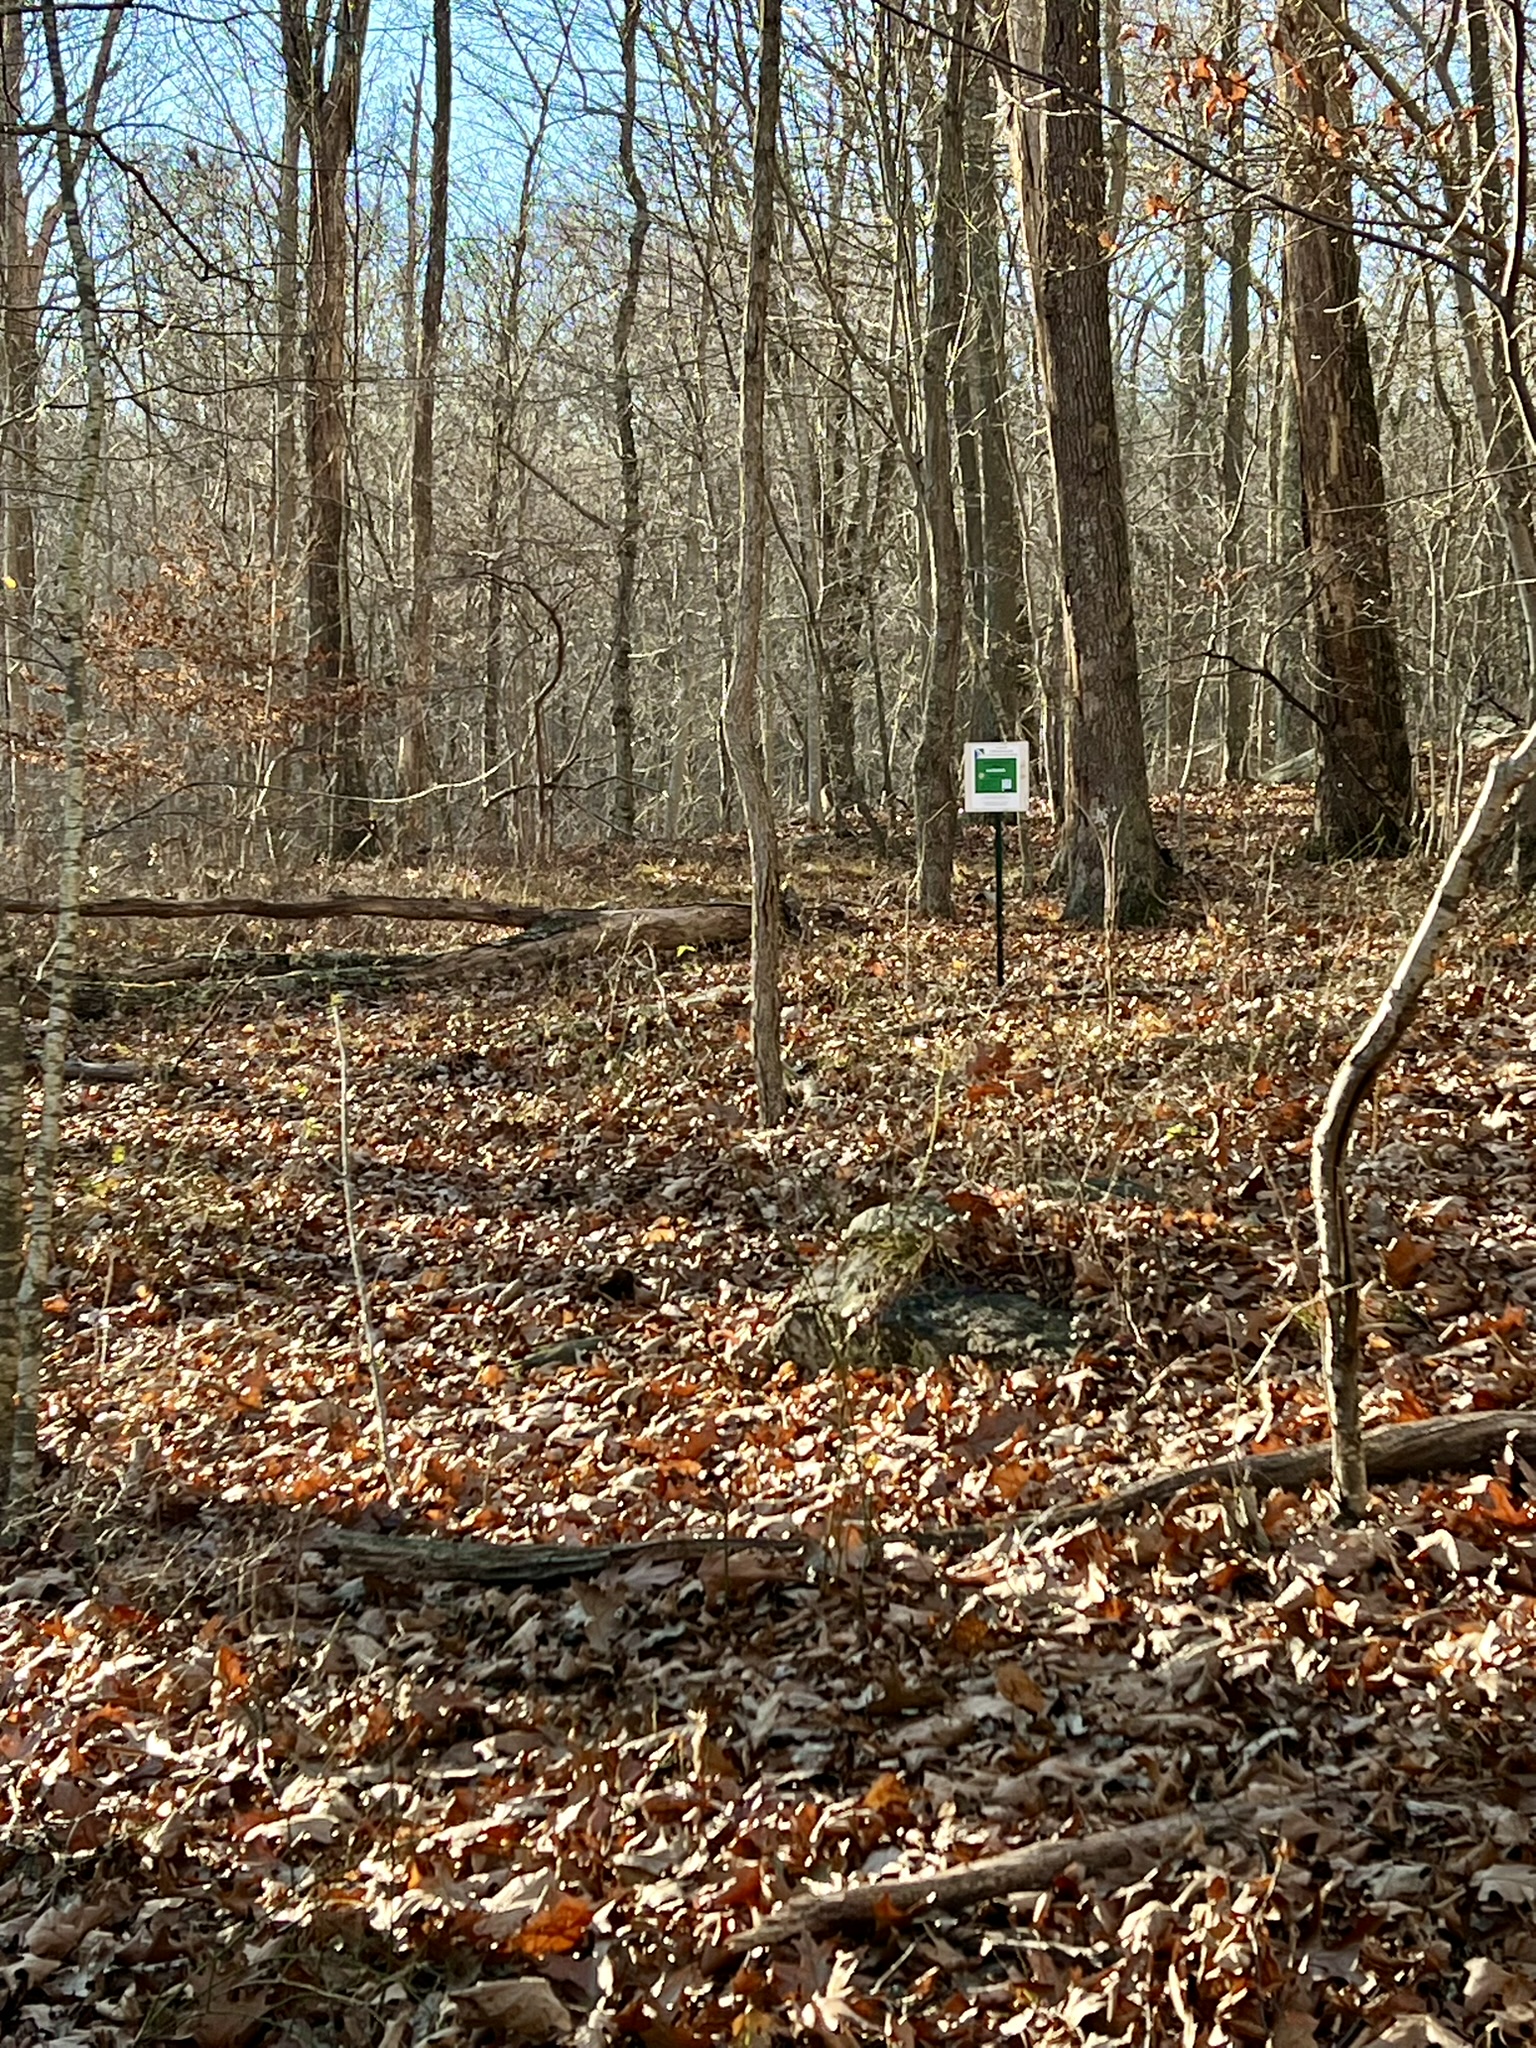
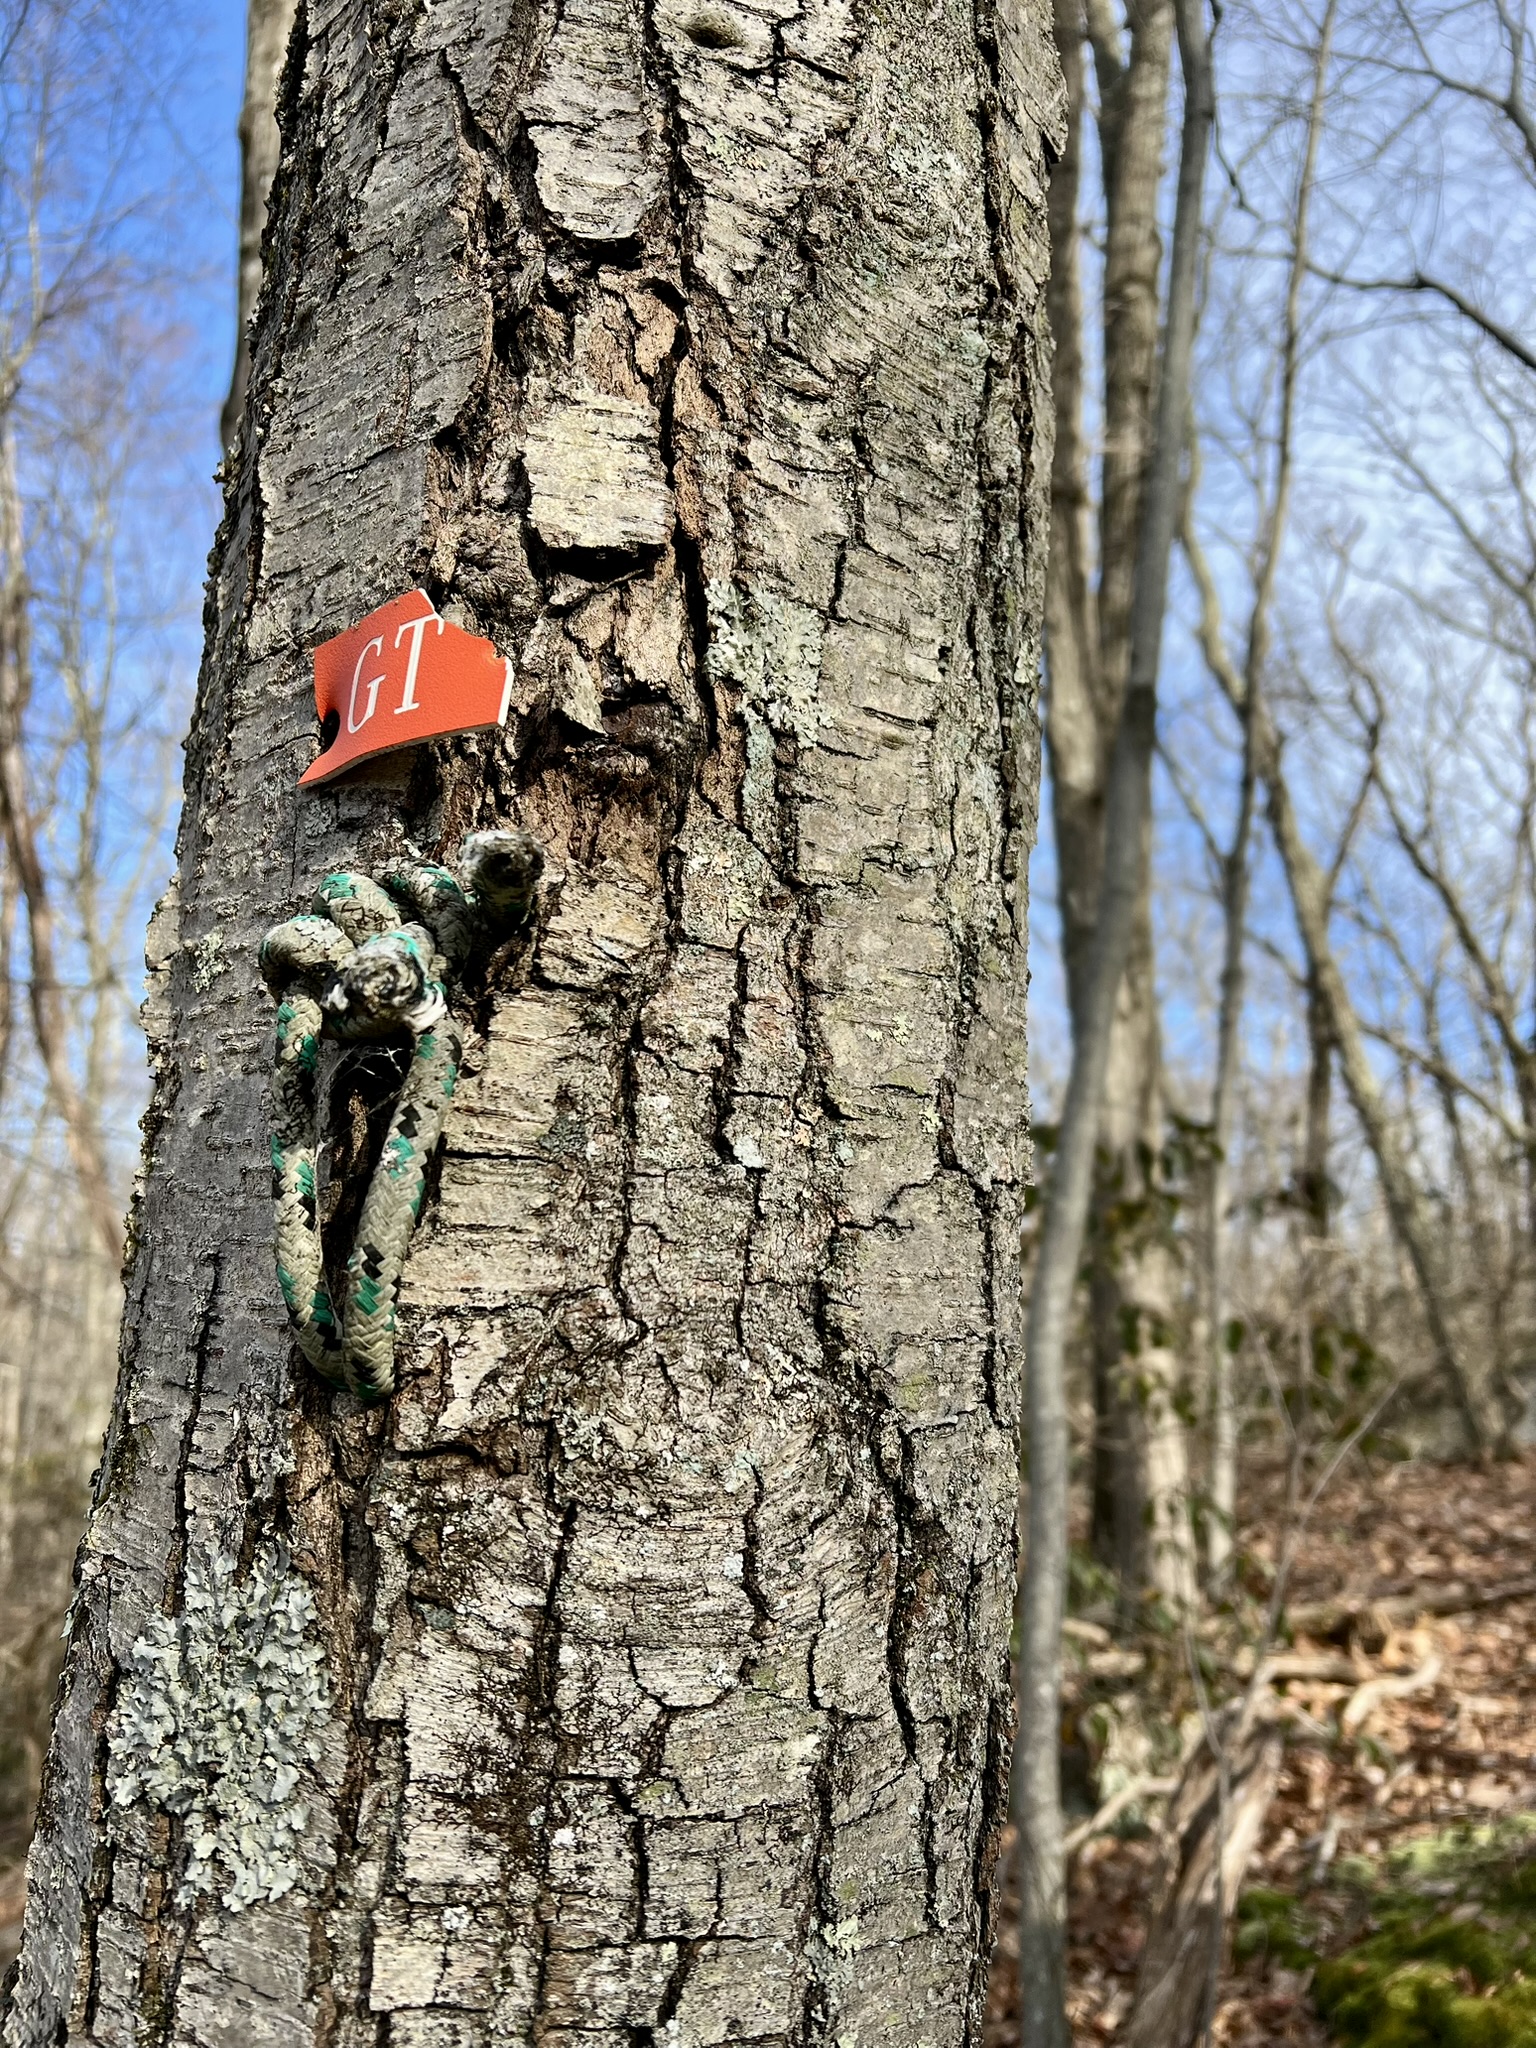
Noah Hastings created the Rockland Preserve O-course in 2013 as his Eagle Scout project. The original project had 14 points, each marked with a square orienteering marker, a label with unique identifying letters, and a different rope knot. When Tom and I arrived at the Rockland lot on Route 79 I got a lesson in making orienteering judgment calls. The map showed the trailhead to be south of the lot, and when I couldn’t find a trail to the south, I was stymied. That’s when Tom suggested that I consider the topography instead. He encouraged me to look at the surrounding terrain, and compare it to the terrain on the map. He pointed to a narrow valley and said “that looks like a re-entrant to the west which matches the map.” It turned out that the map was wrong, and that the trail actually leaves the parking lot from the right side — the back northern corner. (If you’re unfamiliar with the term “re-entrant”, Google describes it as follows: “In topography, a ‘reentrant’ refers to a low, V-shaped area between two hill spurs on a hillside, essentially a small valley or indentation where water naturally collects and flows downhill, appearing on a map as contour lines pointing back into the hillside rather than outwards like a spur: it’s often called a ‘draw’ in orienteering”.) Finally on the correct trail, we quickly found CP12 at head height on a tree and not hidden at all. We decided to do a clockwise loop to get 7 of the 14 points, heading first in the direction of CPs 11 and 10. Our next challenge was a double whammy – we soon realized that only some of the trails are shown on the map, so we had to put extra thought into our route. Then, after much backtracking and searching, we also were certain that CP11 was missing. This happened again with CP10 and I started to take photos and GPS coordinates of where we thought the CPs should be. In total, we determined that 3 of the 7 CPs on our loop were no longer there.
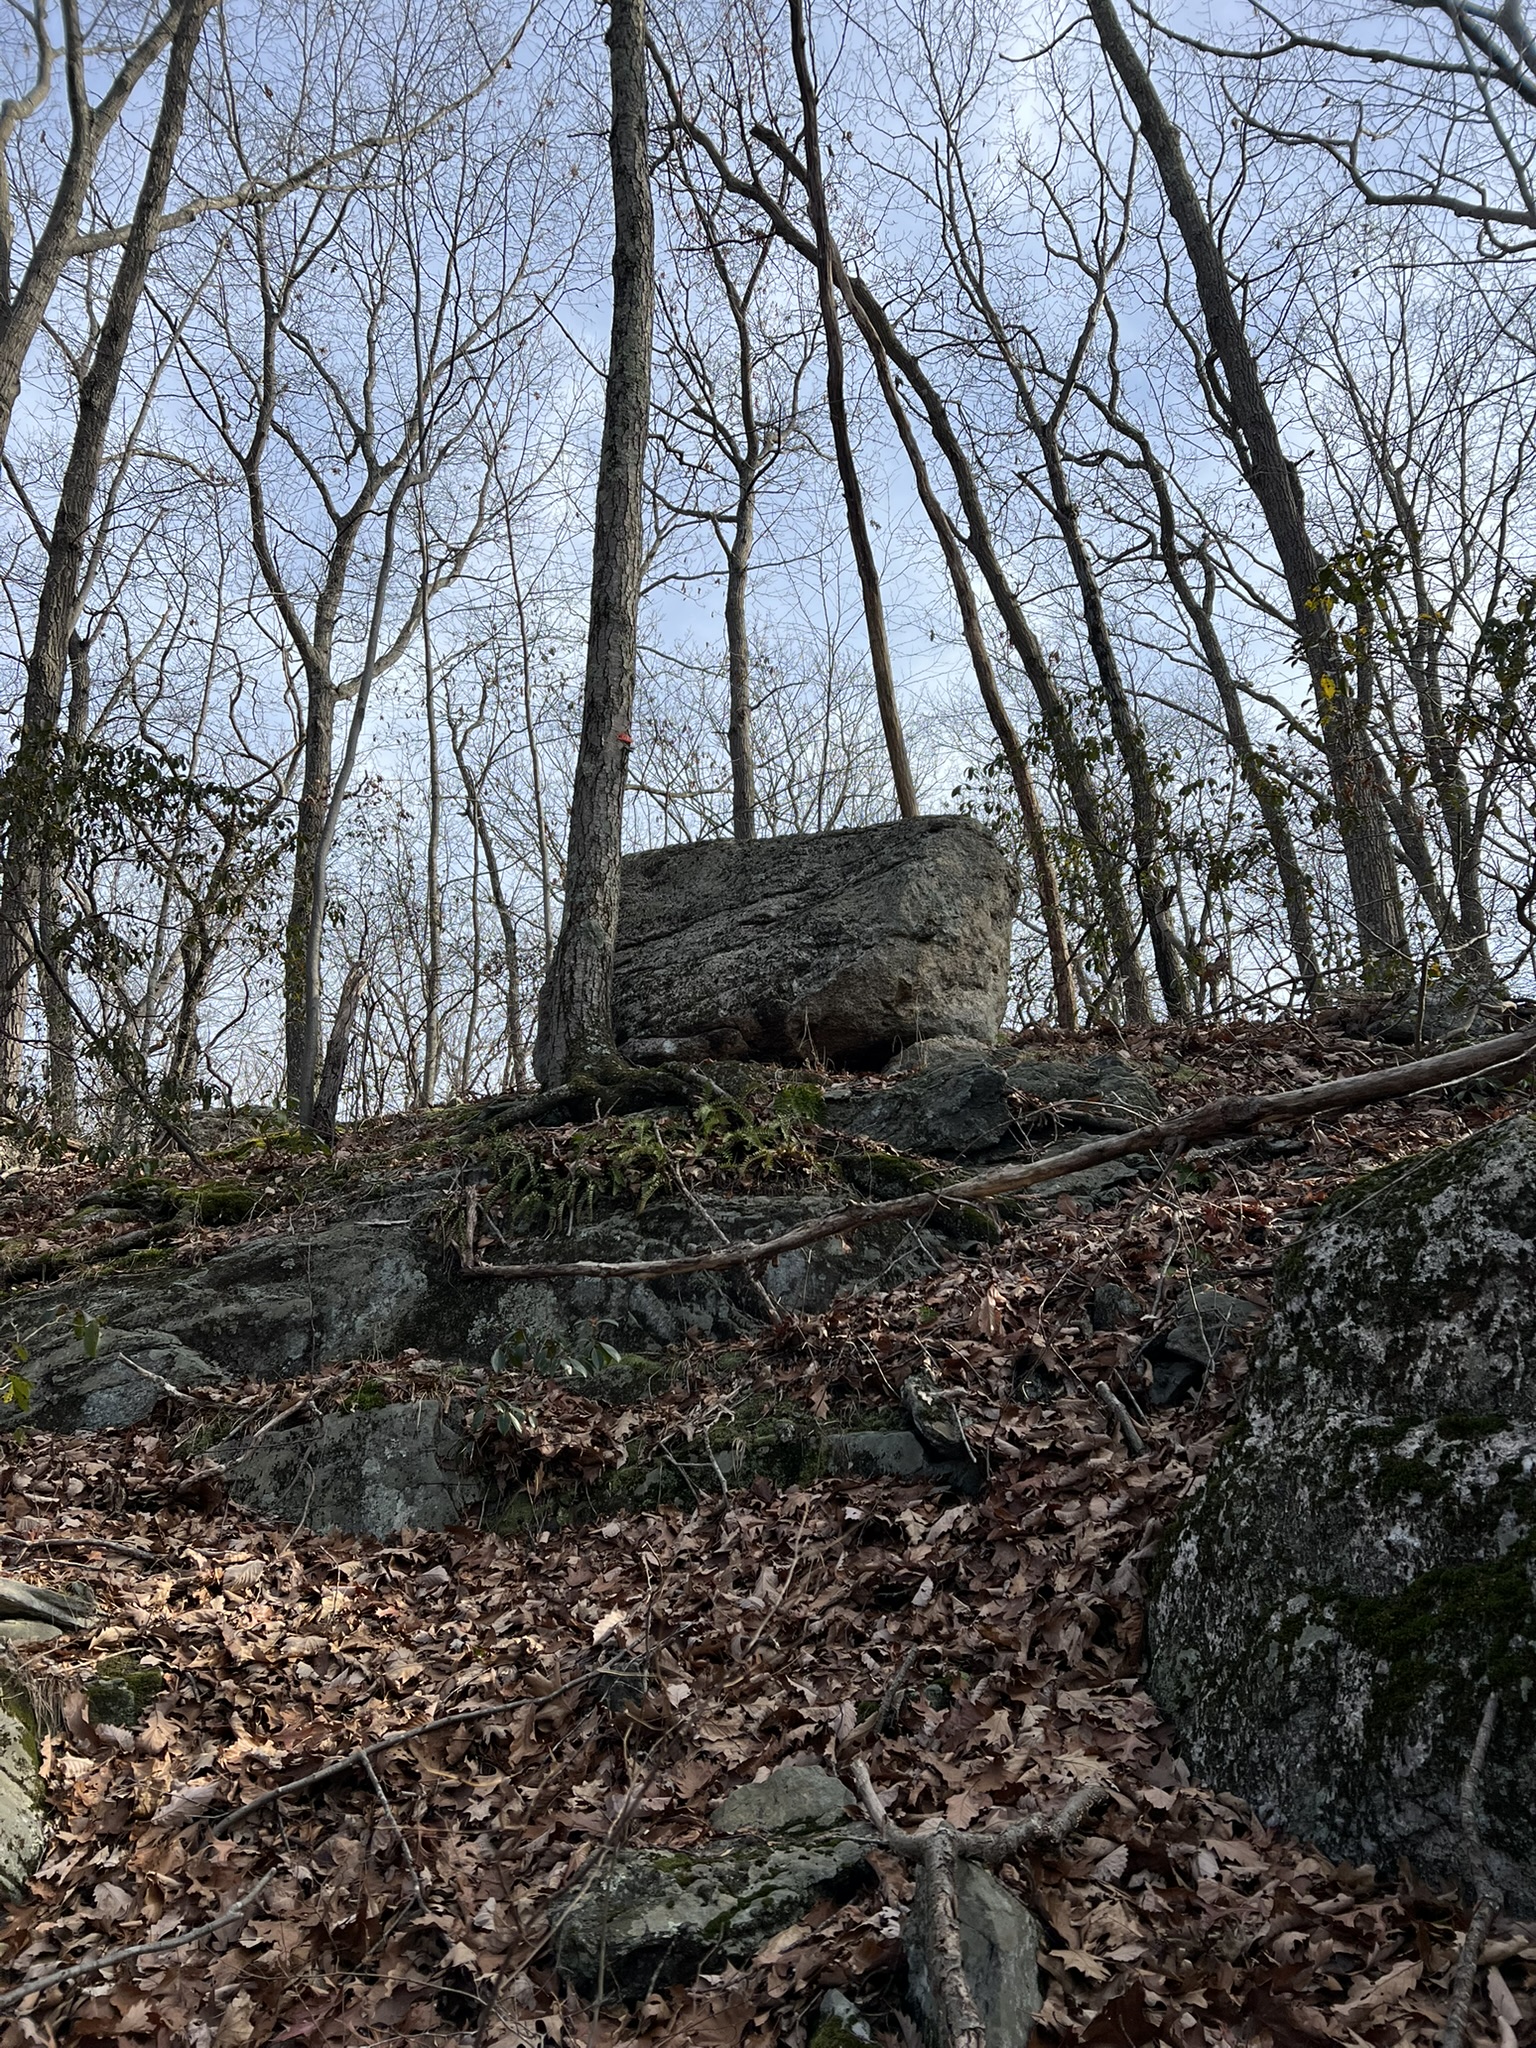
A few of the CPs had all the elements; some had vestiges of the old CPs; we often found ourselves bushwhacking
I was eager to finish the course, so returned the next day by myself with my newly honed skills and attacked CPs 1 through 7 from the Renee’s Way parking area. I faced similar challenges, discovering that 4 of the 7 CPs were missing. As a side note, the trails on the map around CPs 1, 2 and 3 are not exactly accurate, and the purple blazed trail is new. Luckily I was already familiar with this preserve. I recommend going by the landmarks noted for this section, rather than the trails. By the time I was done, I suspected that 7 of the 14 points were missing completely, and several others were broken or partial. I otherwise loved the course as a beginner challenge and was keen to see how I could help reinvigorate it. As serendipity would have it, when I reached out to the local Madison Boy Scout Troop 490, they had recently had the same thought. We joined forces and I got in touch with Noah Hastings to share my discoveries. Noah was pleased to see renewed interest in his 12-year old project and he generously took time over the holidays to go out on the course and mark trees for replacement CPs. Scout leader, Bill Johnson, and his son, Jack, have taken the lead on acquiring new CPs, and making a plan to install them on the course. The February storm cycle has impacted this work, but hopefully by the time you read this the course will be newly refreshed. They have decided to leave off both the unique initials associated with each CP and the rope knots, which degraded quickly when exposed to the elements.

Scenes from the trail. Take time to enjoy the beauty of the woods!
Chatfield Hollow State Park, Killingworth. 9 CPs.
| CHALLENGES | BONUSES |
| All the CPs are off trail All the CPs are low to the ground | The map scale is good (1:7500) The legend is extensive Clear control descriptions Landmarks related to CPs are accurate |
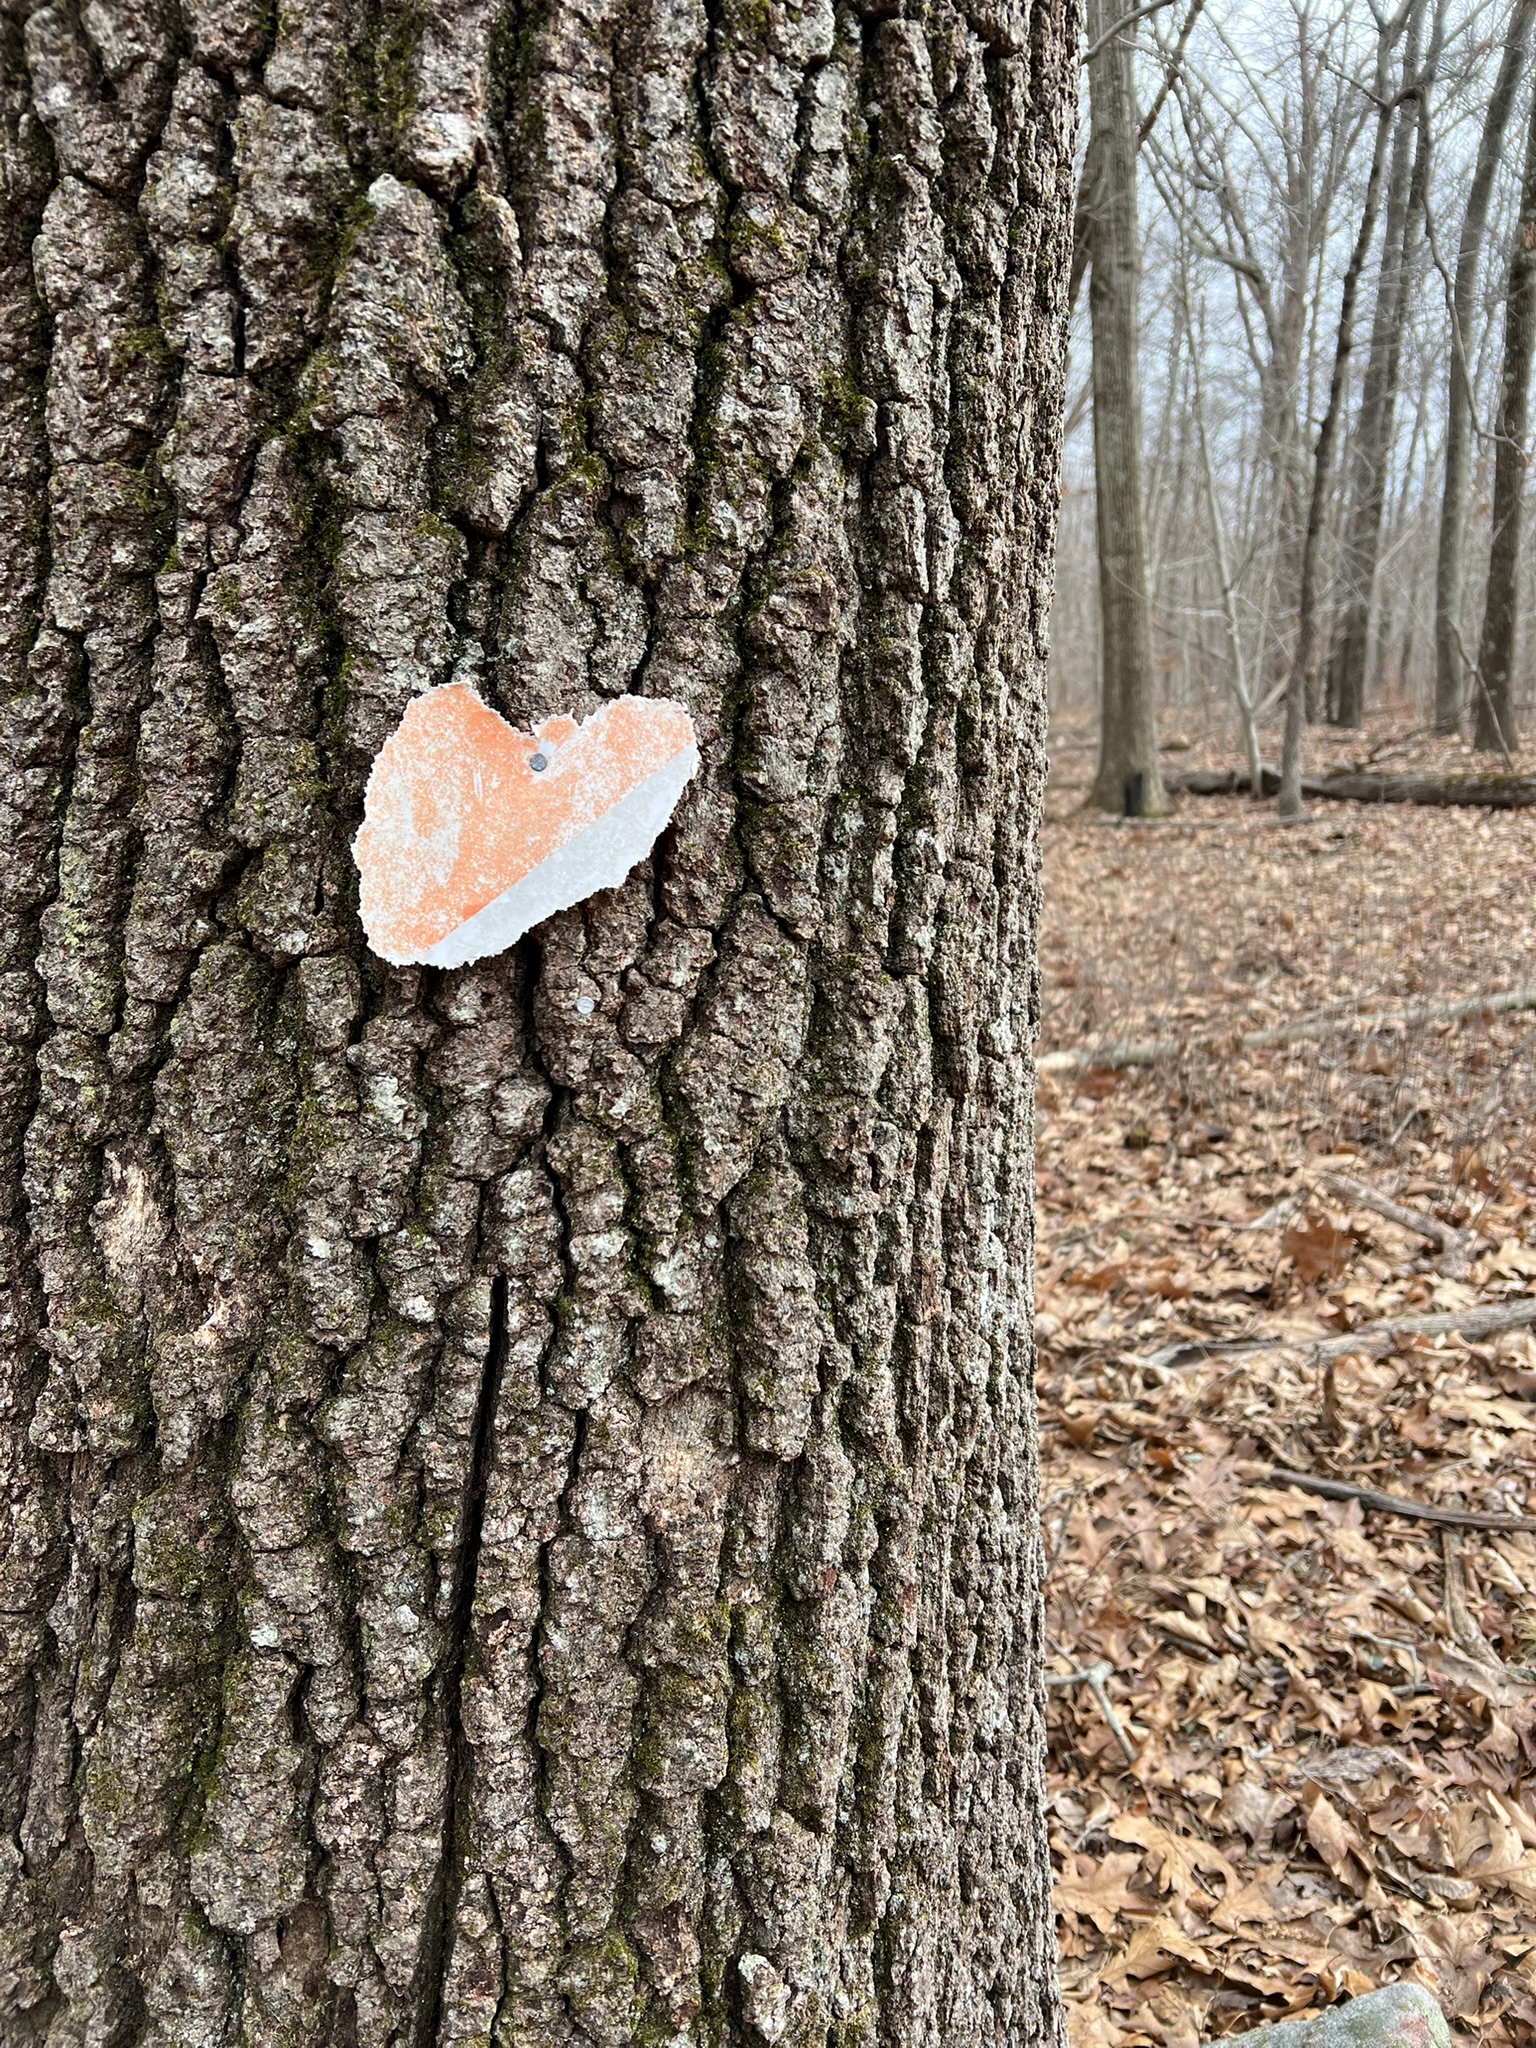
I was on a roll. Is there such a thing as orienteering fever? If so, I think I have it. The Chatfield Hollow course was also an Eagle Scout Project, completed by Connor Walsh of Troop 18 in Killingworth in 2010. The course is published on the NEOC website, and I am pleased to report that all the CPs are in place 15 years later. On Thanksgiving weekend our friend and Tom’s adventure racing teammate, Molly, was visiting, so we made a plan to visit Chatfield Hollow to knock off some CPs. We focused on the northern and western points – N, L, K, I and E. We started with CP-N, and Molly spotted it first. Finding the first one is always exciting because until that point you aren’t sure exactly what you are looking for. We learned that the Chatfield Hollow CPs are all small orienteering red and white square plaques on trees low to the ground. At that point, I insisted on taking the lead, since Tom and Molly are more experienced and I needed the practice. My advantage was that I knew the trails in Chatfield Hollow inside and out, which felt a little like cheating. Standing at CP-N, I decided we should tackle CP-L as follows: take the trail heading west. When it makes a 90 degree turn to the south we would look for a large boulder about 50m along the trail, then go slightly farther and turn to bushwhack northwest following the grade of the hillside until we encountered the north/south stone wall shown on the map. From there we would follow the east/west facing stone wall toward its end keeping in mind the control point description was “Hill, Top.” When I spotted it exactly where I thought it might be I was hooked!
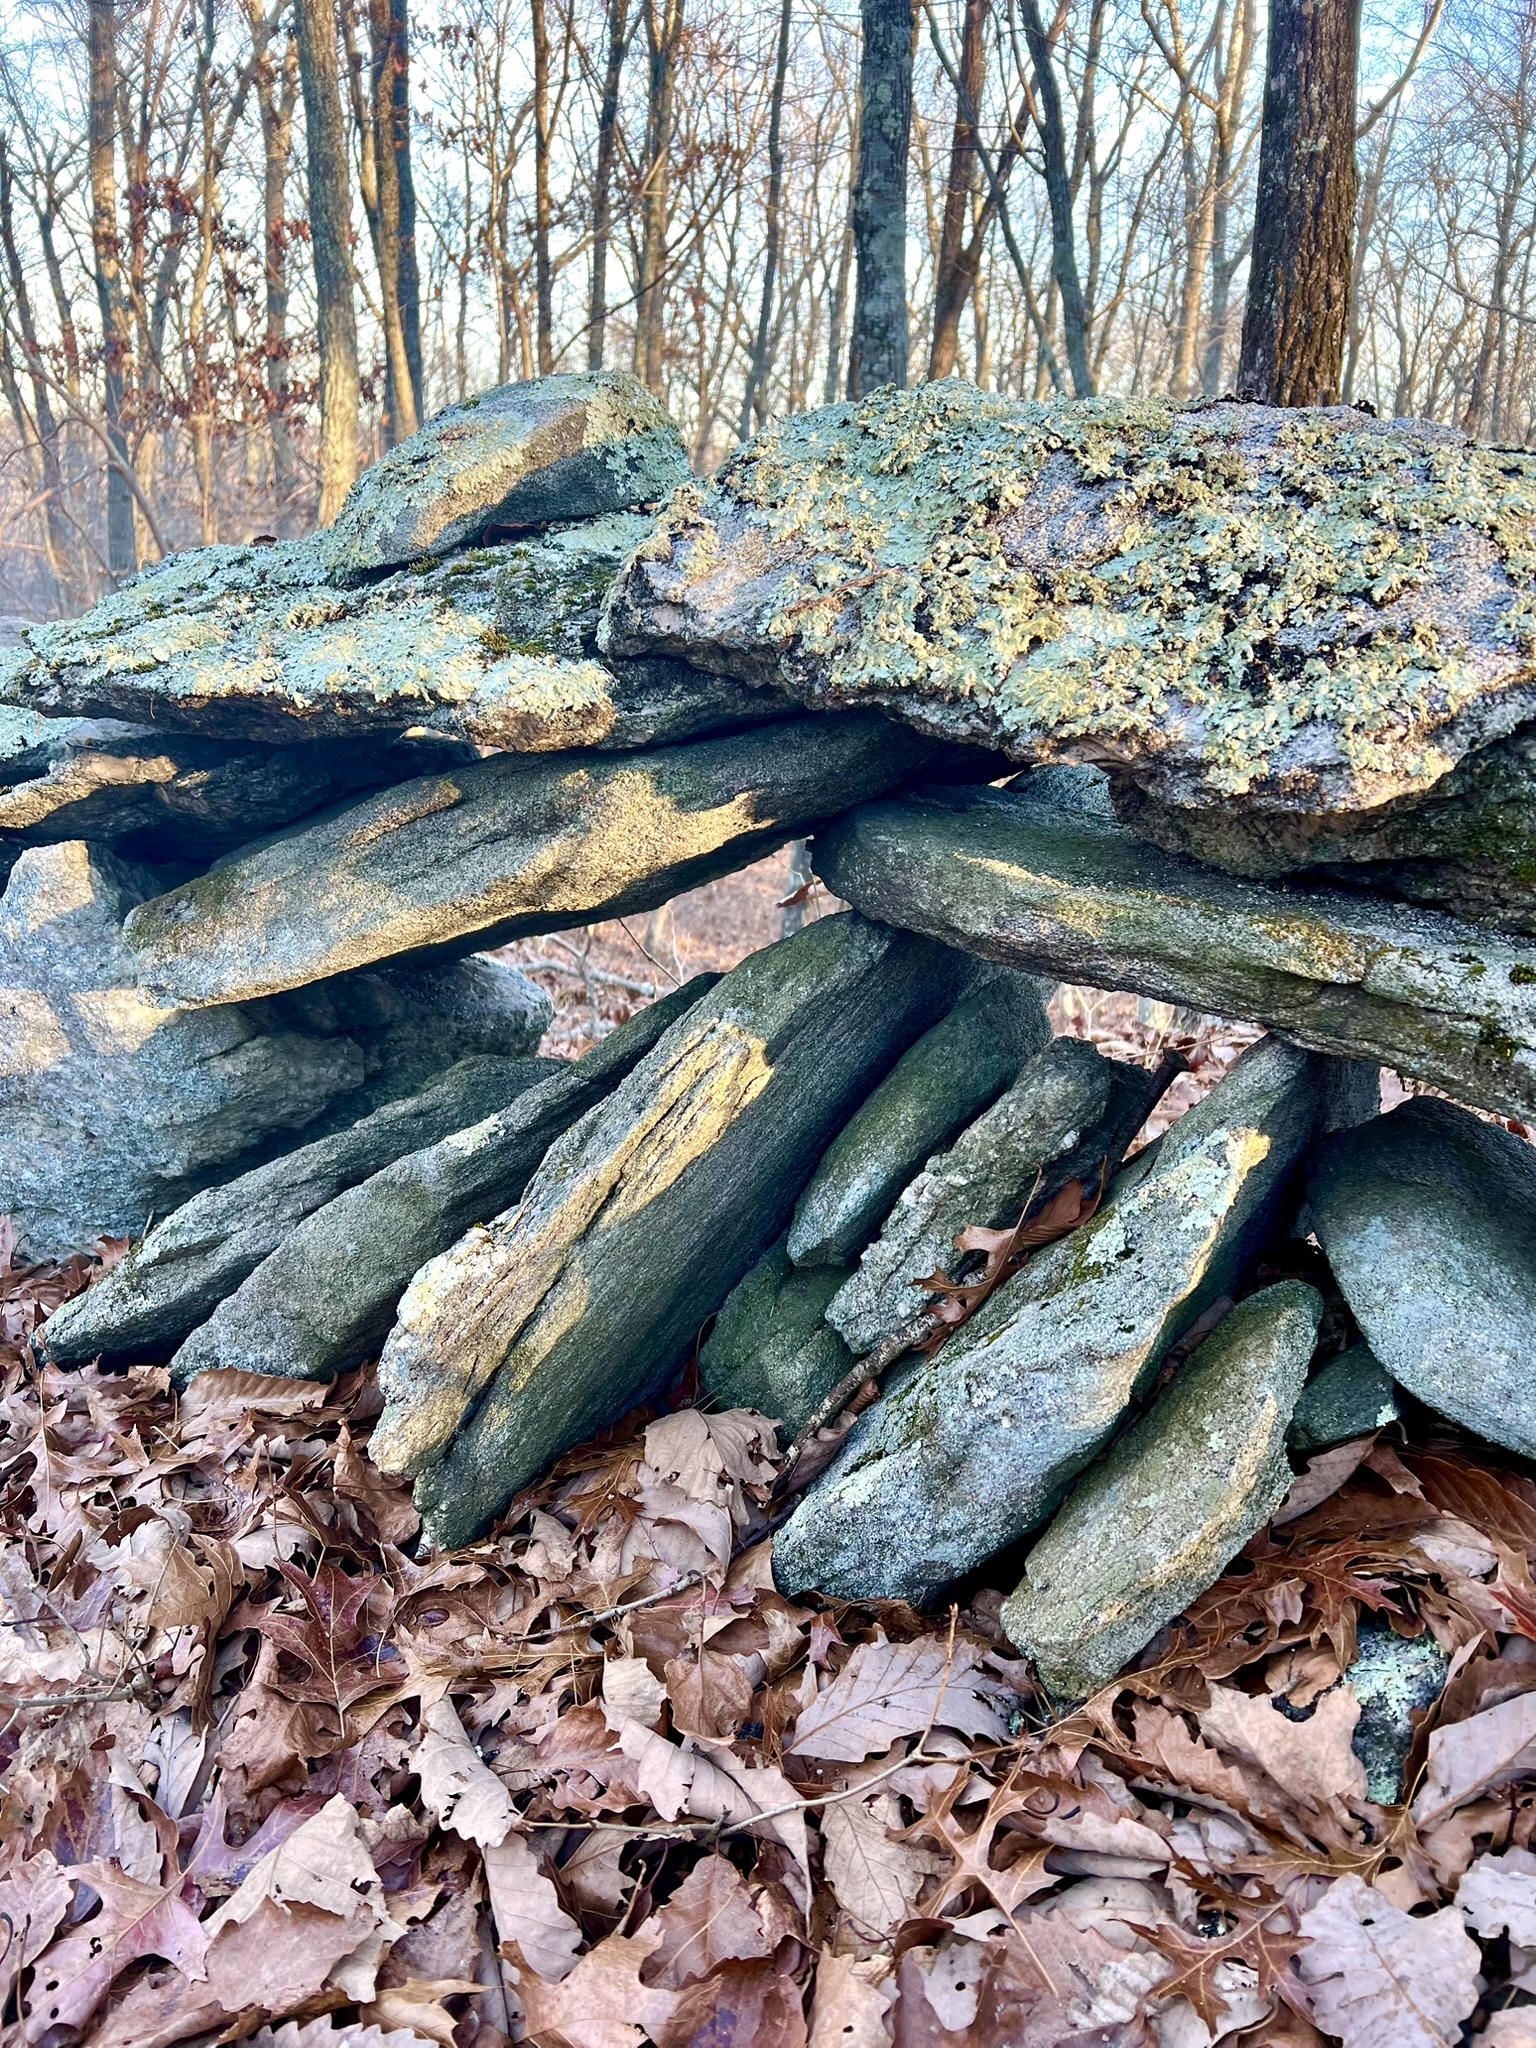
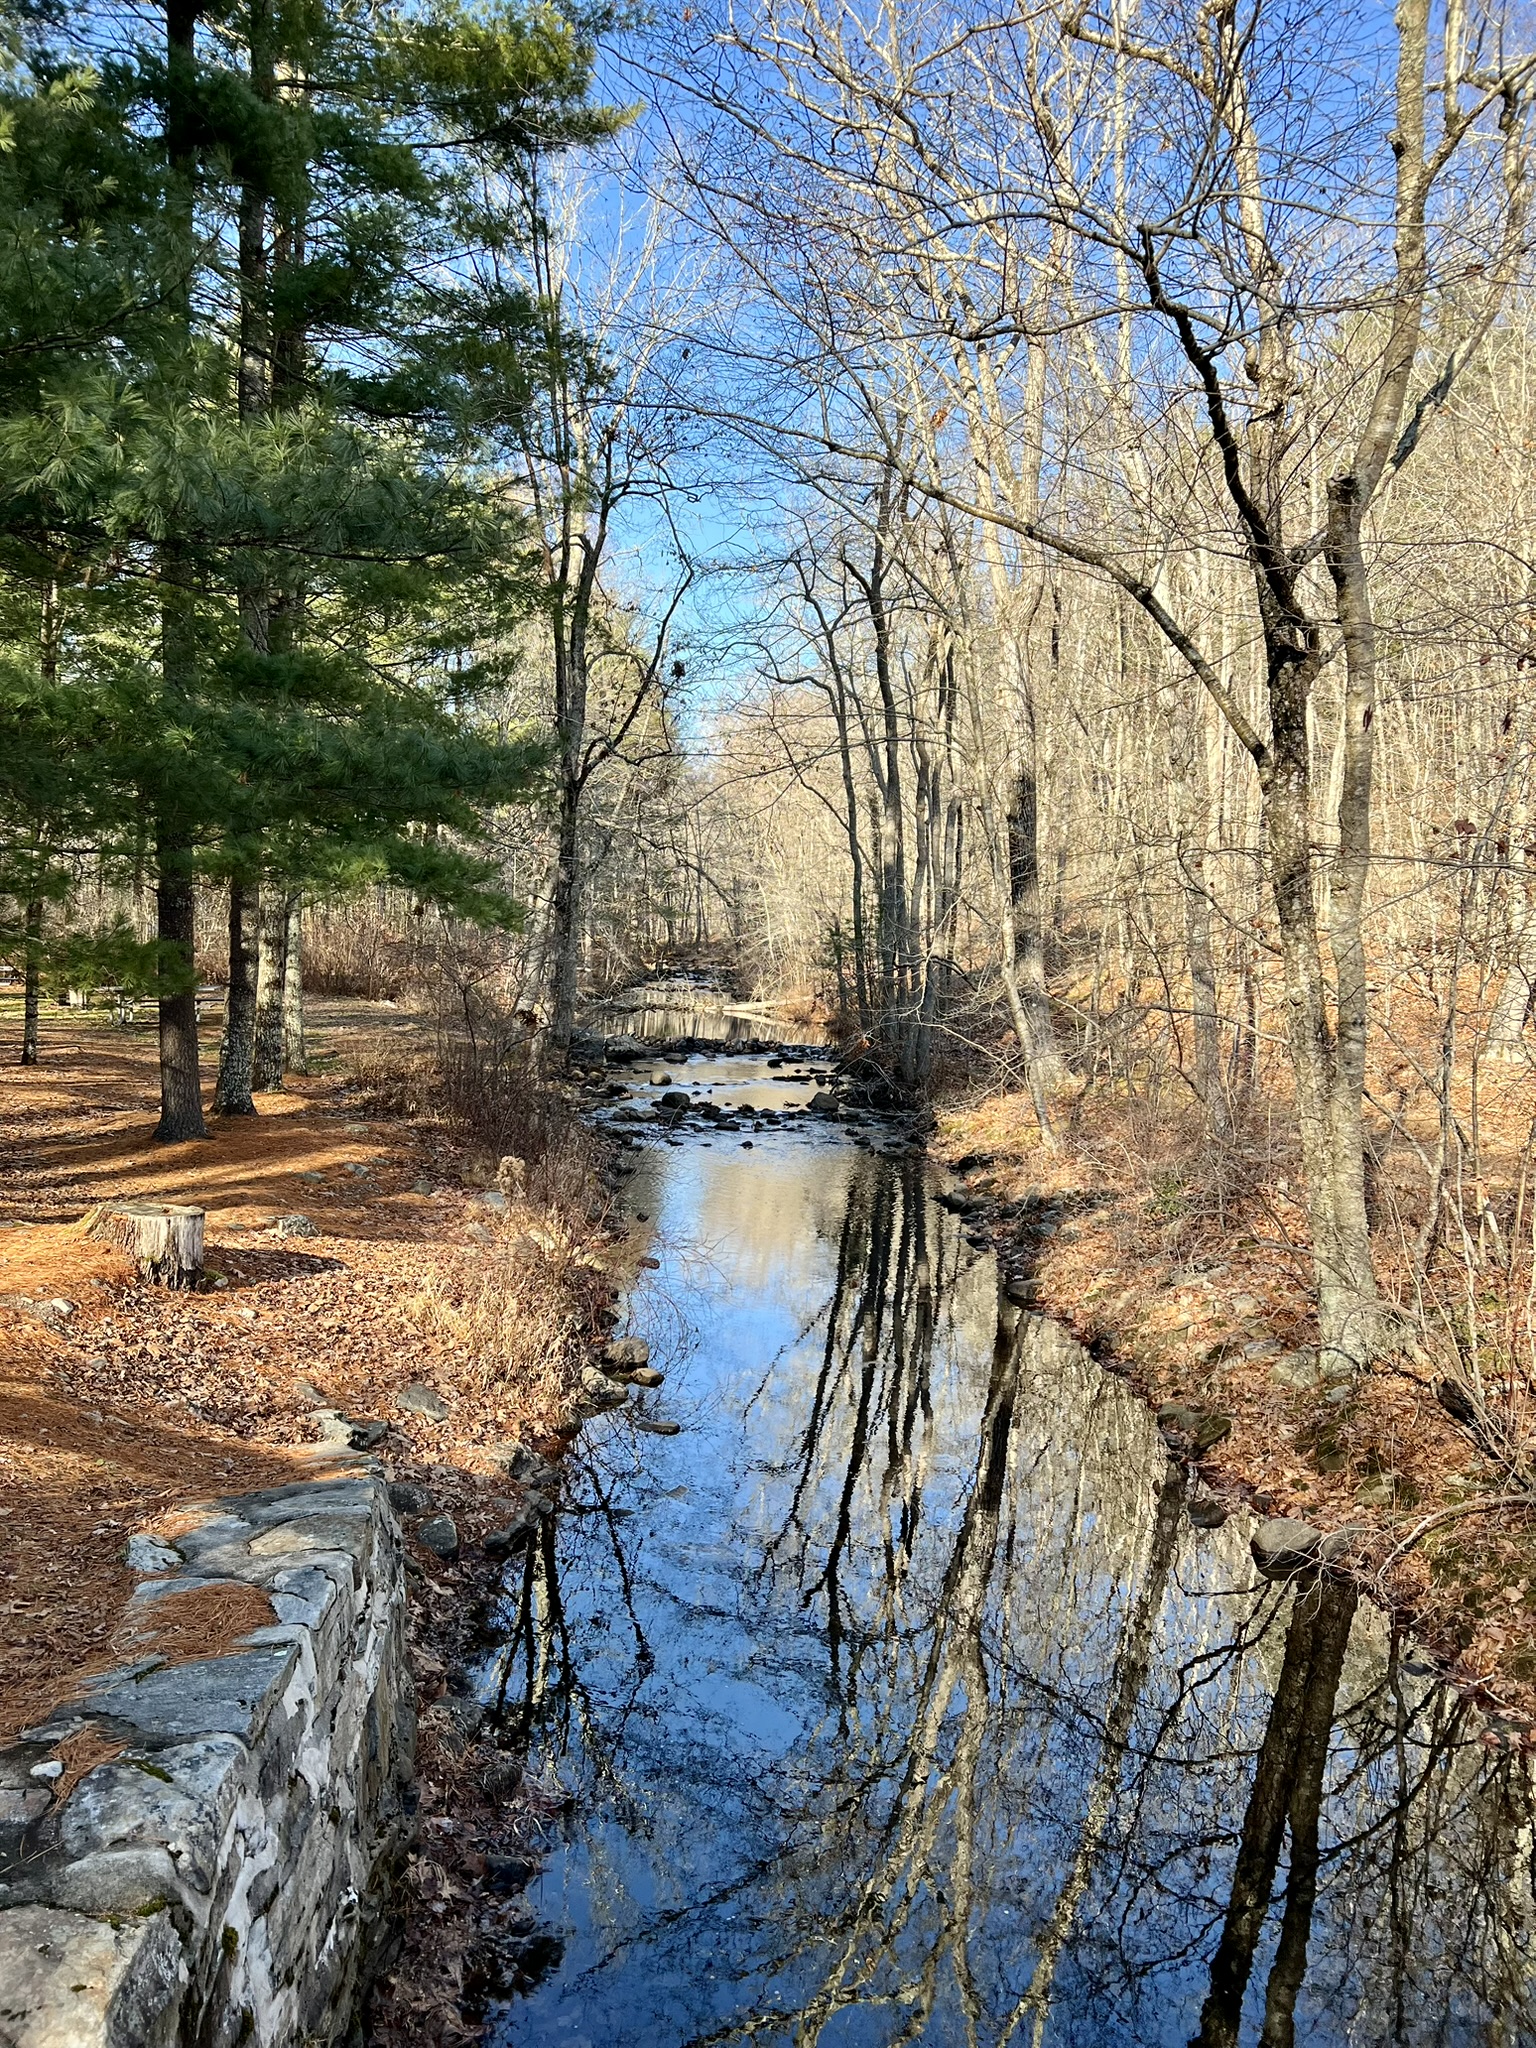
from left to right: some CPs had an accompanying stake; cool stone walls abound; take time to admire the streams; the CPs are low to the ground
A few weeks later I insisted we return on my birthday to collect a couple more points. This time we concentrated on the two points on the southwest side of the park – CPs A and C. In early January I couldn’t wait any longer – I set out on my own to attempt to find CPs S and O on the eastern side of the park. I had so much fun. With each CP, I followed my pre-conceived strategy, and just when I started wondering if I was in the right place *BAM* there it was – a little red and white square. It was quite the dopamine rush! It was now time for a bigger challenge.

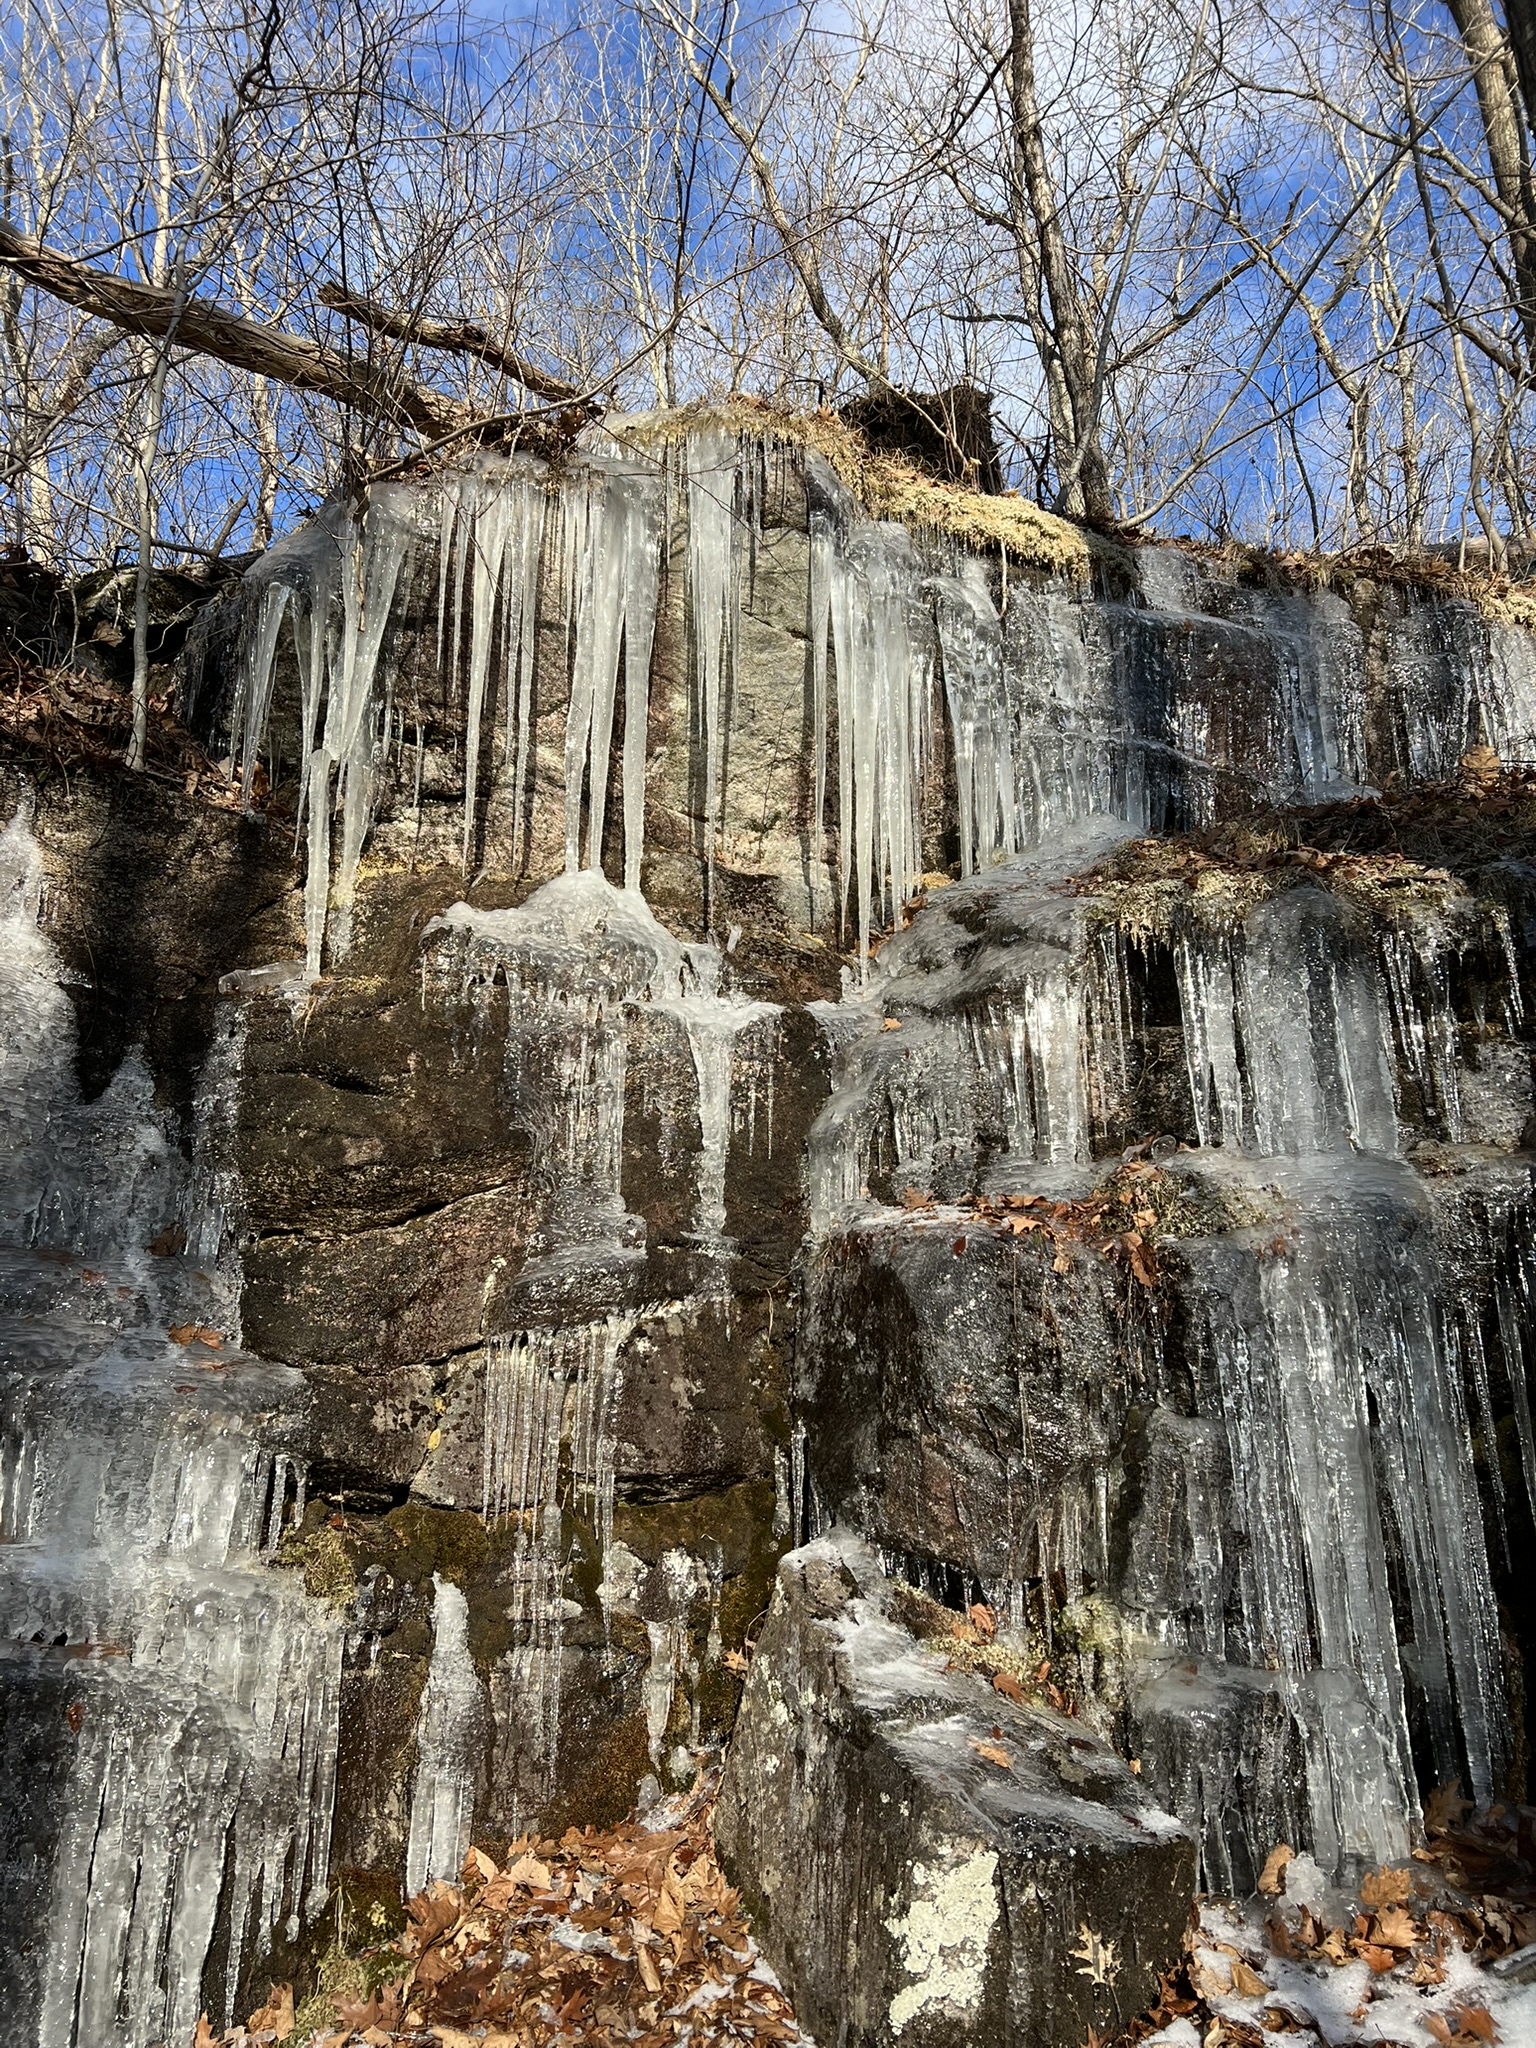
From left to right: scenic ledges; icicles abounded in January; the thrill of finding another CP; marshy terrain
Hurd State Park, East Hampton. 16 CPs.
Hurd State Park and Litchfield Five Ponds O-Course Maps. This website page has several links, including to the legends and clue symbols. We used the Hurd Permanent Course map and plotted our own routes. The club also provides suggested courses for short, medium and long routes.
| CHALLENGES | BONUSES |
| Intermediate level course All the CPs are off trail The southern CPs are advanced level | The map scale is good (1:7500) Extensive legend Clear control descriptions Accurate landmarks |
After the holidays I was eager to tackle the Hurd State Park O-Course. This would be my biggest challenge to-date, both because it is an intermediate level course and because I don’t know the trails there. We had a short window of time on the Saturday of MLK weekend before the rain set it. We decided to start with CP 37 and then do a counter-clockwise loop of the points north of the park road, hitting as many as we could before the weather turned. This time I learned several important lessons about equipment and preparation. For this outing, Tom pushed me to the next level, i.e. thinking more about speed. He suggested I plan in advance how I would navigate the course and which route I would take from point to point. Once we arrived at the park, he pushed me to move quickly, and once I was fairly certain I was on track, to start thinking about what my next move would be. This was where I realized some of my gear mistakes. First, in my rush to get out the door, I had forgotten to bring a compass. Oh no! Fortunately, I remembered that my iPhone has a compass. This turned out to be an excellent tool because I could tap the directional heading and a red line would appear that helped keep me on course in the woods. However, even if you use this feature, you should never rely on electronics for your only compass as they can lock up or lose battery power, especially in the cold. Second, I soon learned that I had too many discrete pieces that were holding me up. Along with the compass debacle, I had three separate pieces of paper: the map, the legend and the control descriptions. I was also wielding 2 hiking poles, so any time I needed to check the map or the compass I had to juggle the poles and the papers while removing my mittens. I looked like a bad comedy routine. All that aside, I dealt with my amateur errors and plowed ahead. We tackled seven CPs (31 through 38 except for 36) and managed to finish just before a heavy rain set in.

The Hurd Park CPs are orange and white and around chest height. A few are in need of replacements.
We returned later in the week, a few days after the first snowstorm of 2025. I’ll admit to being lazy, and confess that we parked in the northern parking lot along Route 151 to tackle CPs 45 and 46. Because the far northern trails do not appear on the map, I cheated a teensy bit and used AllTrails just until we reached a point that showed on the O-map, then I put my phone away. I came much better prepared, having taped the legend directly to the map. I also realized the map already had the control descriptions in a table in the bottom left hand corner (I had also written them out in longhand on the map.) I wore a wrist compass and used only one hiking pole, so navigating through the woods was infinitely easier. Making our way back to the car, we then drove to the official start (the lot at the Park entrance marked with a triangle on the map). Next up were the CPs south of the park road. These were fun, but a lot more challenging than the earlier ones. They were all well off any trail or road, so required a higher level of map and compass work. We found CP 39 easily, but struggled to find CP 40. We finally determined that it is probably missing. We then faced a new challenge – determining how to get to the next CP when you aren’t 100% sure where you are. We made some educated guesses, and worked hard to read the terrain as we made our way toward CP 41. I was relieved to eventually find it. The clue threw us off a bit, as it said “southeastern cliff”. In retrospect, we see this meant the cliff itself was the most southeast of some cliffs, but the CP was on the southwestern side of that particular cliff. But at least now we were 100% sure of our location, so navigating to CP 42 became easier in theory – a bit more difficult in the field as there were cliffs and laurel to get around! After snagging CP 42 we decided to call it a day.
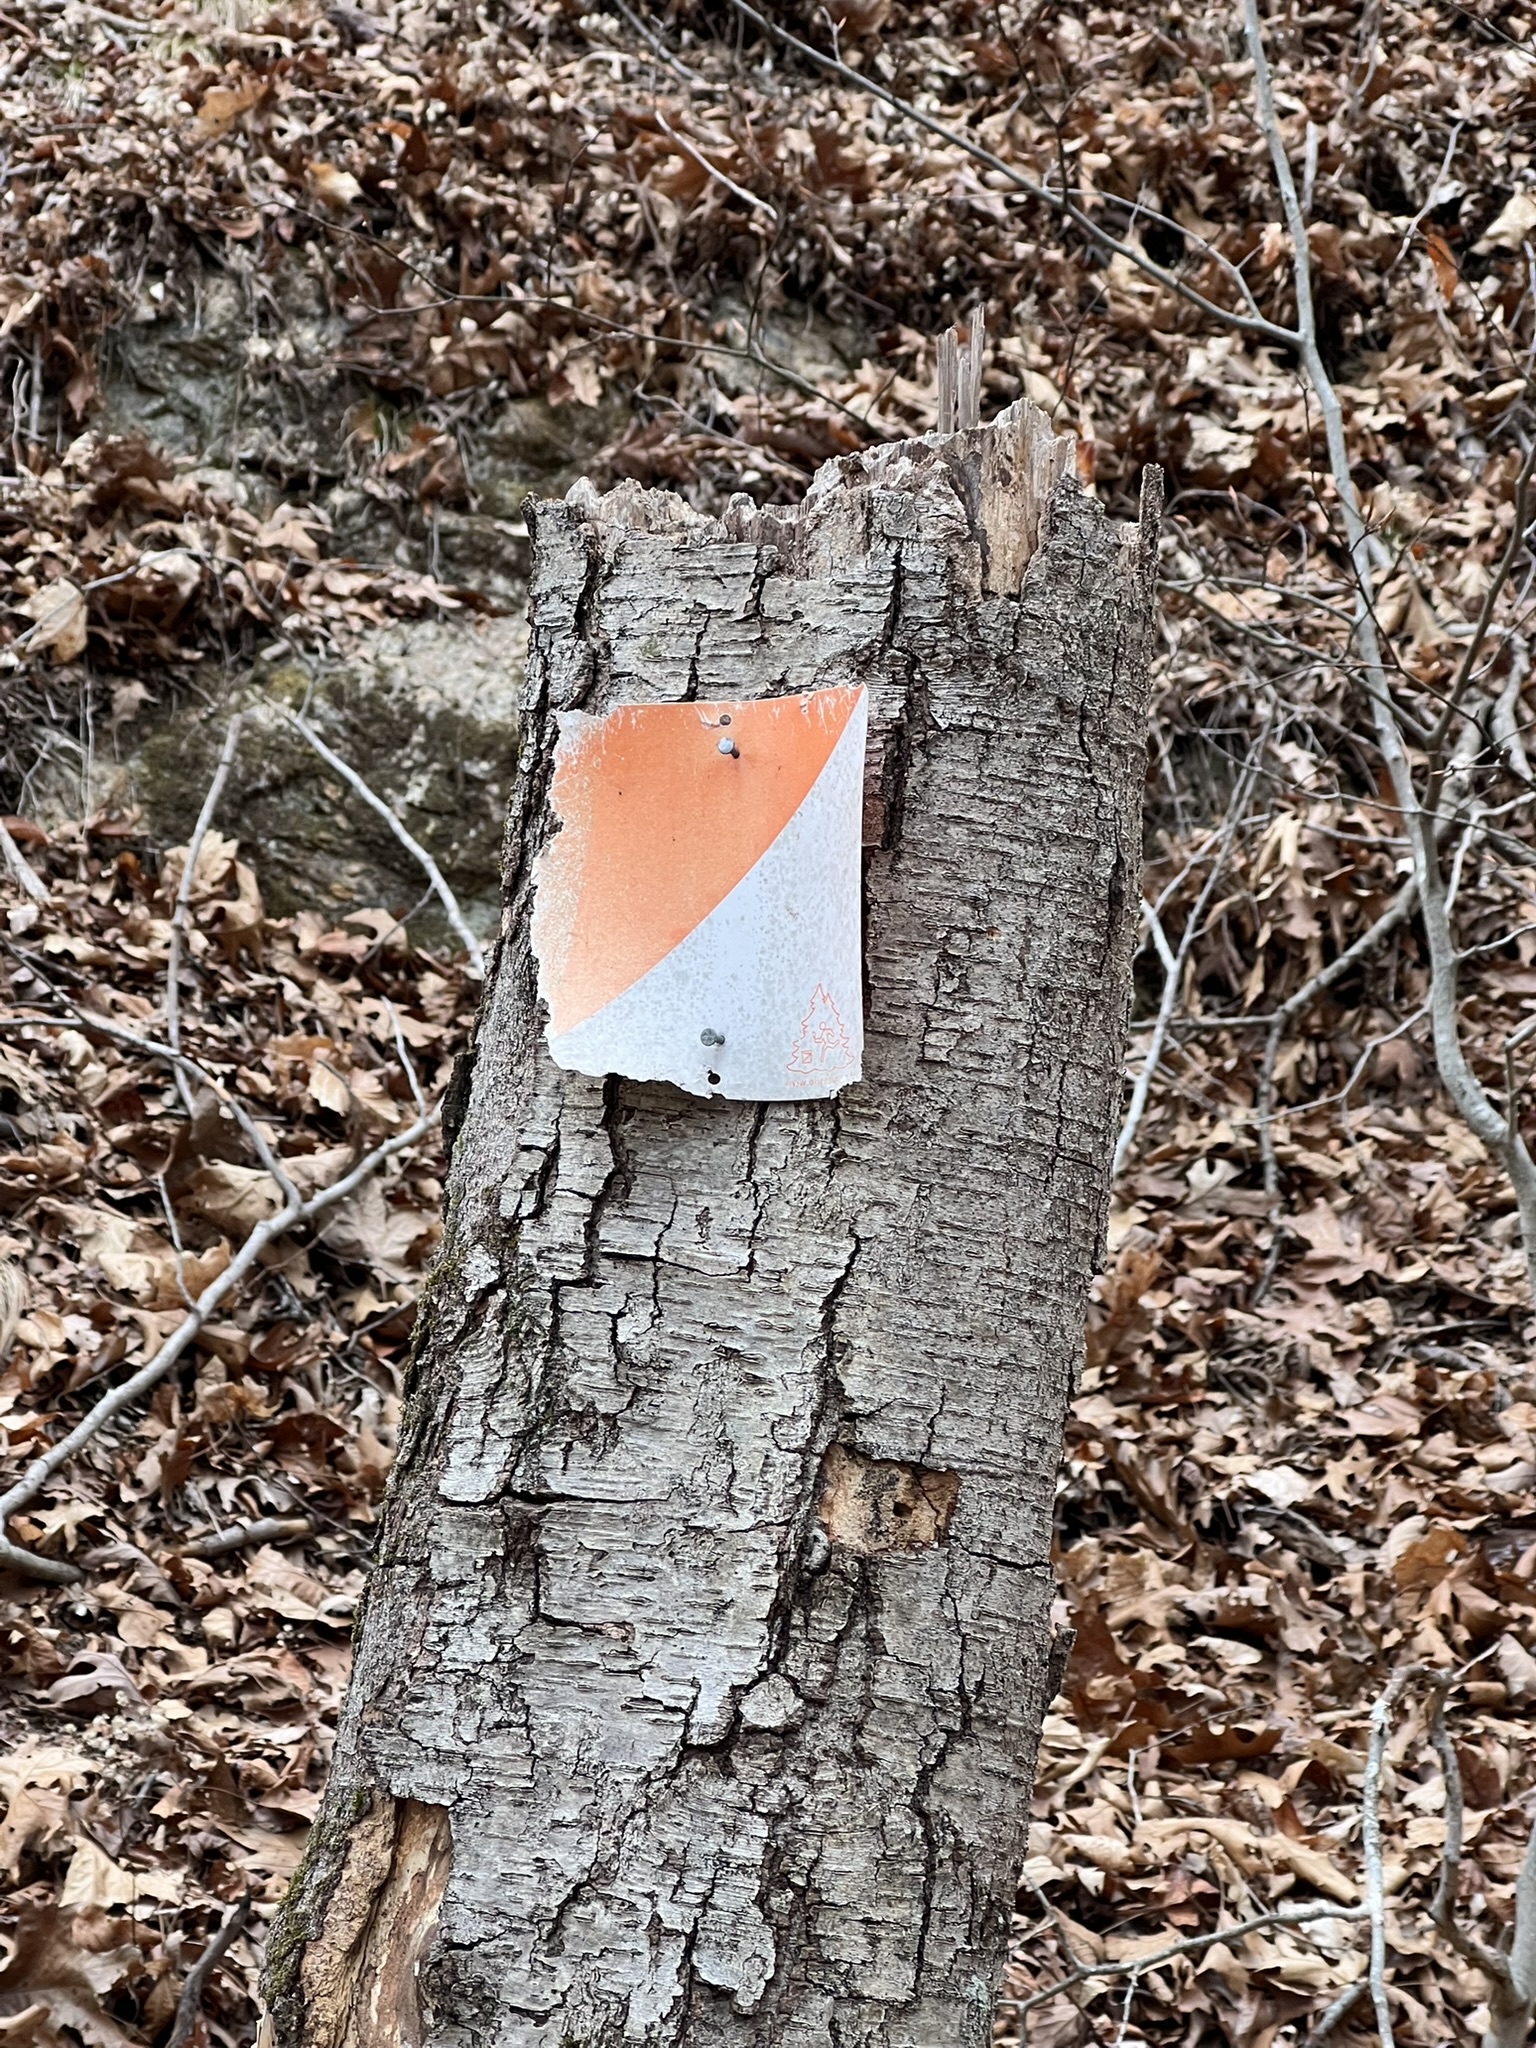
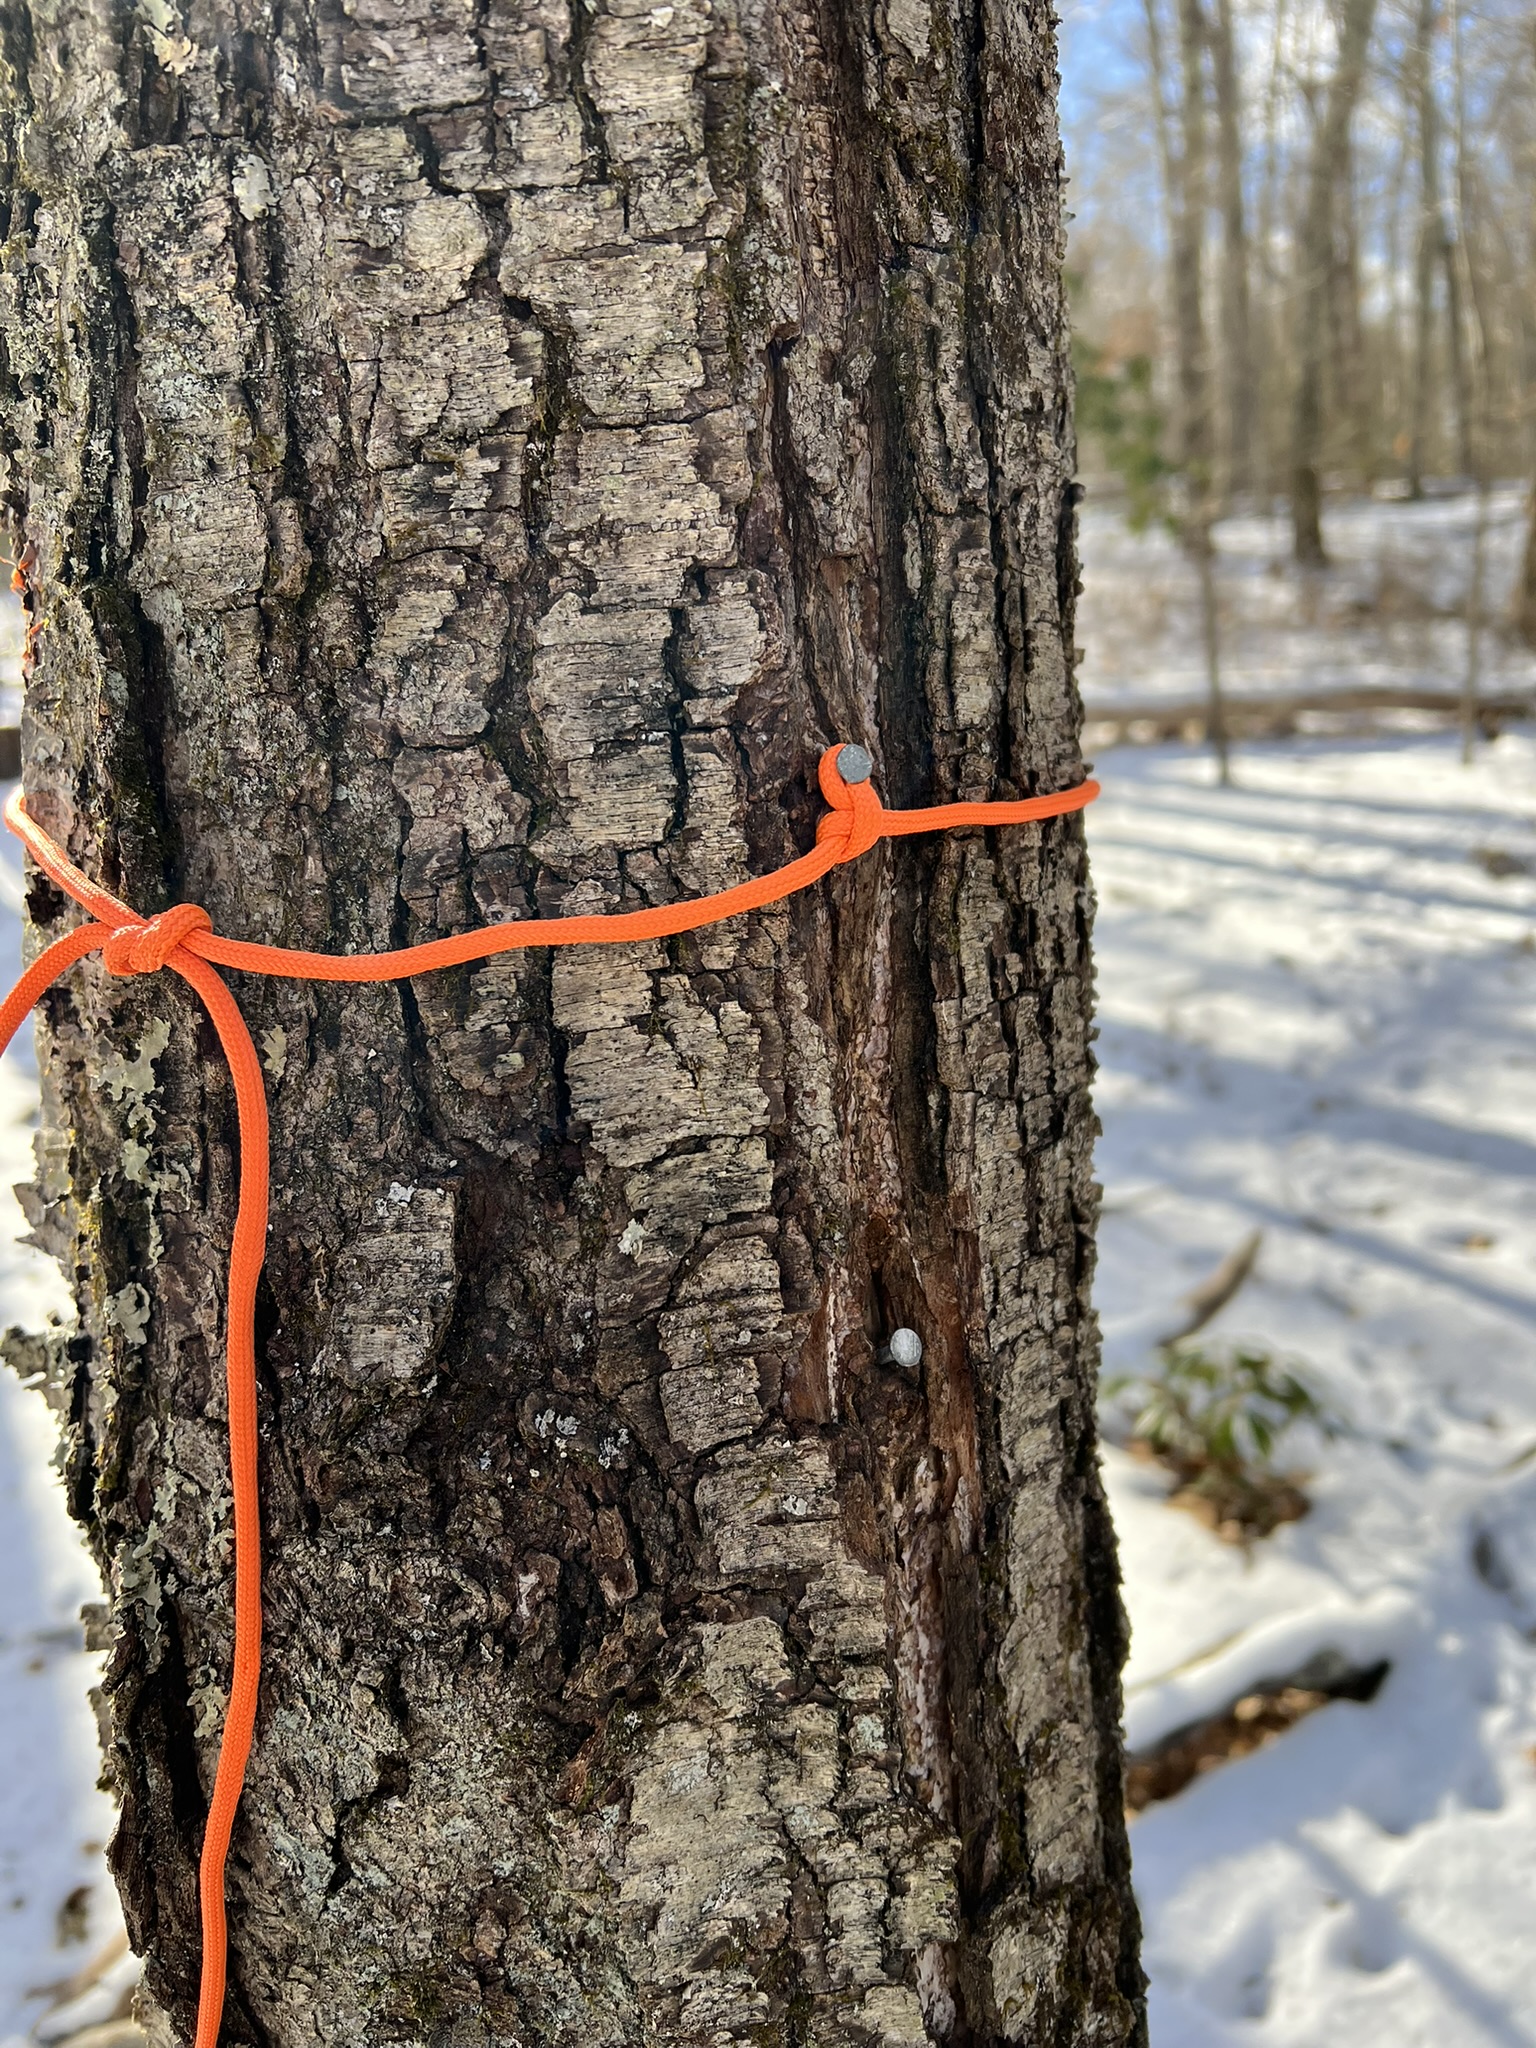
We returned a few days later to look for the remaining 3 checkpoints. My plan was to walk down the park road and see if I could correctly identify any of the terrain features to be able to bushwhack directly to CP 43. I decided it was too uncertain so I went with my Plan B, which was to walk the road beyond CP 44 to the trailhead, and approach CP 44 from the trail. This worked well. We next decided to use a compass heading to bushwhack to CP 43. Tom taught me a new trick for doing this. Once we determined our desired compass heading, we picked a landmark in the distance to walk to, such as a particular and obvious tree. We did this because it is very hard to walk in a straight line while bushwhacking, as there are often obstacles that need to be skirted, and that makes it difficult to ensure you are following the heading accurately. When we reached the chosen landmark, we took another compass heading and repeated our strategy. This worked well, although we determined that CP 43 must also be missing. In this case, we were quite confident because the tree had an orange tie on it and two nails in the trunk where a CP would have been. From there we made our way quickly over to CP 36, as the winds were picking up and we did not want to spend any more time in the woods than absolutely necessary. I was very excited to complete the course. I have been in touch with WCOC and if those two CPs turn out to be actually missing they will be replaced in due course.
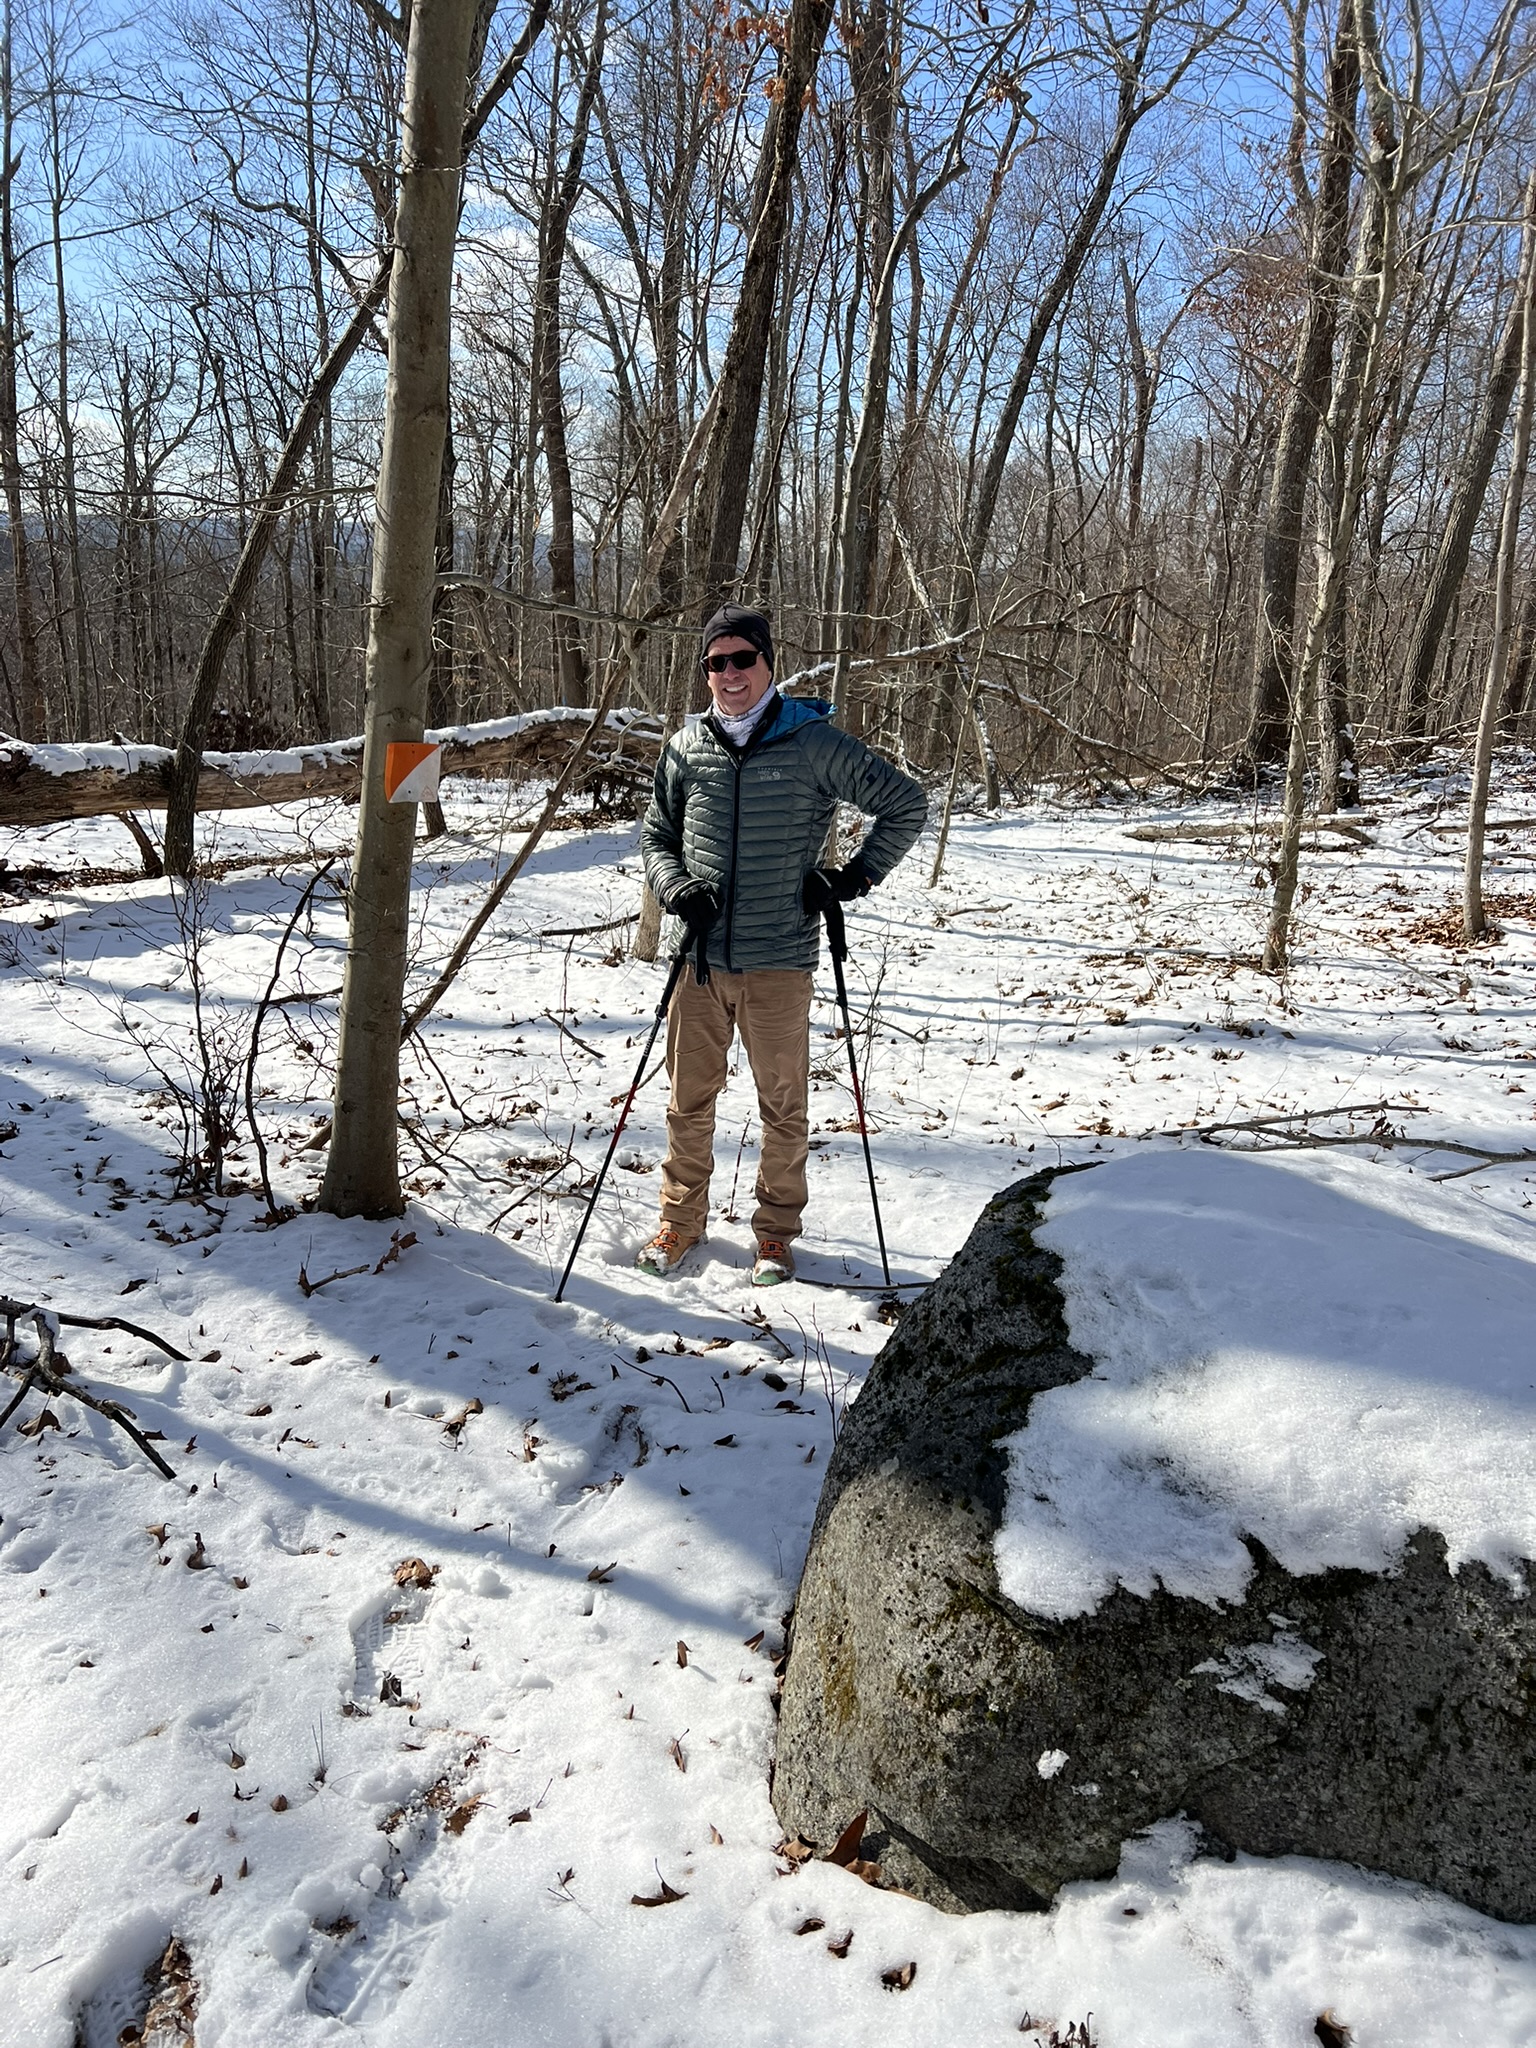
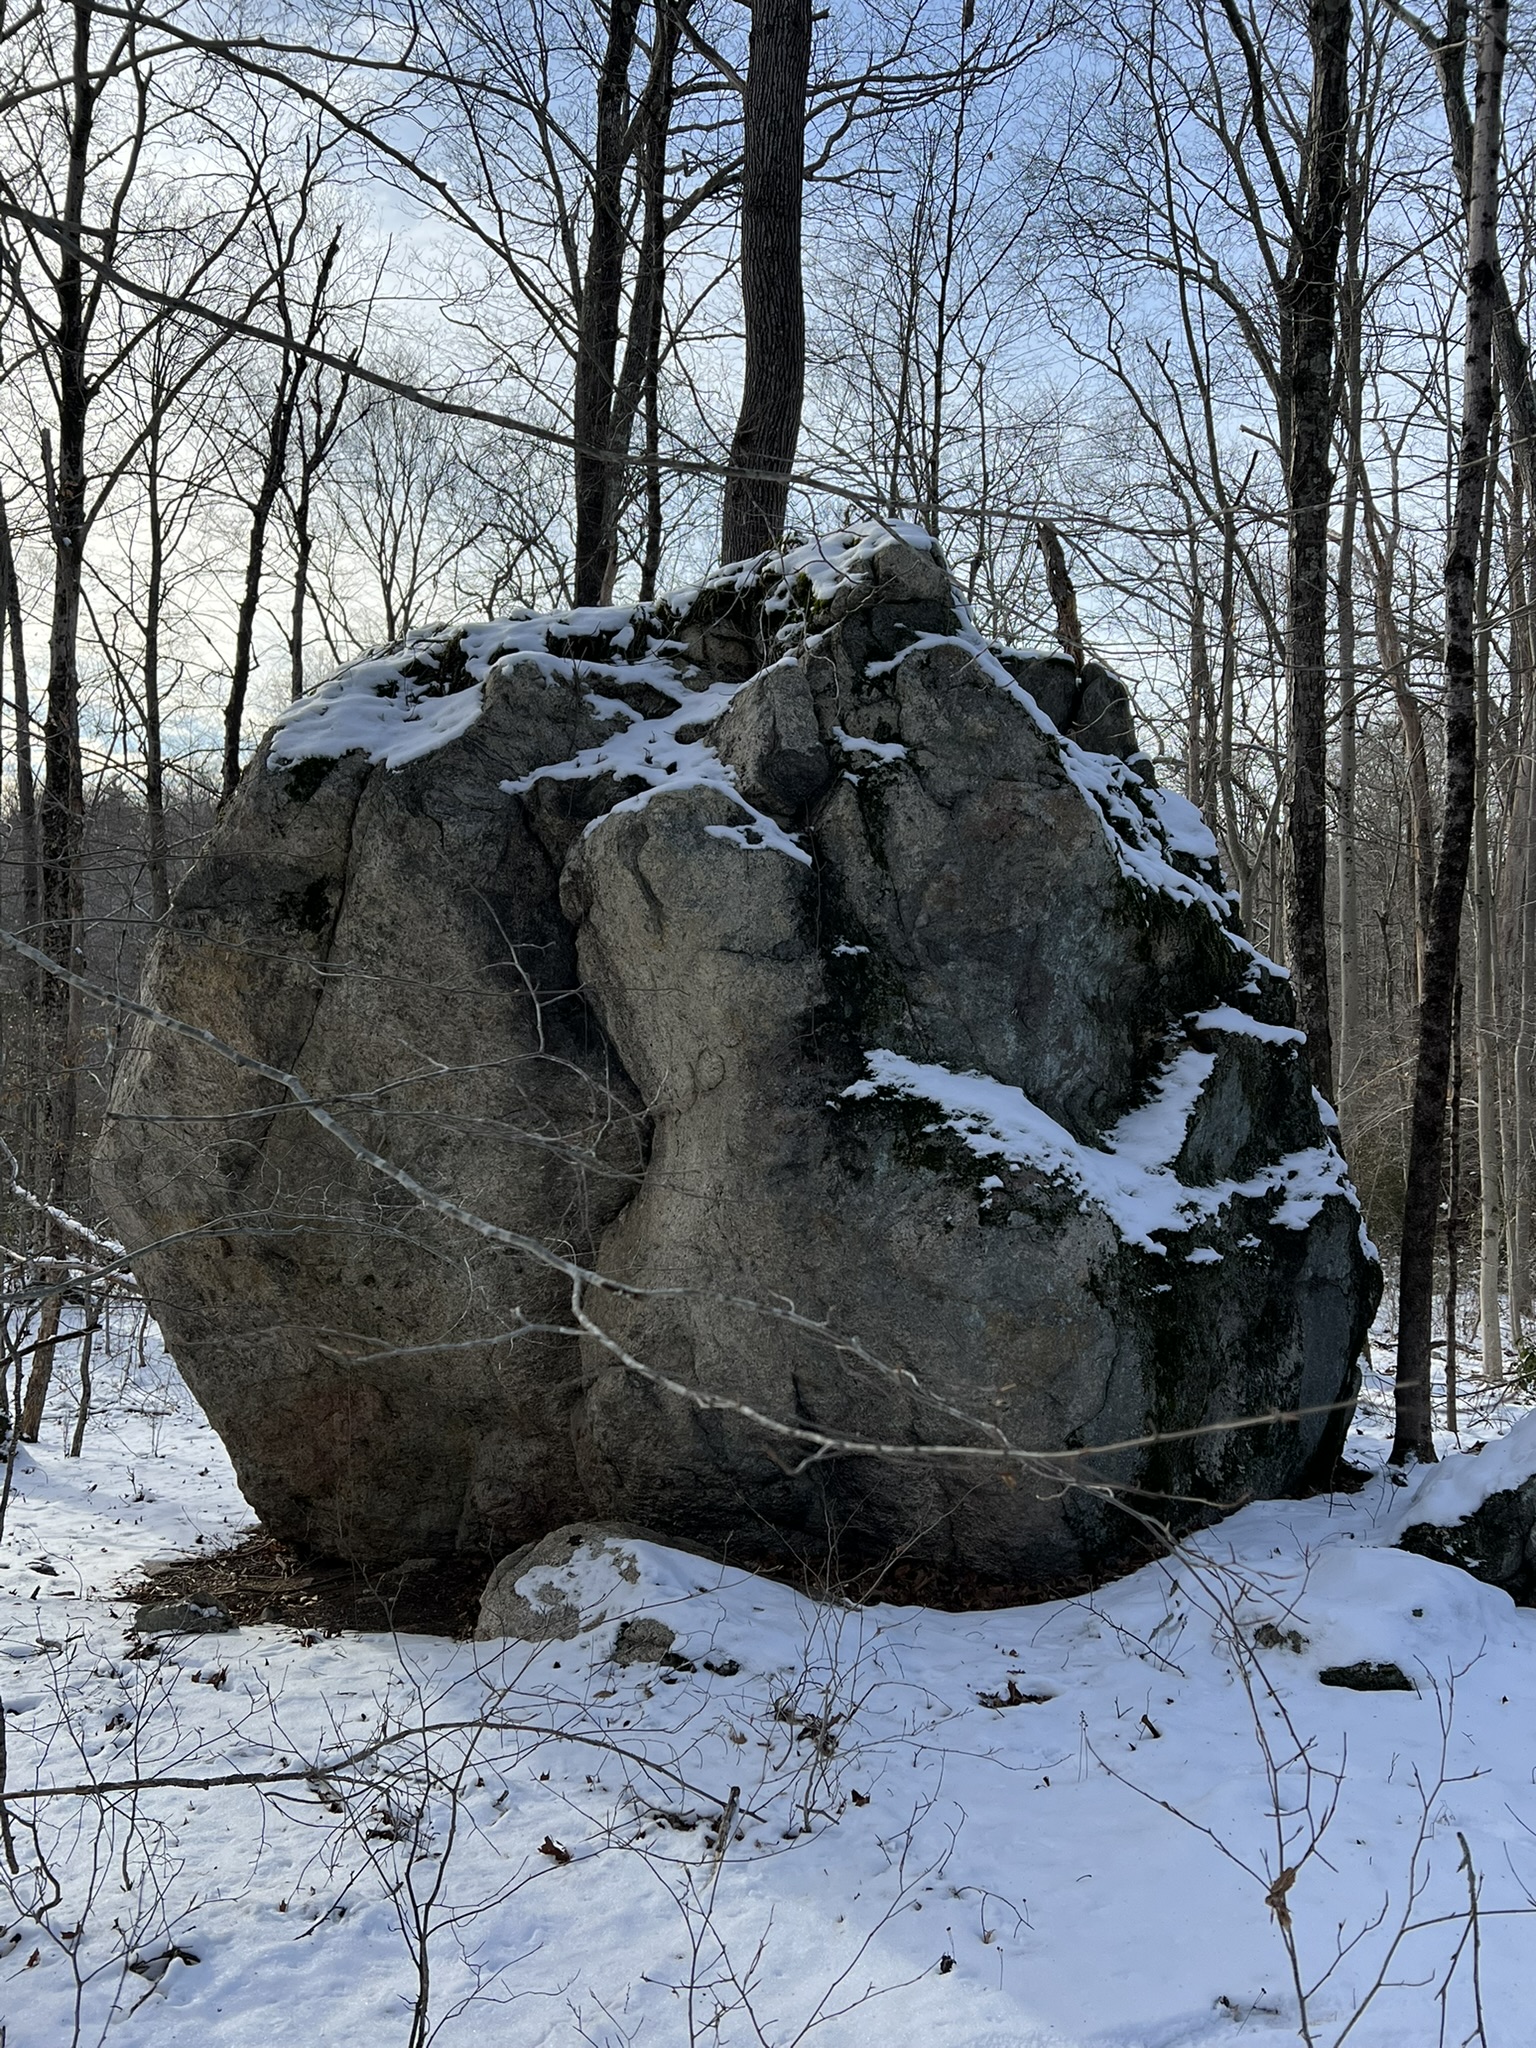

From left to right: snowy bushwhack; a large boulder in the woods; my map with legend taped on and clues both written and in table (see red arrow); where we think CP 43 is supposed to be.
Subscribe to Trail Talk
your next adventure awaits
Questions? Email me at naturenerdsramble@gmail.com or find me on Instagram @the_real_nature_renee.